DIY DYED CORK ART
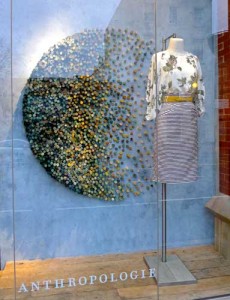
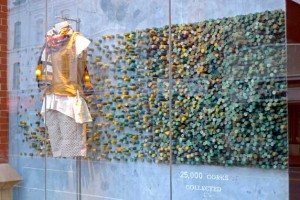
I always stop in awe of the window displays at Anthropologie. They have the most creative art using unconventional materials & it’s something I can really appreciate. When searching for wedding decor inspiration, “Anthropologie Window Displays” was one of the first things I searched. I came across this display & fell in love with the idea- art using corks. I love wine, so what could be more perfect? (:
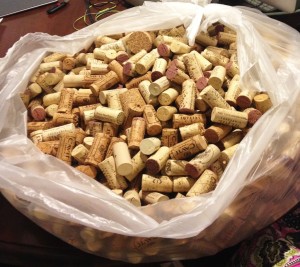
I knew I was going to dye corks & make some sort of decoration… I didn’t know what at first, but I was determined to do it! I enlisted the help of my good friend to collect wine corks. She also likes wine (; & she also happens to work at an Italian restaurant, so when she came to visit me from FL she had a HUGE bag full that basically took up her entire suitcase. Haha. I was a very happy bride & artist (: Thanks, Kel! We just stared at the corks. Now what?!
Well, I knew I wanted the corks dyed so that’s where we started.
What we used:
- Wine corks. Obviously. Lots of them!
- A few packages of Tulip fabric dye. We got it at Michaels in Teal.
- A bucket
- Big pot for boiling water
- A slotted spoon to stir up the corks.
- 1/4 cup salt
- A few cookie sheets
- Gloves. Unless you want stained hands, haha
What we did:
- Filled a bucket about 1/2 way with corks.
- Add 1/4 cup salt & the packet of dye to the bucket.
- On the package it says that the hotter the water is the deeper the color will be. We boiled water in a big pot & added it to the bucket. We added more hot water from the faucet until there was enough to submerge the corks.
- Stir the corks continuously for 15 minutes. I think we gave up after 5.. haha. As long as the dye is dissolved I think you’re good.
- Find something to keep them submerged since they float. I used old plates.
- Soak for 45 minutes or until you’ve reached your desired color.
- Use a slotted spoon to transfer them to a cookie sheets for drying.
- Add new corks to the dye until all your corks are dyed.
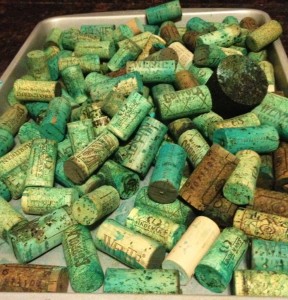
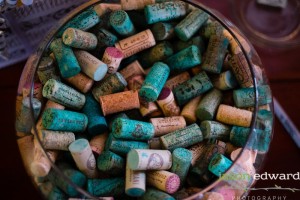
The awesome thing about the corks is that they all took the color differently. Some were deep teal, some were really bright & some were light. This was perfect for what I wanted the final product to look like (:
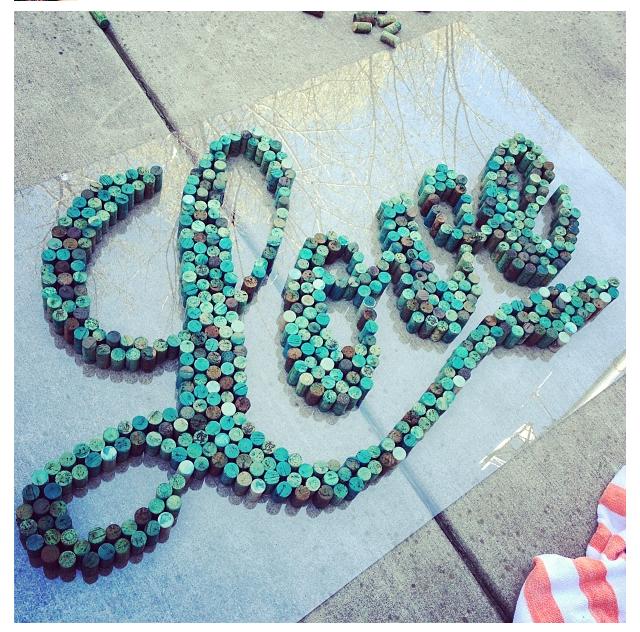
Soooooo now that the corks are dyed, dry & ready to go it’s time to get creating! We decided we wanted the word “Love” since that was going to be my new last name & it was the theme we had going so far (: Tom picked out the font & I think it’s perfect. So let’s get to gettin’!
What we used:
- The screen from an 60″ TV I had laying around. (Yeah, I just randomly keep old TV screens for projects, haha..)
- Wine corks
- Rubber cement
- A projector, a white sheet & the word “Love” printed out
- Patience. LOTS of patience.
What we did:
- First, I found the font online from www.dafont.com & printed out the word “Love”
- Since the screen is clear I had to put a white sheet behind it to actually see what I was doing when I projected it onto my board. If you don’t have a projector then you can free hand it, or I’m sure there’s a link on Pinterest somewhere to make one.
- If you use rubber cement to glue the cork like we did, go to a well ventilated area!
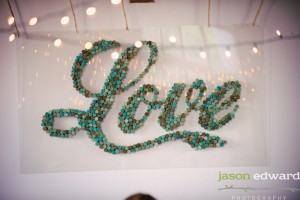
- We dipped each cork in the cement & began placing them on our outline, then filling in each letter. I like the “pixelated” look from the different shades of blue!
- We drilled 5 holes at the top & hung it with wire (which was then covered with rope)
Here’s what it looked like when we finished:
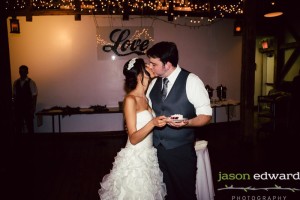
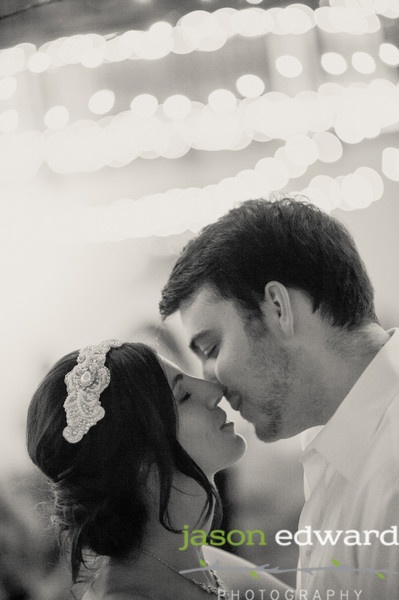
Here it is hung at our wedding reception, photos by Jason Edward Photography:
We used the rest of the dyed corks in place of a guest book so people could write us little notes with Sharpies (:
That’s all folks! Now please drink responsibly when collecting your corks for this project haha.
