LIFE CYCLE OF A BUTTERFLY
One of my favorite activities for Spring is learning about the life cycle of a butterfly.
Here’s what we did last year-
Day 1: Colored noodles!
Each noodle type represents a different stage in the life cycle: Egg, Caterpillar, Chrysalis & Butterfly.
What I used:
- Uncooked pasta- Ditalini (egg), Rotini (larva), Mini Shells (pupa), Farfalle (adult)
- Gothic Powder Paint or Food Dye
- Gallon Ziploc Bags
- Warm Water
- Wax Paper
- Cookie Sheets
What I did:
- Designate one ziploc bag per color. I used every color we had & even mixed some colors together (:
- Fill the bags with the uncooked pasta. I wanted each stage to be all different colors, so I mixed a portion of each noodle type in one bag. If you want each stage to be one color, keep the noodle types separated.
- Add a little bit of warm water into one of the bags. You don’t want to add so much that your noodles swell up, but just enough so the noodles can be coated with paint.
- Sprinkle in the powder paint or add your food dye. The powder paint will give you a much more vibrant color, but food dye works fine too.
- Seal your bag, then shake, rattle & roll it! Get all the noodles coated & add more water/paint if needed until you get the color you want. I let the noodles sit in the bag until I was done dying all of the noodles, just to make sure they absorbed the color.
- Line cookie sheets with wax paper.
- Pour the first bag you dyed onto a cookie sheet. Spread the pasta out so they can dry without getting stuck together. Continue this for all the bags. I only had 4 cookie sheets so I couldn’t dry mine all at once, but they dry pretty quick.
- When they’re dry they’re done! I put ours in the sensory table. Look how bright the colors are!
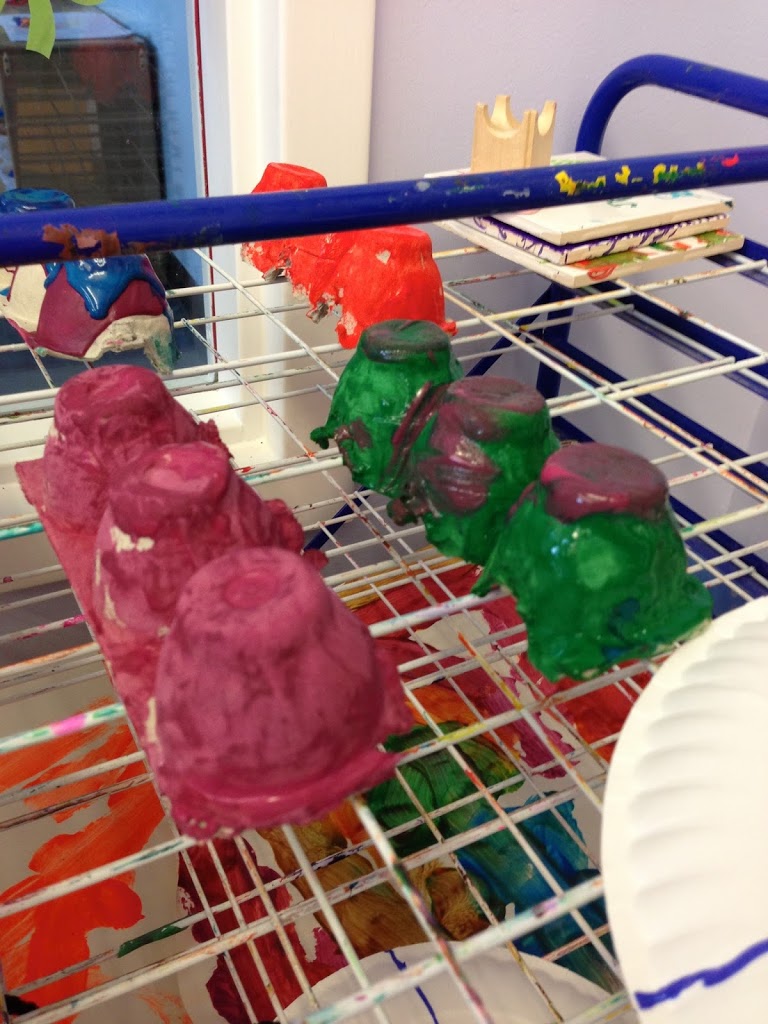
Day 2: Make a caterpillar!
What I used:
- Egg cartons, cut into segments of 3
- Paint
What we did:
- Painted the egg cartons (In case you didn’t figure that out on your own, haha)
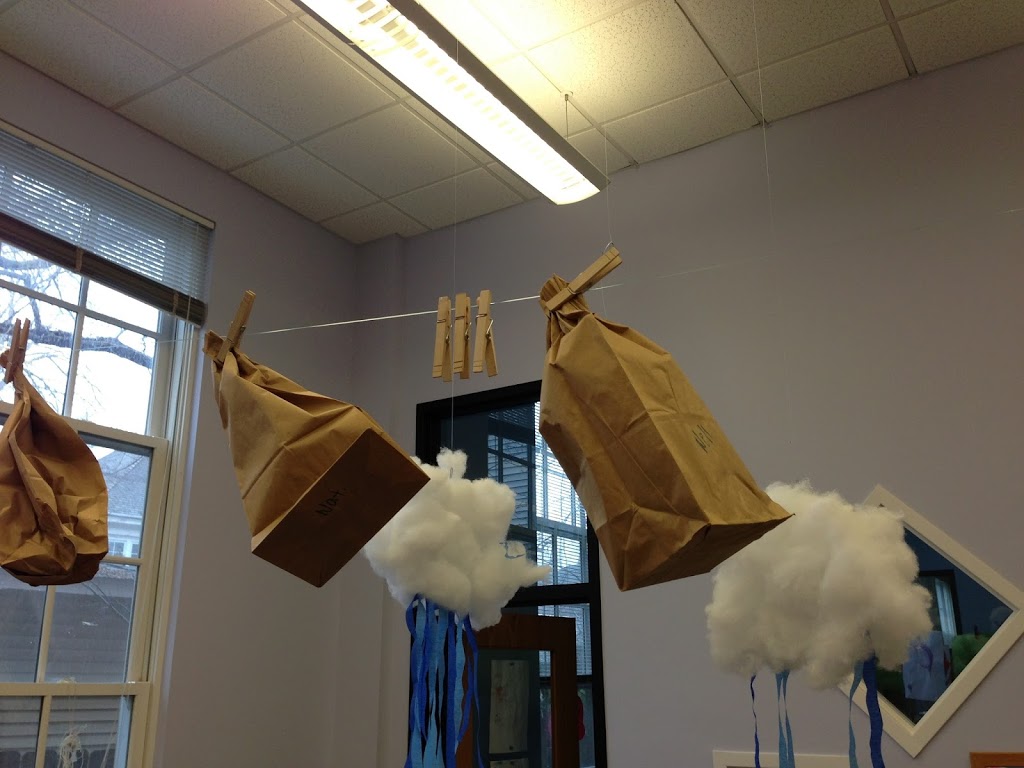
Day 3: Chrysalis Stage!
(click here to see how we made the puffy clouds that are hanging in the background!)
What I used:
- Brown paper bags
- Yesterday’s “Caterpillars”
- Paper plates (the wings for tomorrow’s activity!)
What we did:
- Put yesterday’s Caterpillars in a brown paper bag
- Close the bag at the top & hang it up
- Paint the paper plate
(I can’t find a picture for the next part of this activity!)
Day 4:
Make your butterfly!
What we did:
- Cut the paper plate in half to make the wings.
- Take the egg cartons out of the paper bag.
- Staple one wing on either side.
- Add a face with wiggly eyes & pipe cleaners as antennae!
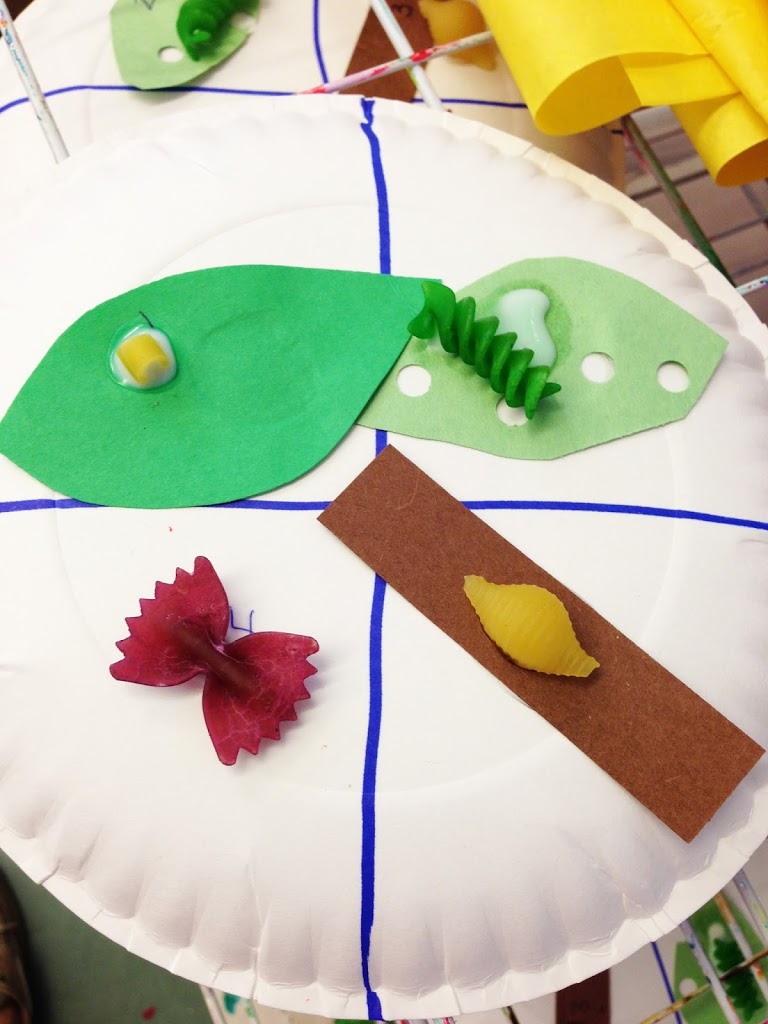
Day 5:
Life Cycle with Pasta
What we used:
- Uncooked pasta from our sensory table
- Paper plate
- Paper “leaves”
- Paper “branch”
- Hole punch
- Marker
What we did:
- I drew lines on the plate to create 4 quarters.
- I numbered the quarters 1, 2, 3 & 4.
- I numbered the whole leaf 1, the leaf that will be hole punched 2, and the branch 3.
- It was up to the kids to match the numbers together & glue everything where it belonged. I let the kids hole punch the leaf, they loved that part!
- We went one section at a time & we had The Very Hungry Caterpillar by Eric Carle at the table for reference.
- Even though there was no number on the butterfly, they all figured out on their own where it belonged, haha.
- I drew arrows along the outside of the plate to show which way the cycle goes.
Happy Spring, everyone!!

Previous
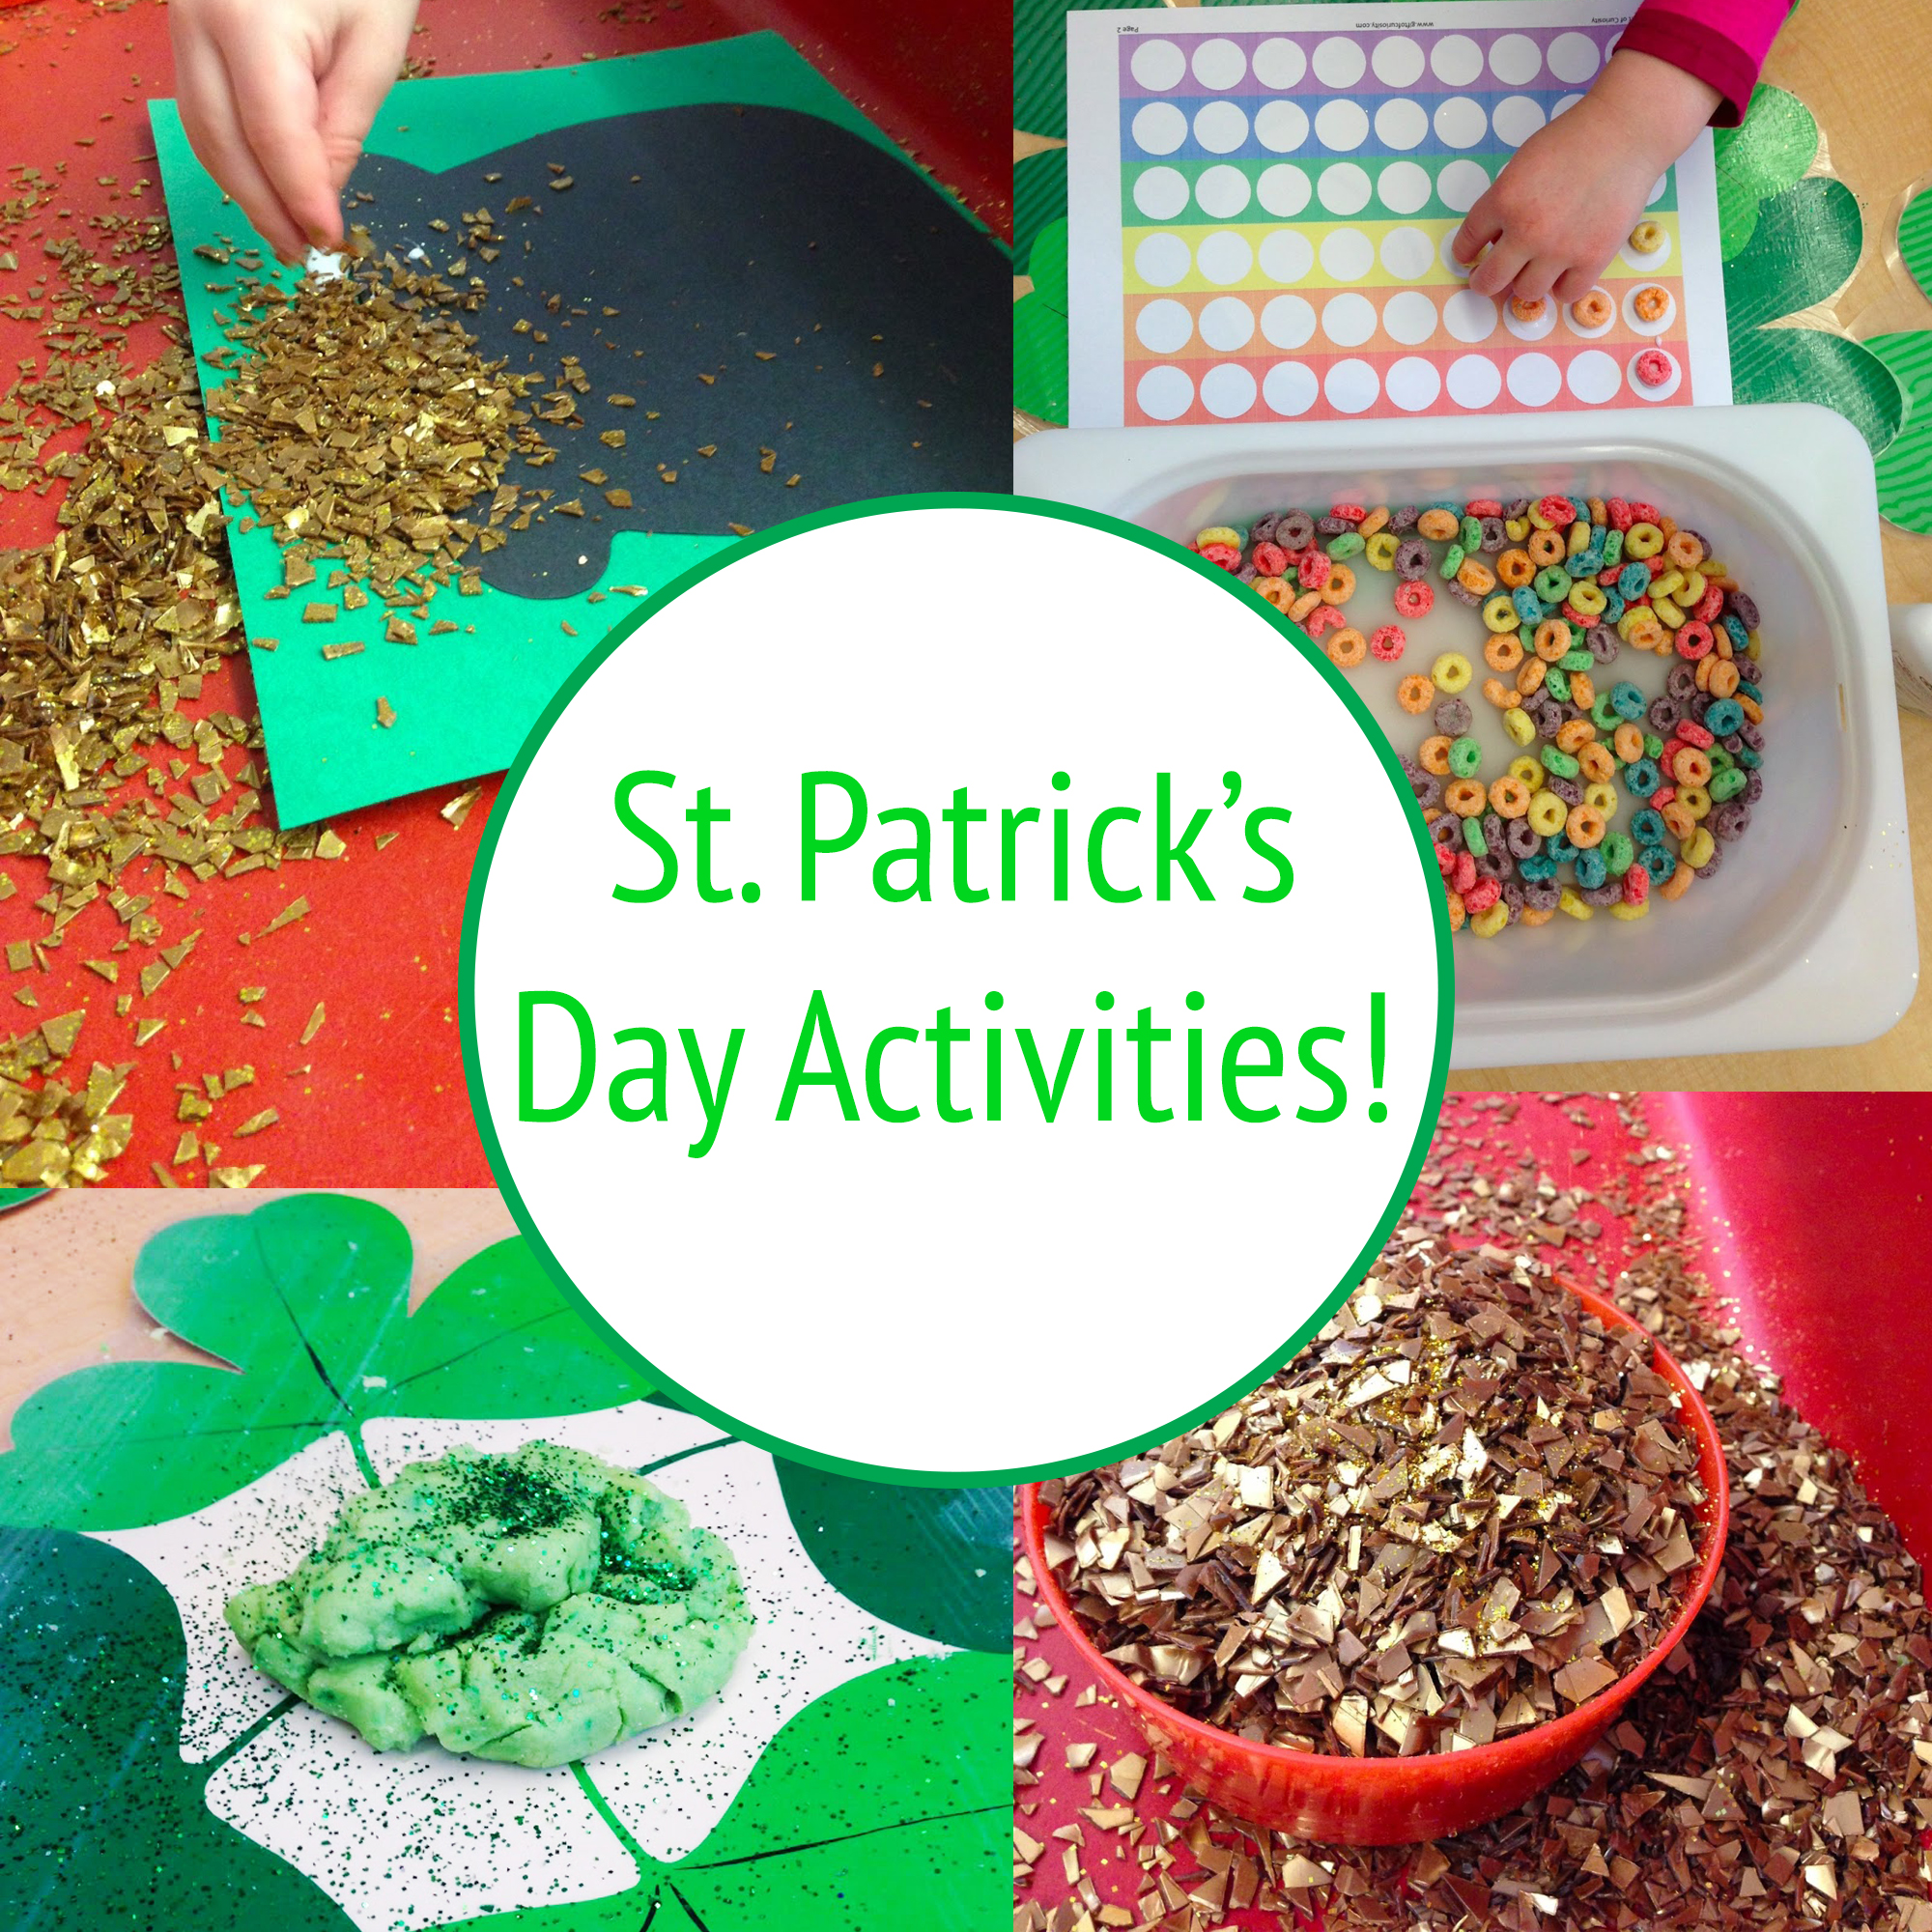
ST. PATRICK'S DAY ACTIVITIES
Newer