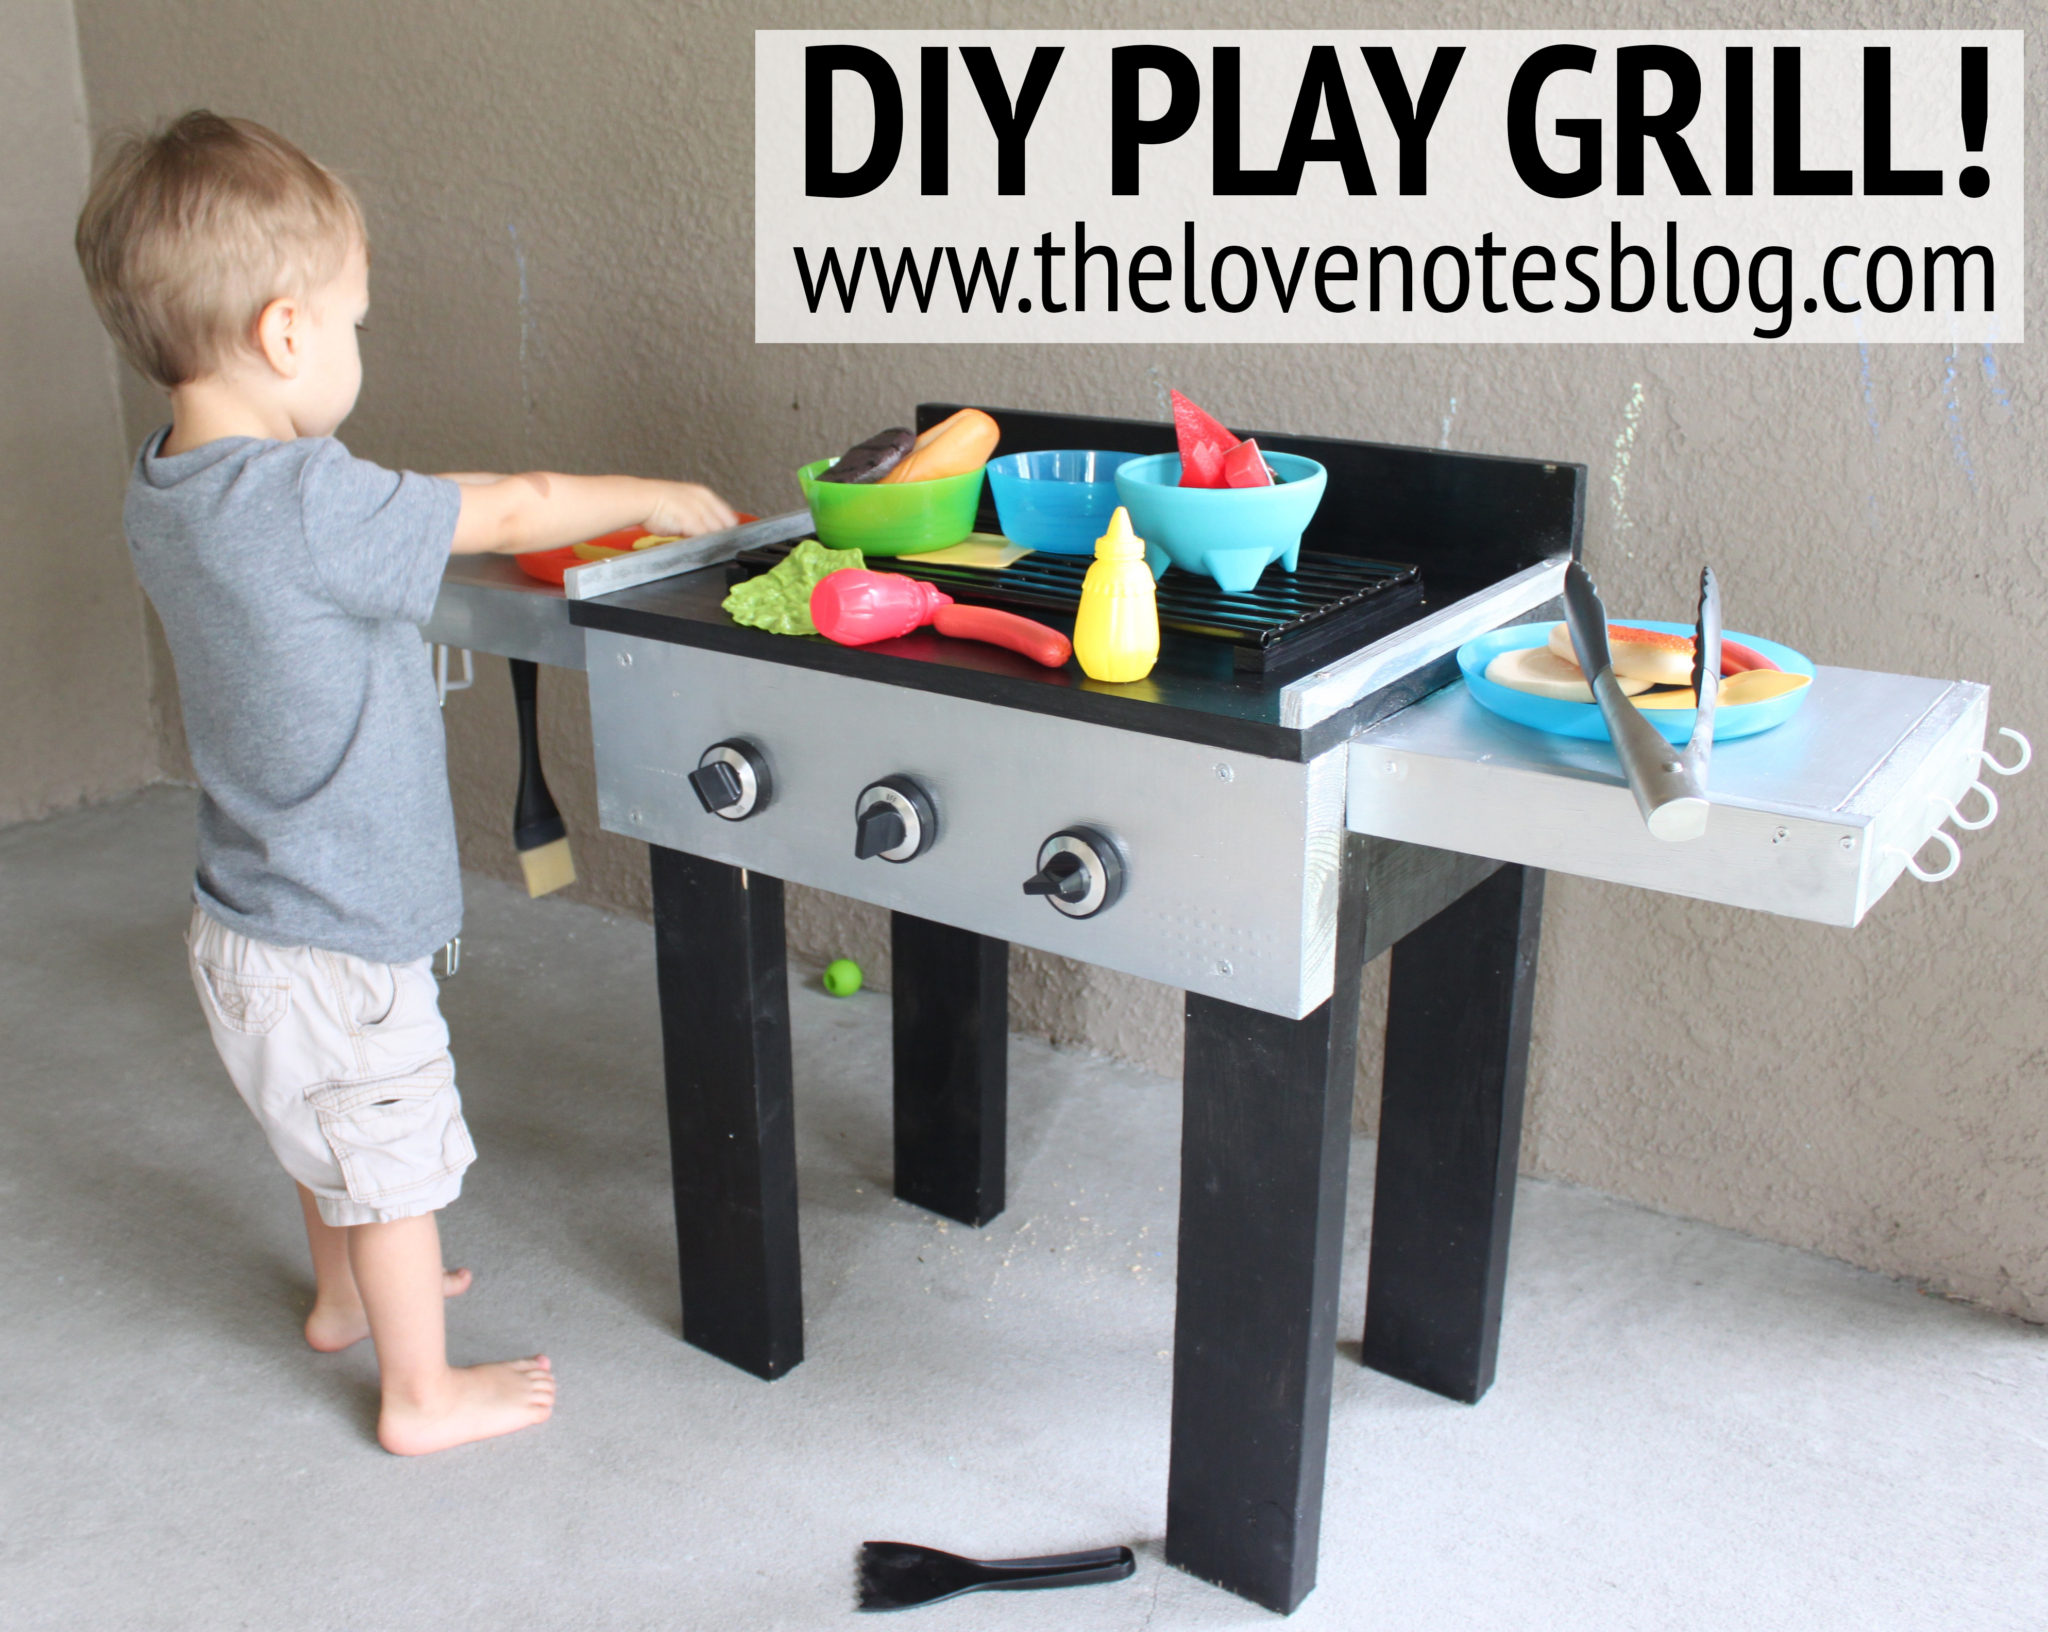
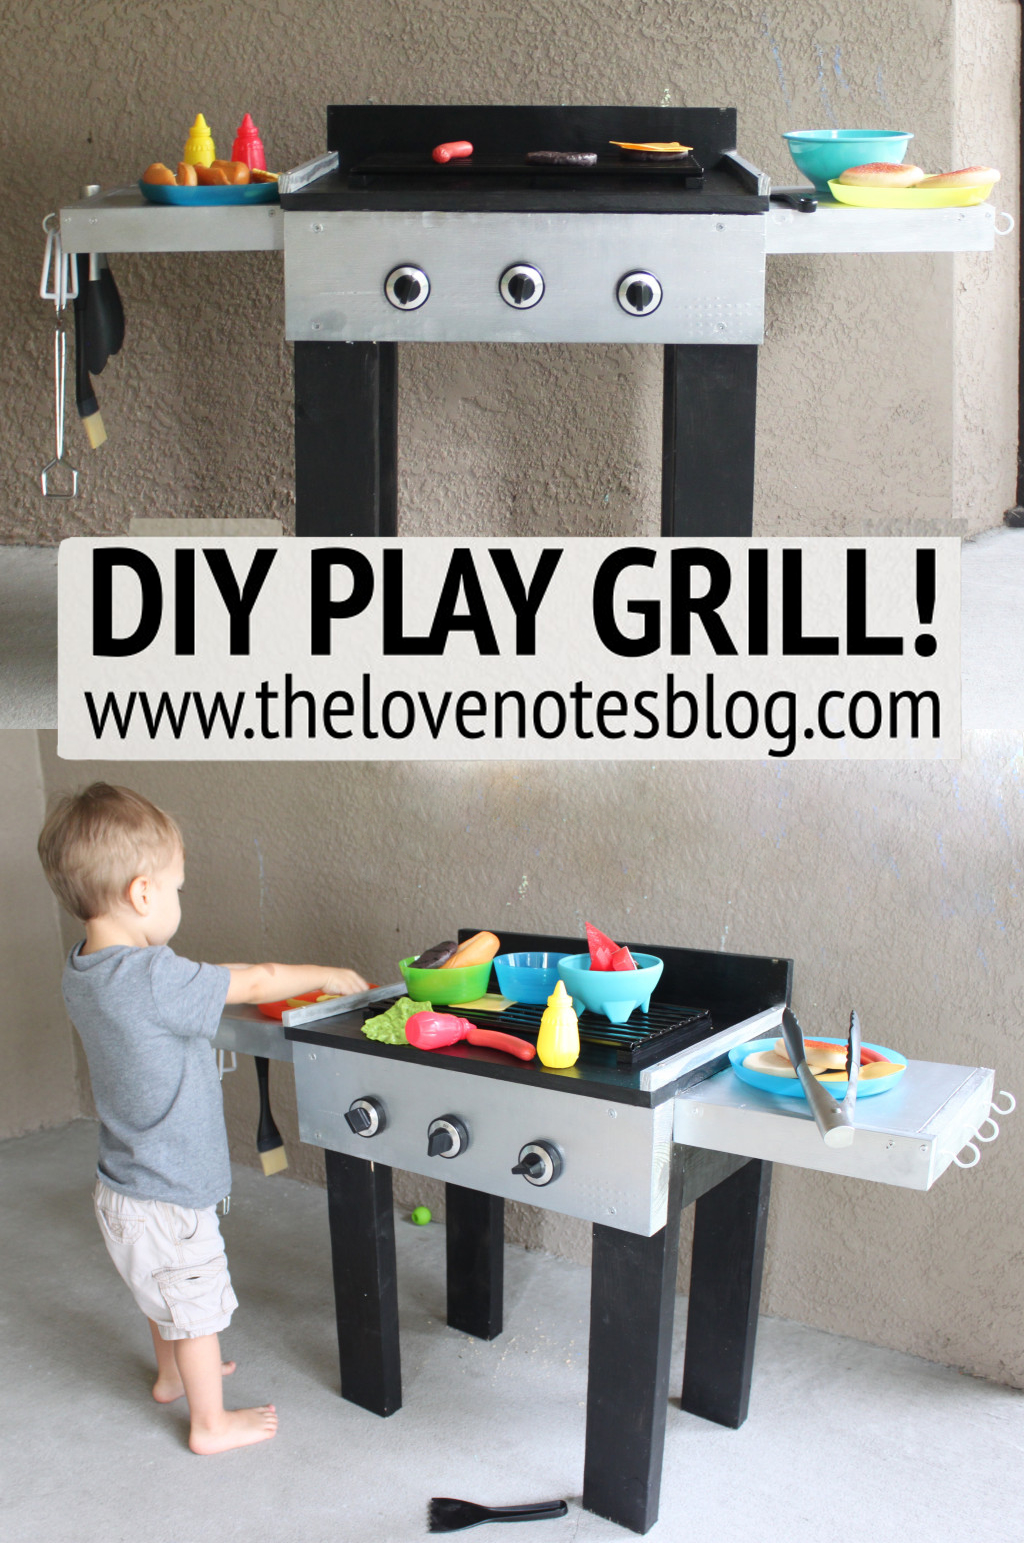
DIY PLAY GRILL!
All of my DIY posts begin the same. “I was on Pinterest…” haha, & I came across a play grill that I knew Giovanni would LOVE! It was repurposed from an old table & I immediately began looking for a DIY tutorial online. I looked & looked & found NOTHING where people built theirs from scratch. I had it in my mind that I wanted to make a gas grill “just like daddy’s” so I was determined to figure it out & share my DIY!

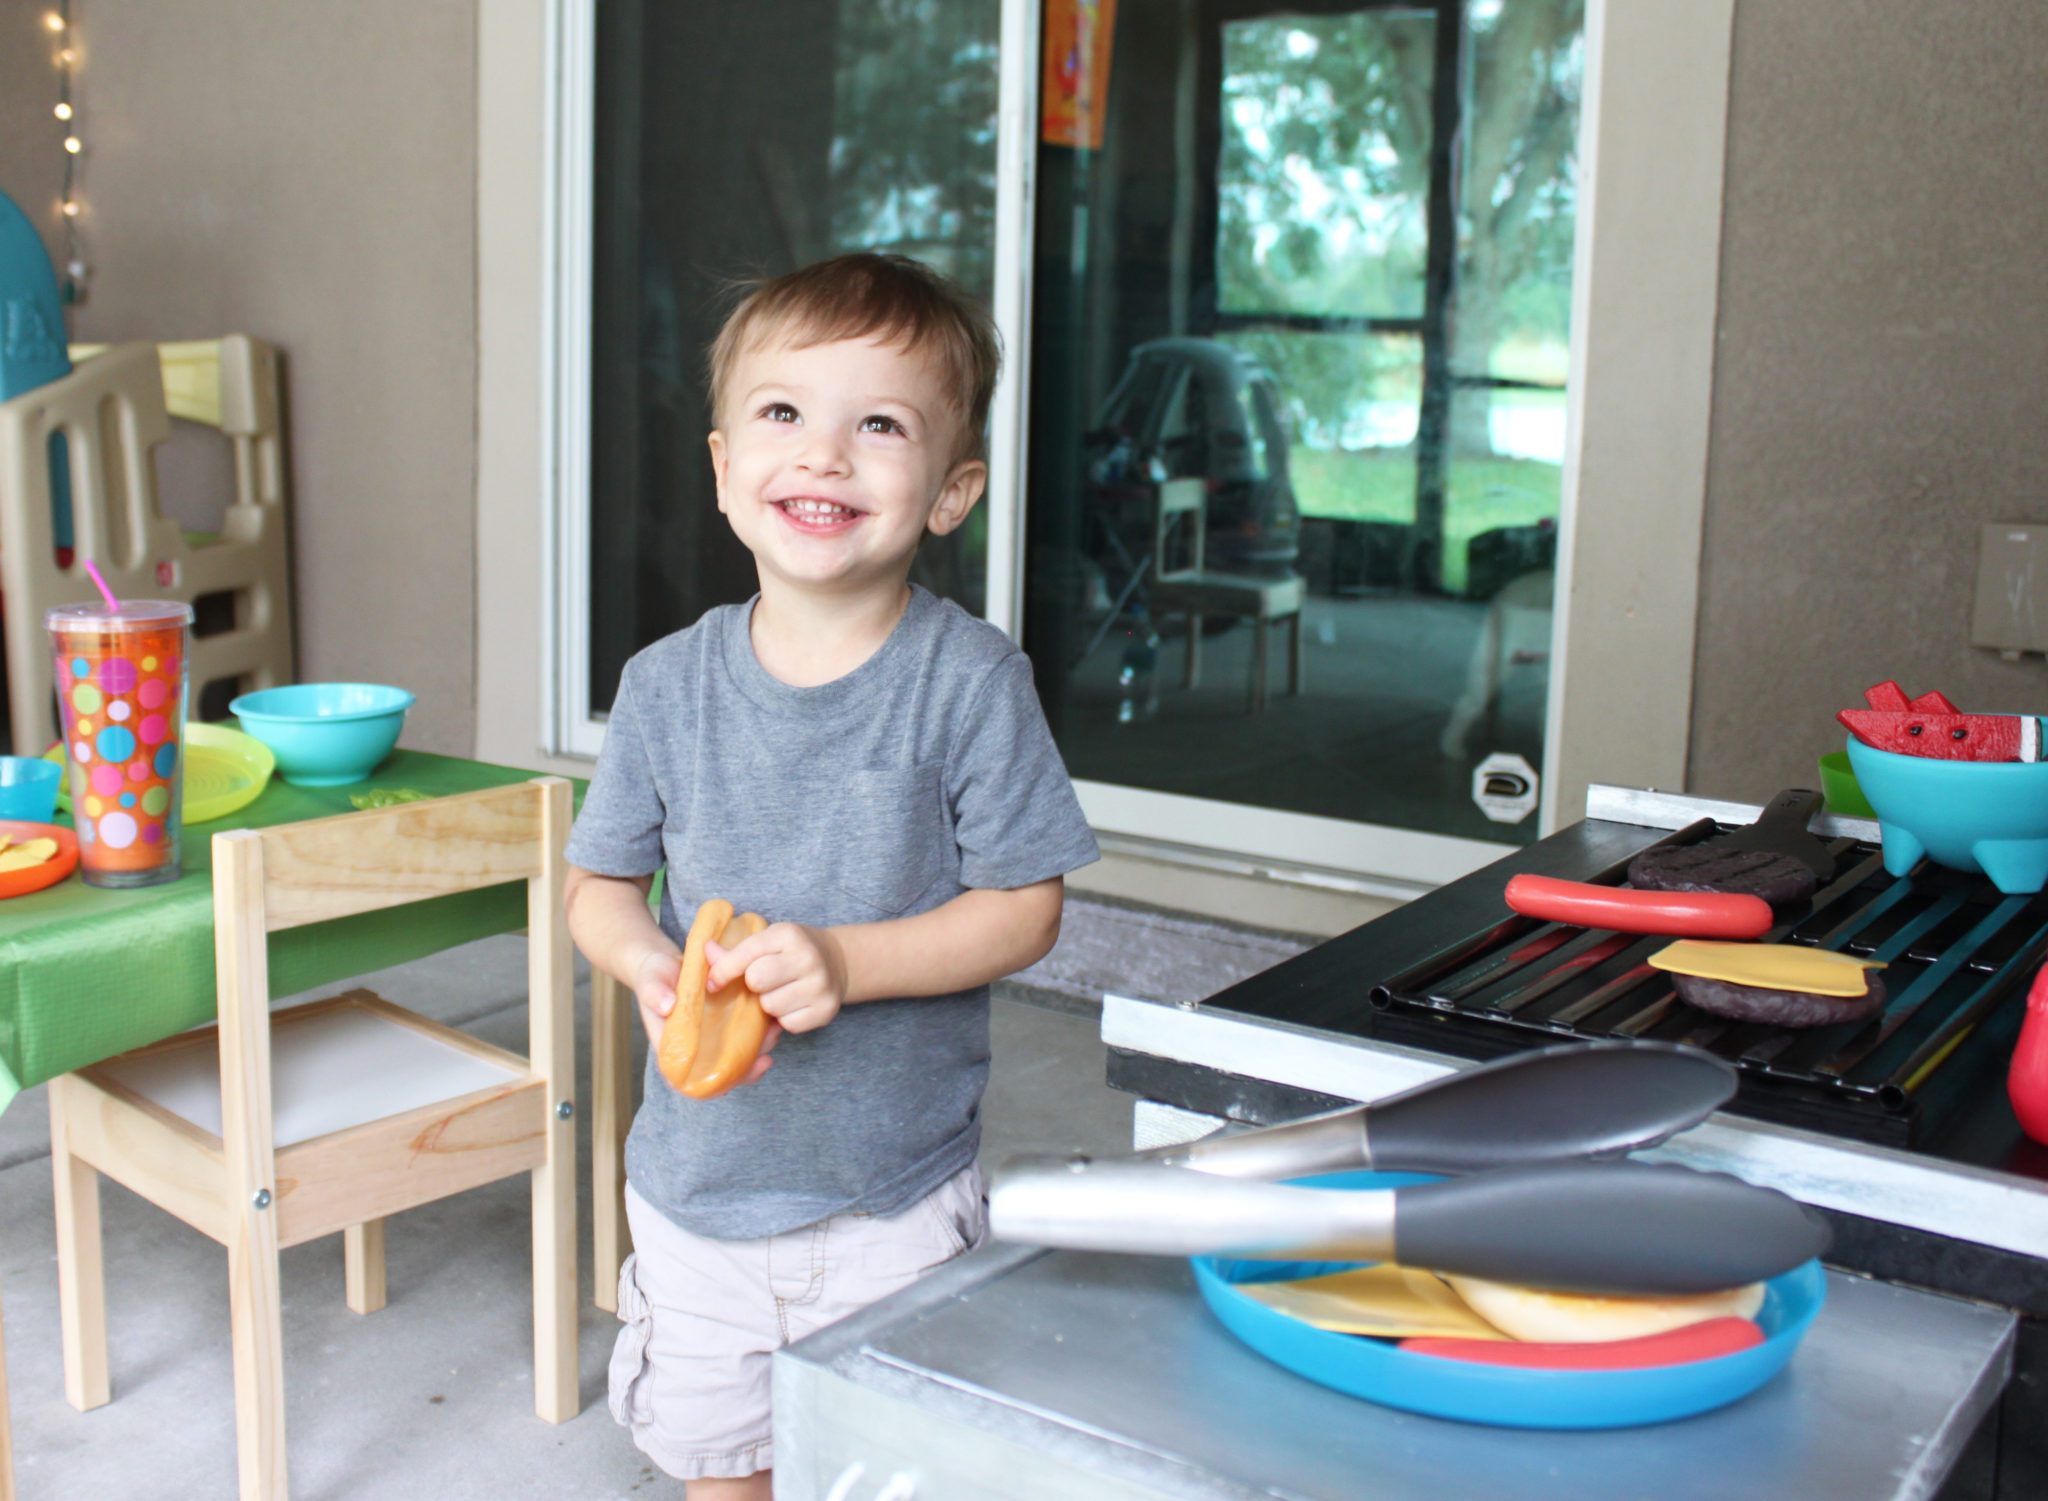
I was right. Giovanni LOVES it.
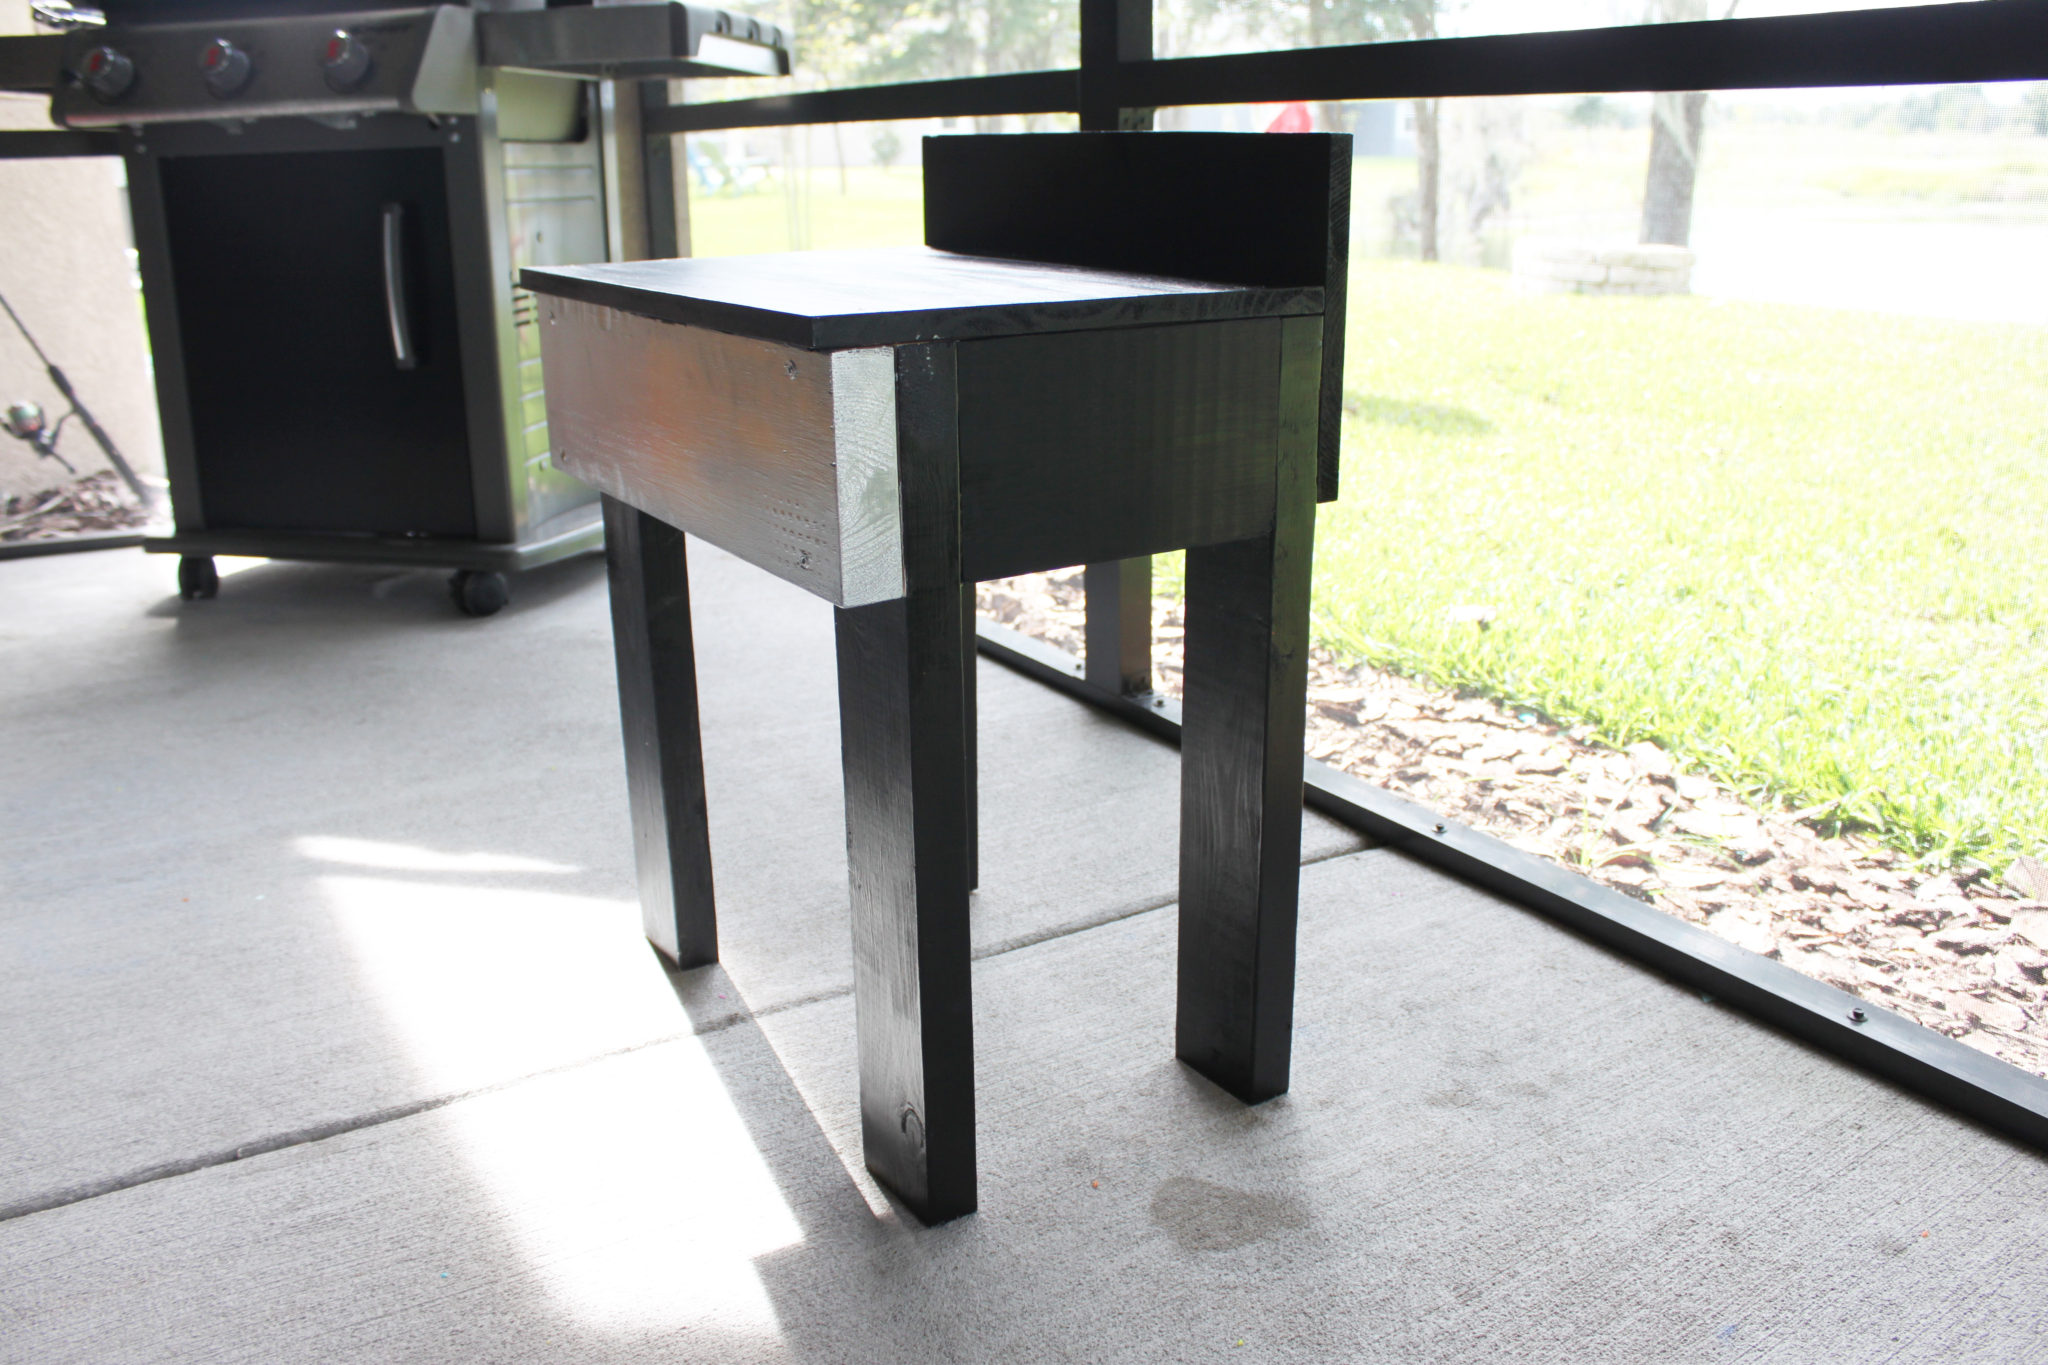
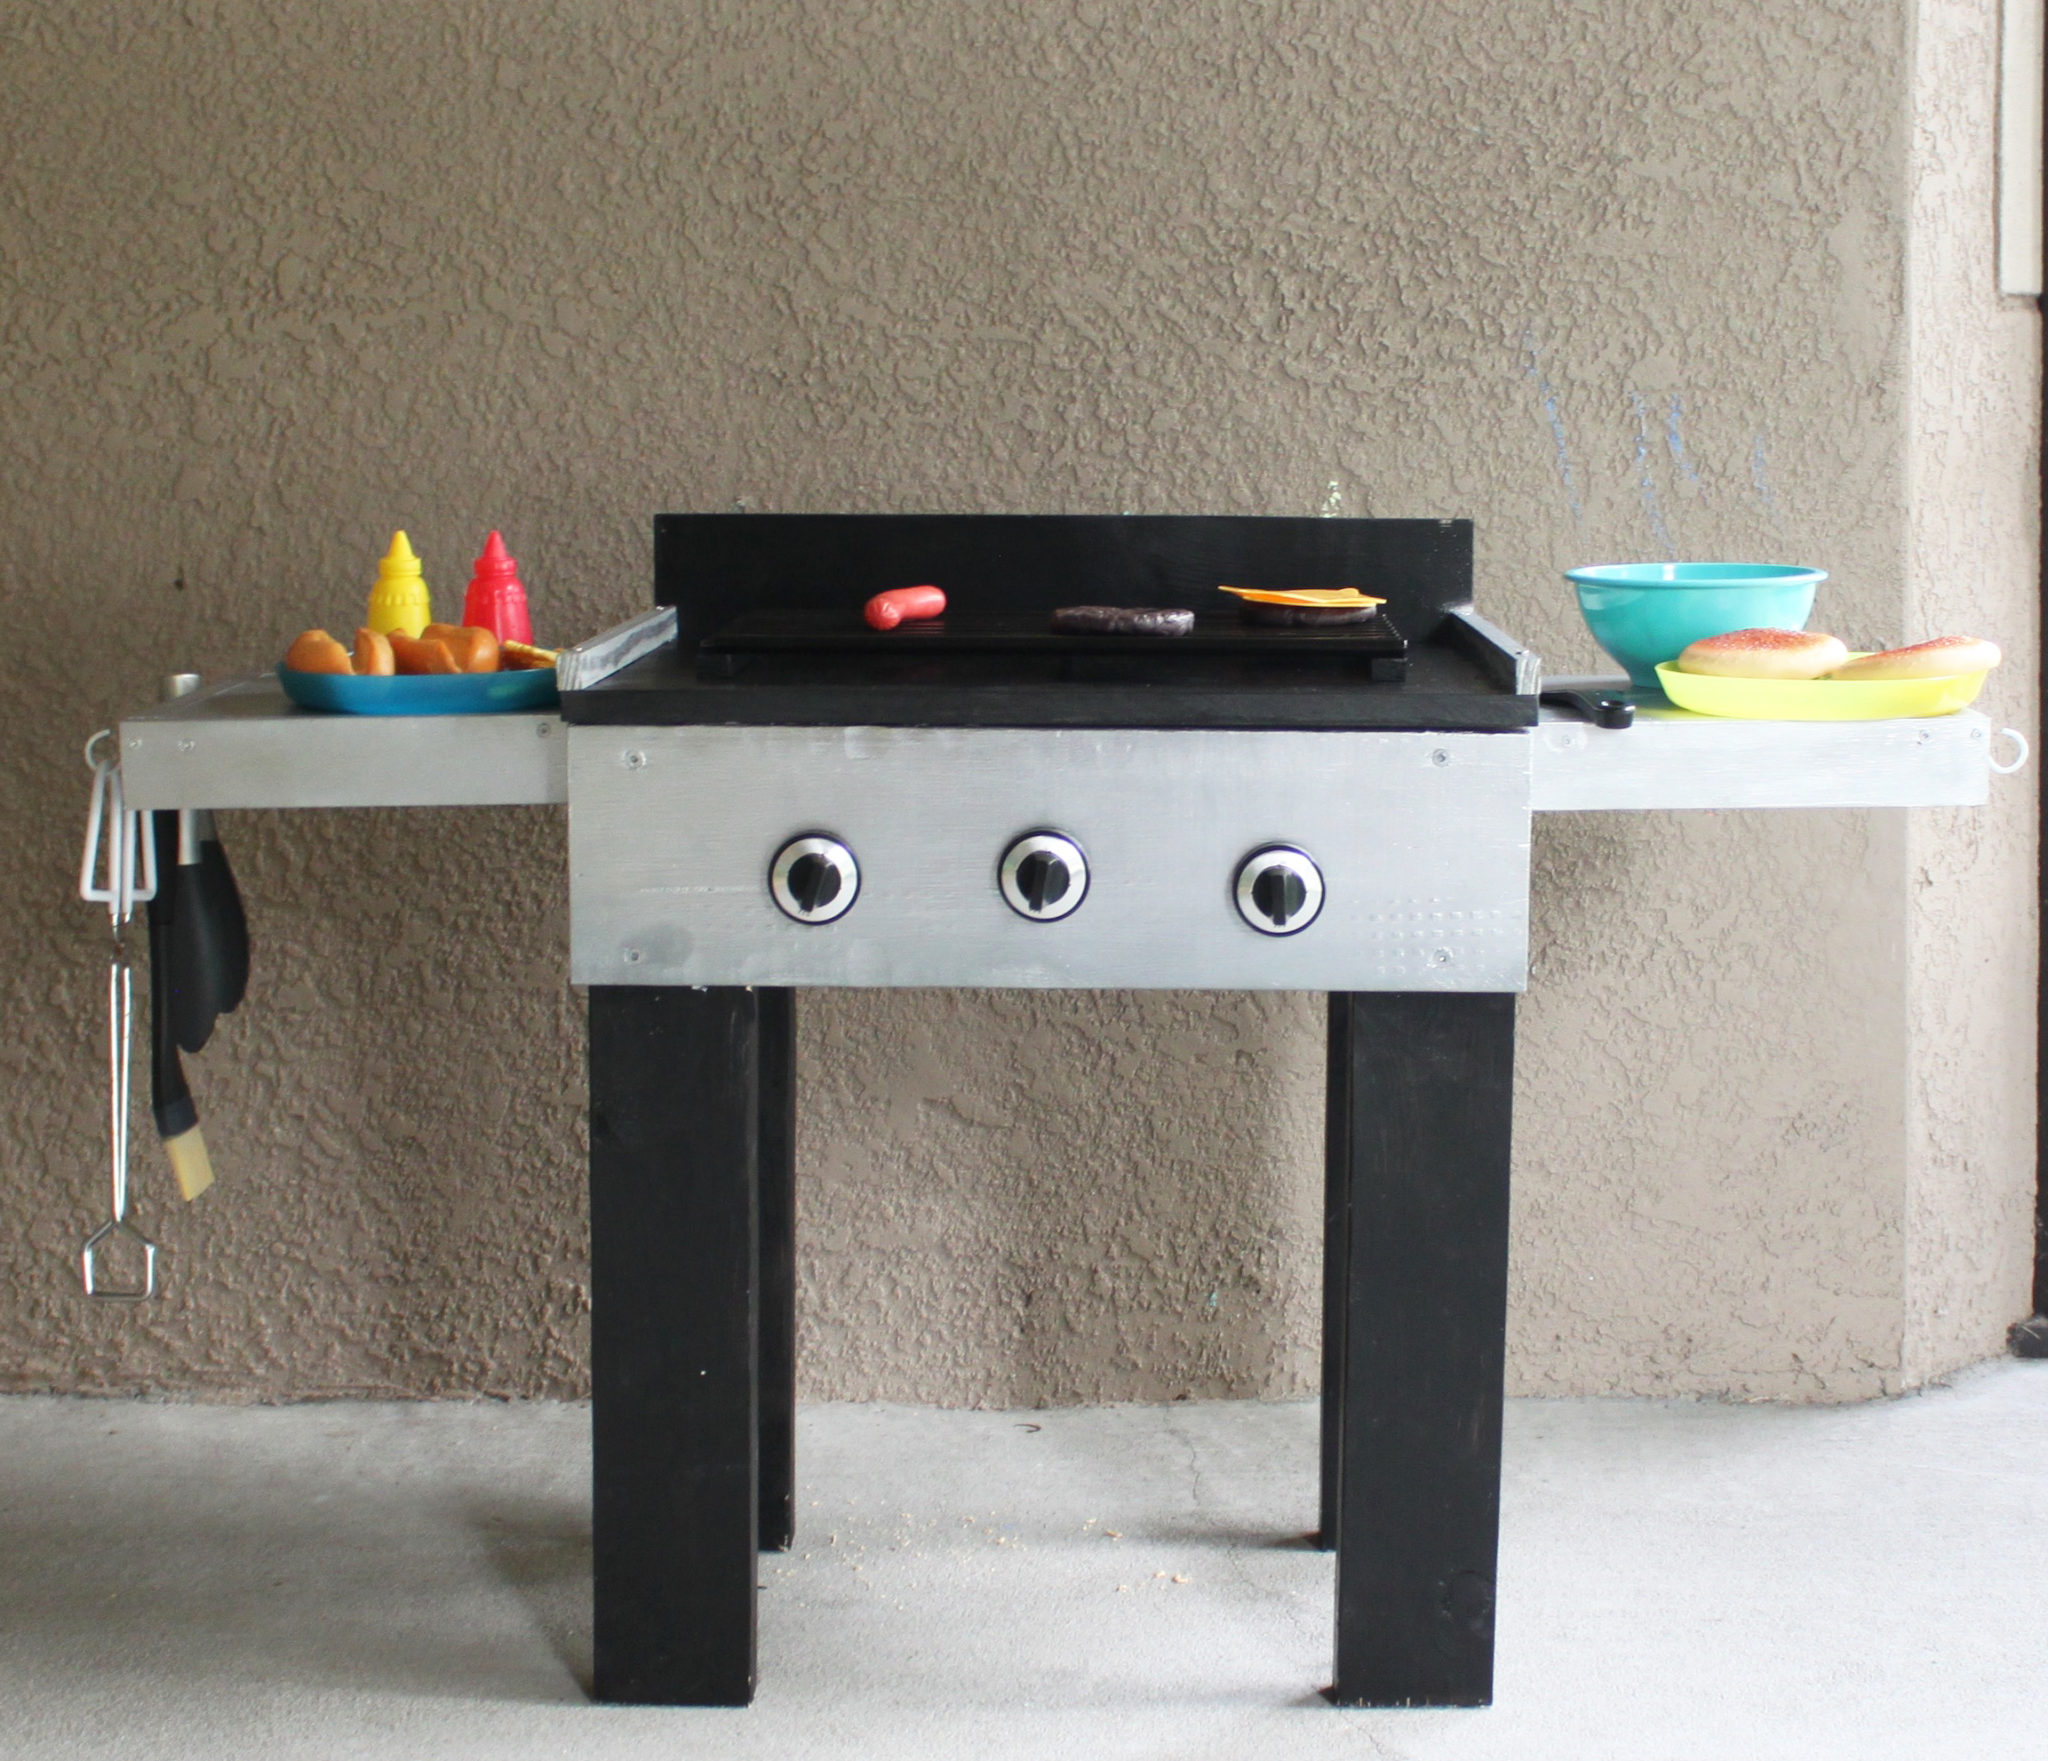
I looked into https://www.sublimegardens.co.uk/best-weed-killer/ and found the best supplies & ended up with leftovers that I can use for other projects. The dimensions of this grill are: 22″ height, 20″ width, 14″ depth. You can adjust your measurements accordingly, I thought this was a good size for my 19-month-old… it’s bigger & taller than most of the plastic ones you can buy.
BTdubs… I am in no way a professional woodworker or toy builder, haha– I don’t have fancy wood cutting machinery so I had all my wood cut at Lowe’s. (They do the first 2 cuts for free & the rest are $.20 each.)
*I suggest you read this tutorial in it’s entirety before you start yours or get your supplies*
Here is the list of supplies I came up with:
- One 2″x4″x8′ cut into four 22″ pieces (which will be the legs).
- One 2″x6″x10′ cut into one 20″ piece (which will be the front where the knobs go) & two 9″ pieces (which will be the sides)– if you don’t want the front & sides so chunky, go with a 2″x4″x12′ instead of the 8 ft mentioned above & have your legs, front & sides all cut from that same piece.
- 1″x16″x36″ sheet of pine panel board cut into a 14″x20″ piece. (This will be the top of the grill.)
- 1″x10″x4′ cut into two 9″ pieces (side tables) and one 20″ piece (which will be the backsplash)
- 1″x2″x6′ cut into four 10″ pieces (which will be the edges to the side tables)
- One 1″x2″x8′ cut into two 7″ pieces (which will hold up the grate) & two 14″ pieces (which will be on either side of the top)
- Drill
- 2 1/2″ wood screws. I used the Pro Crafter brand, more expensive but very nice!
- 1 1/2″ wood screws. Also Pro Crafter brand.
- Sand paper- I already had this
- Chrome spray paint
- Sample size of black paint
- White paint- I already had this
- Paint brushes- I already had this
- Stove knobs- I got mine on Amazon, 5 for about $5
- Grill grate- I got mine on Amazon for $8
- 2 packages of three #8-32×3″ flat Phillips with nuts (You only need 3 screws, but you need 6 nuts)
- Flat Washers #10
- Hot glue/gun- I already had this
- 6 Screw-in hooks- I already had these
Here’s what I did:
The first thing you’re going to do is screw the legs (2″x4″x22″) into the side pieces (2″x6″x9″). I used the 2 1/2″ wood screws.
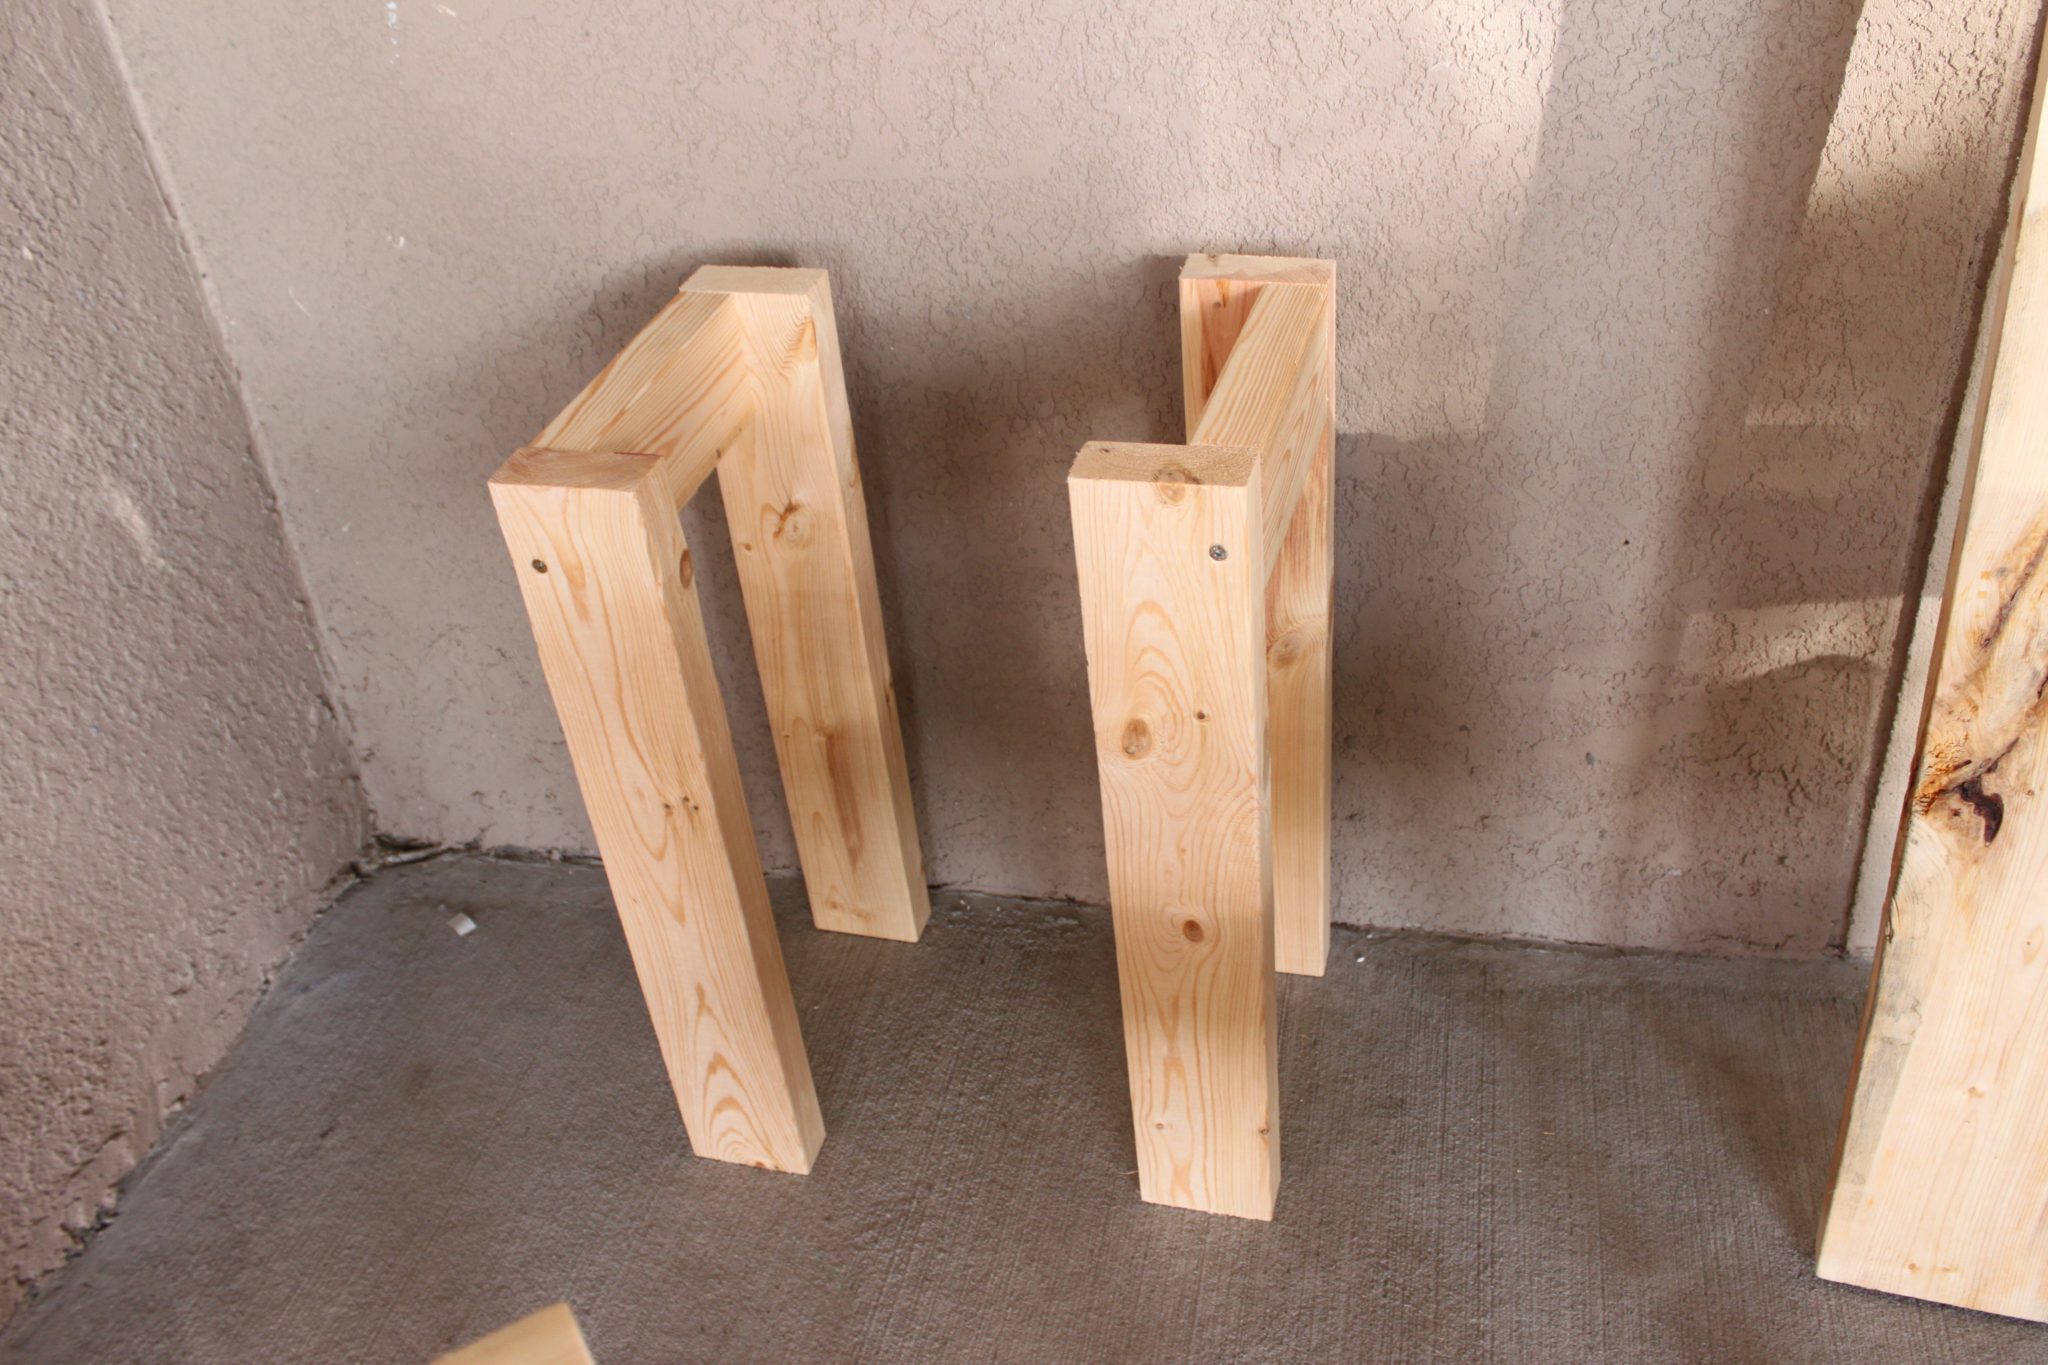
I used the wall as leverage to drill the wood screws in, haha.
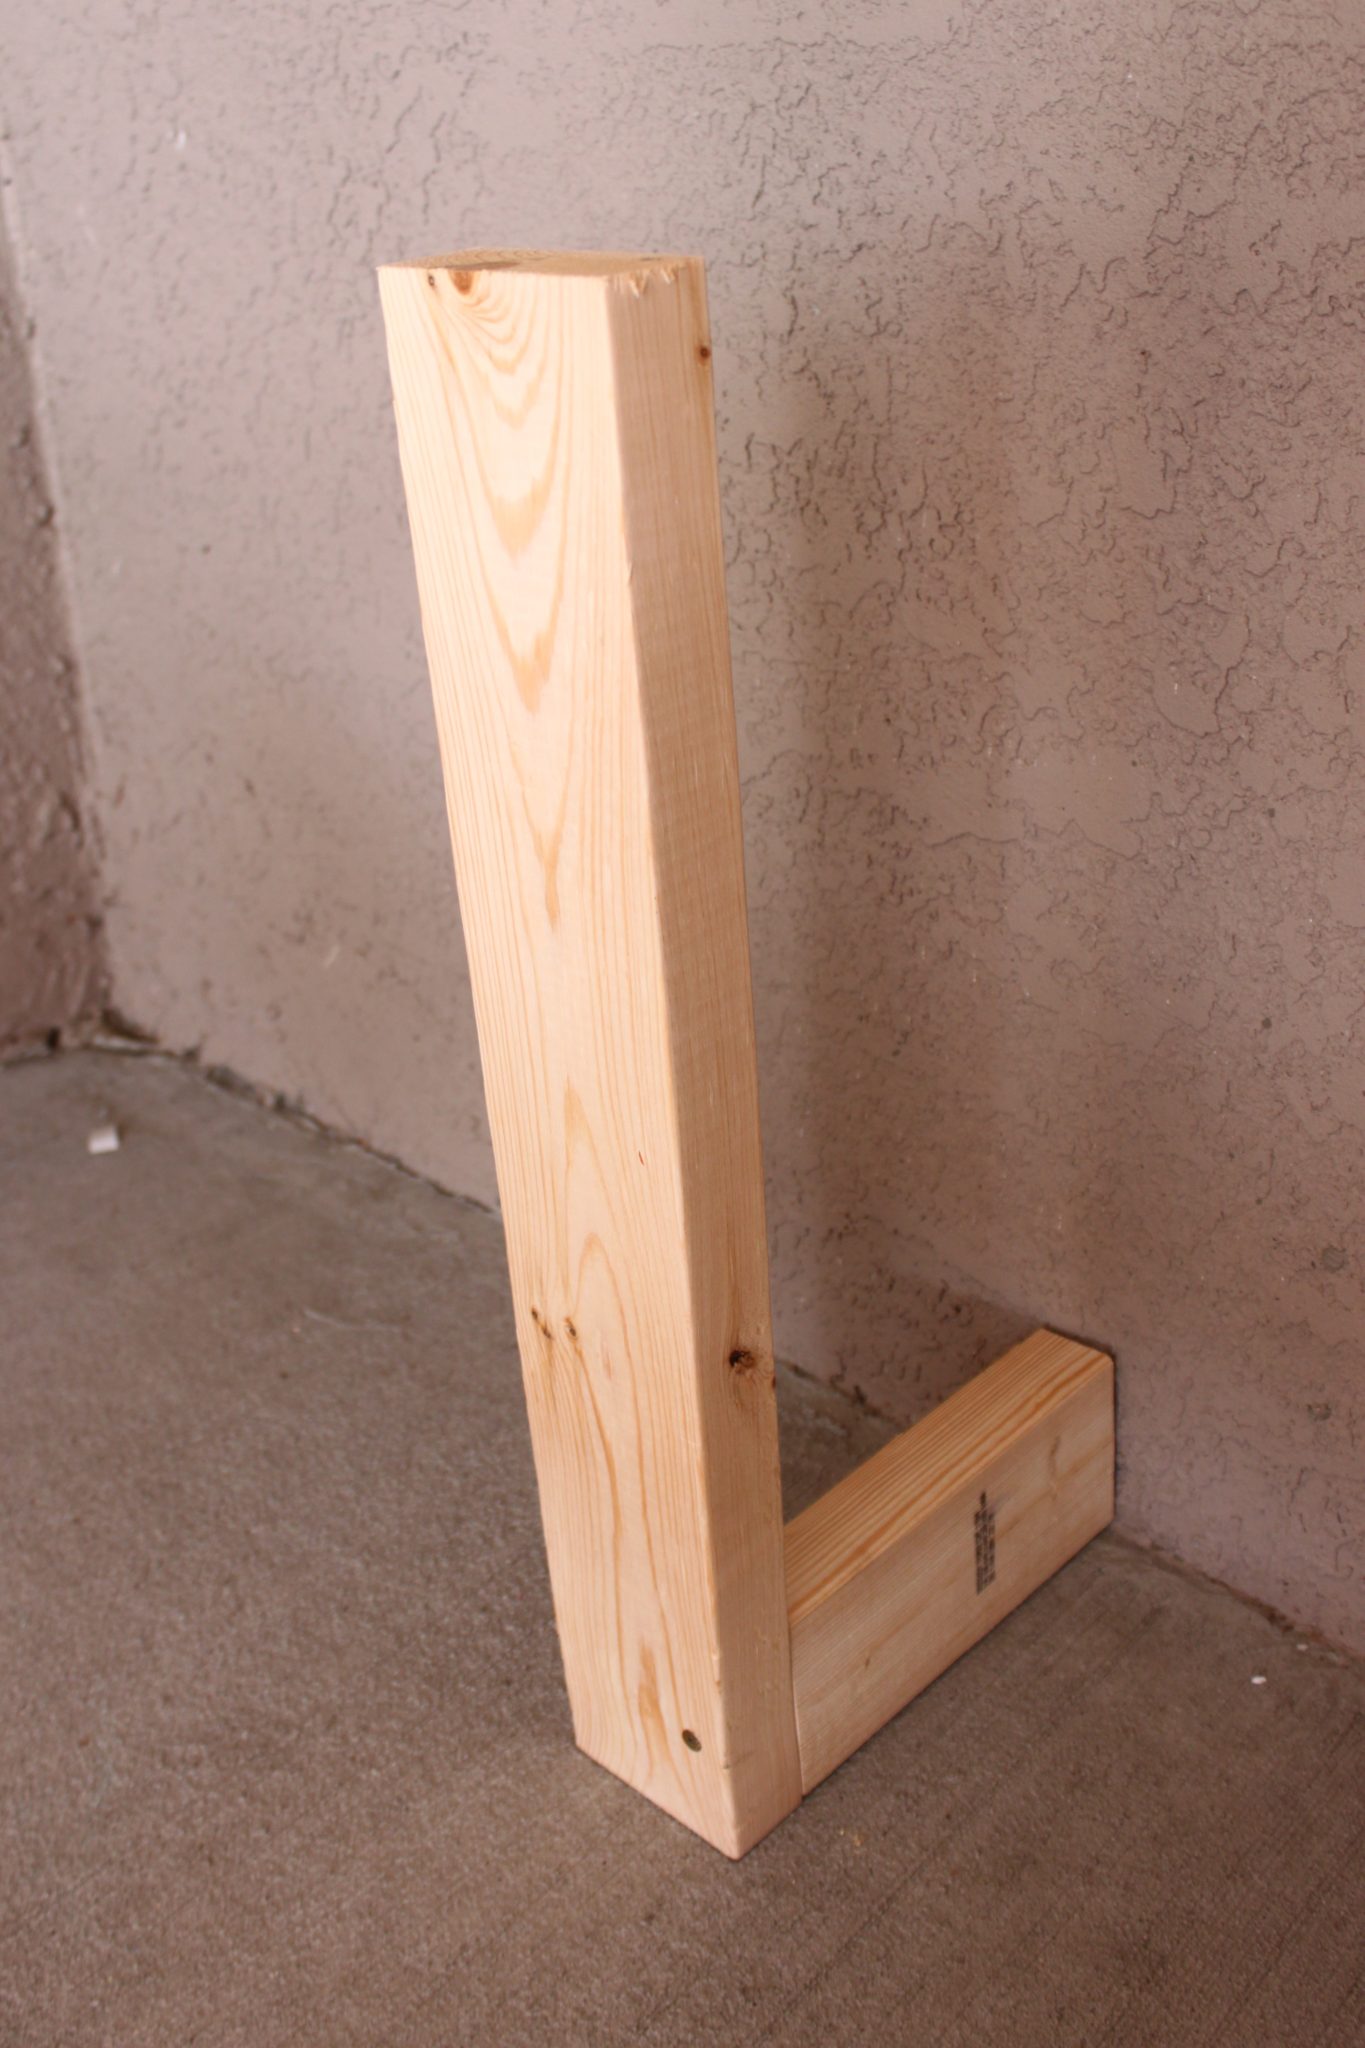
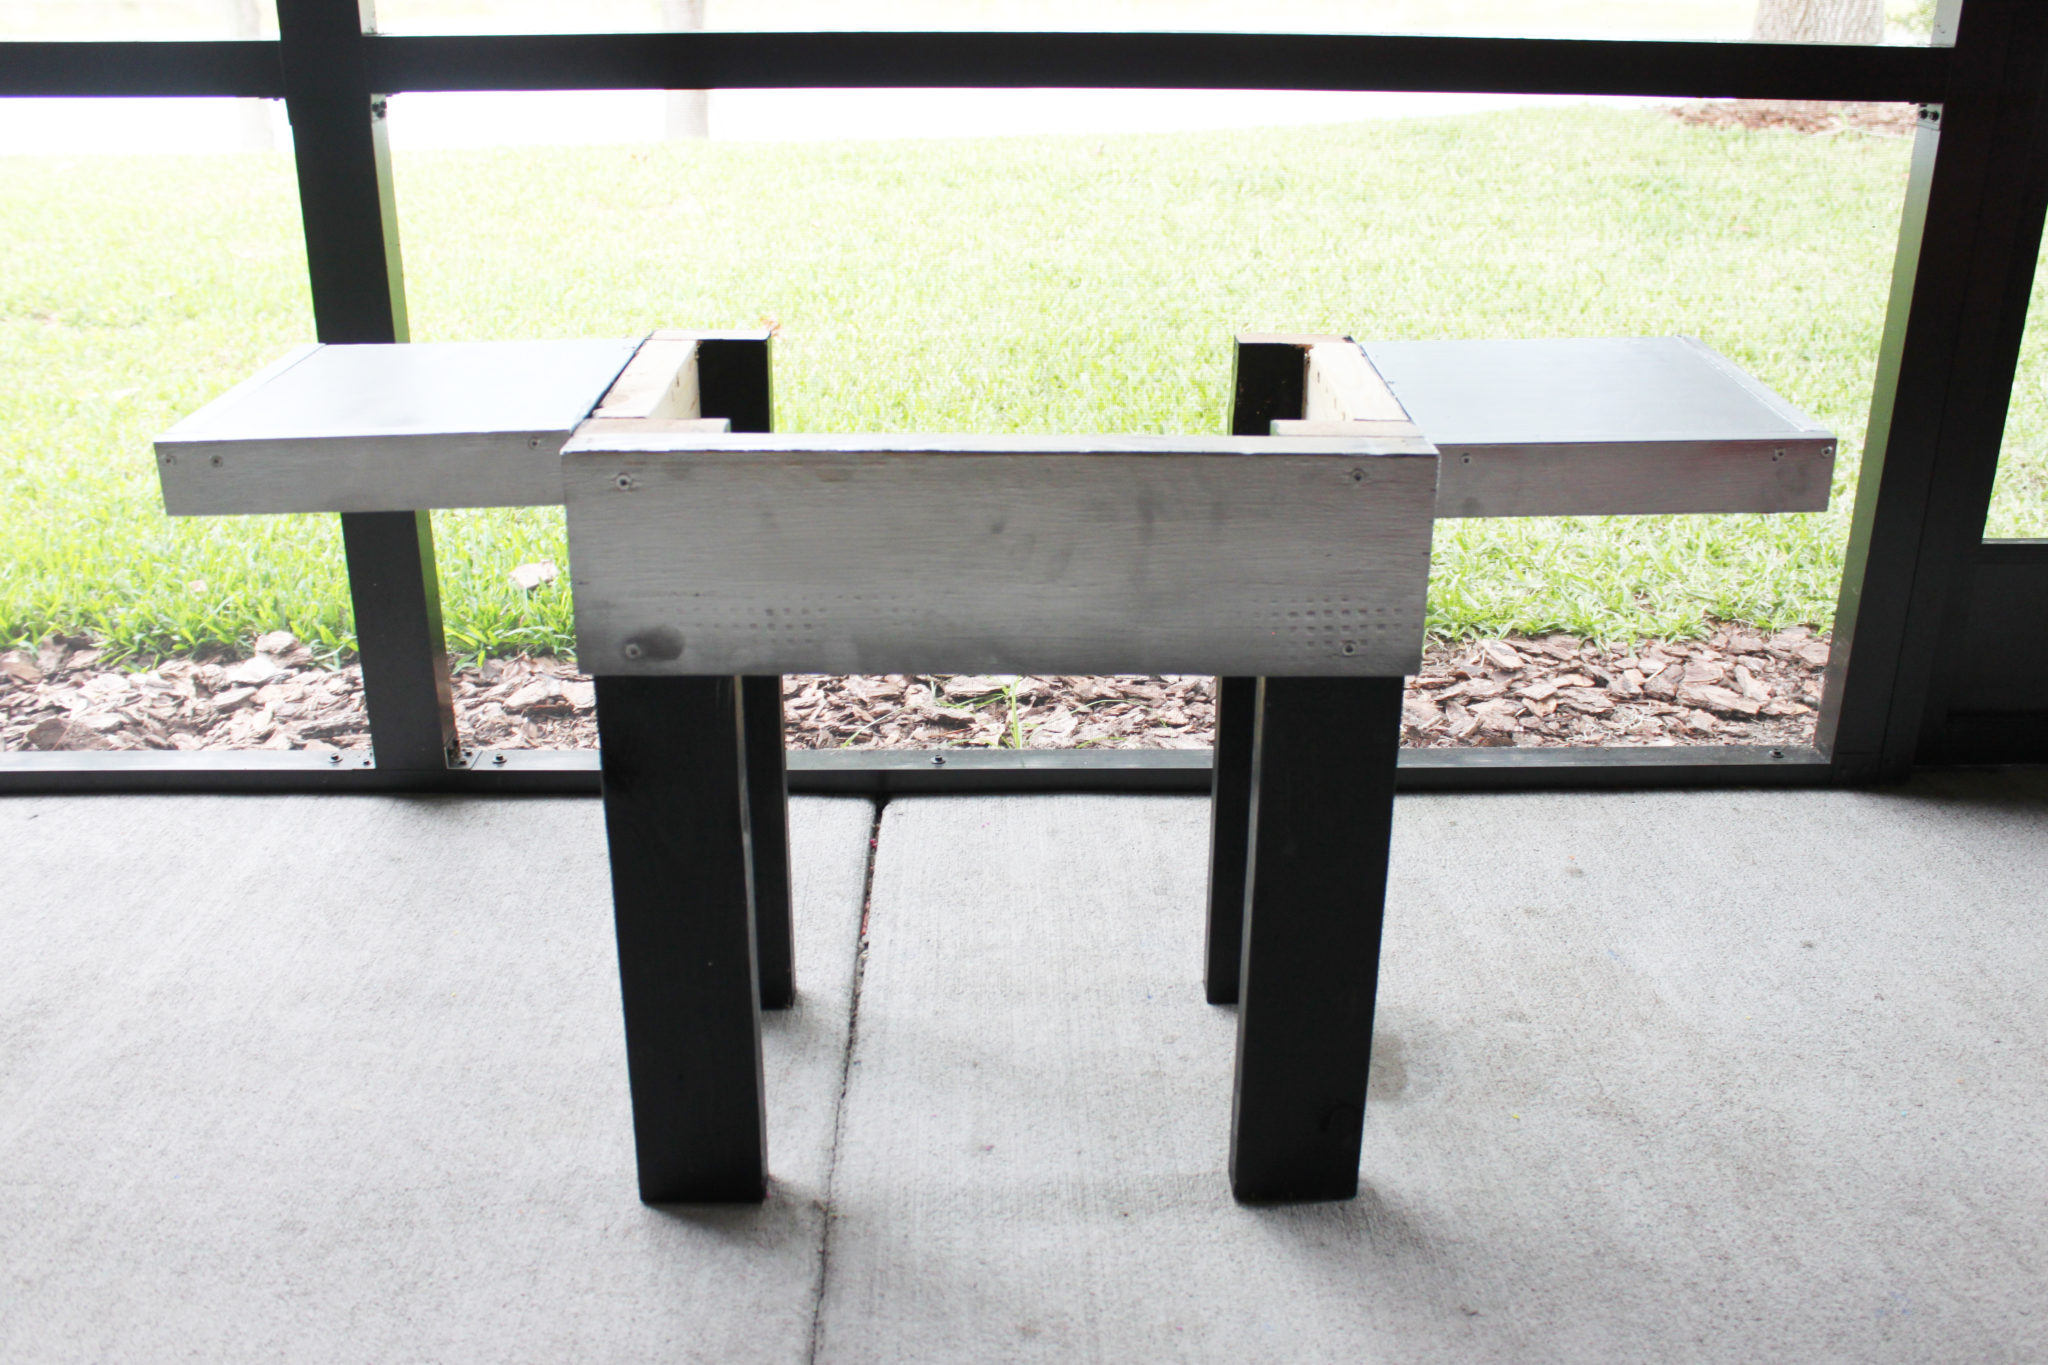
Make sure the 9″ side pieces are set up so they are flush with the outside of the legs before you screw on the 2″x6″x20″ front piece.
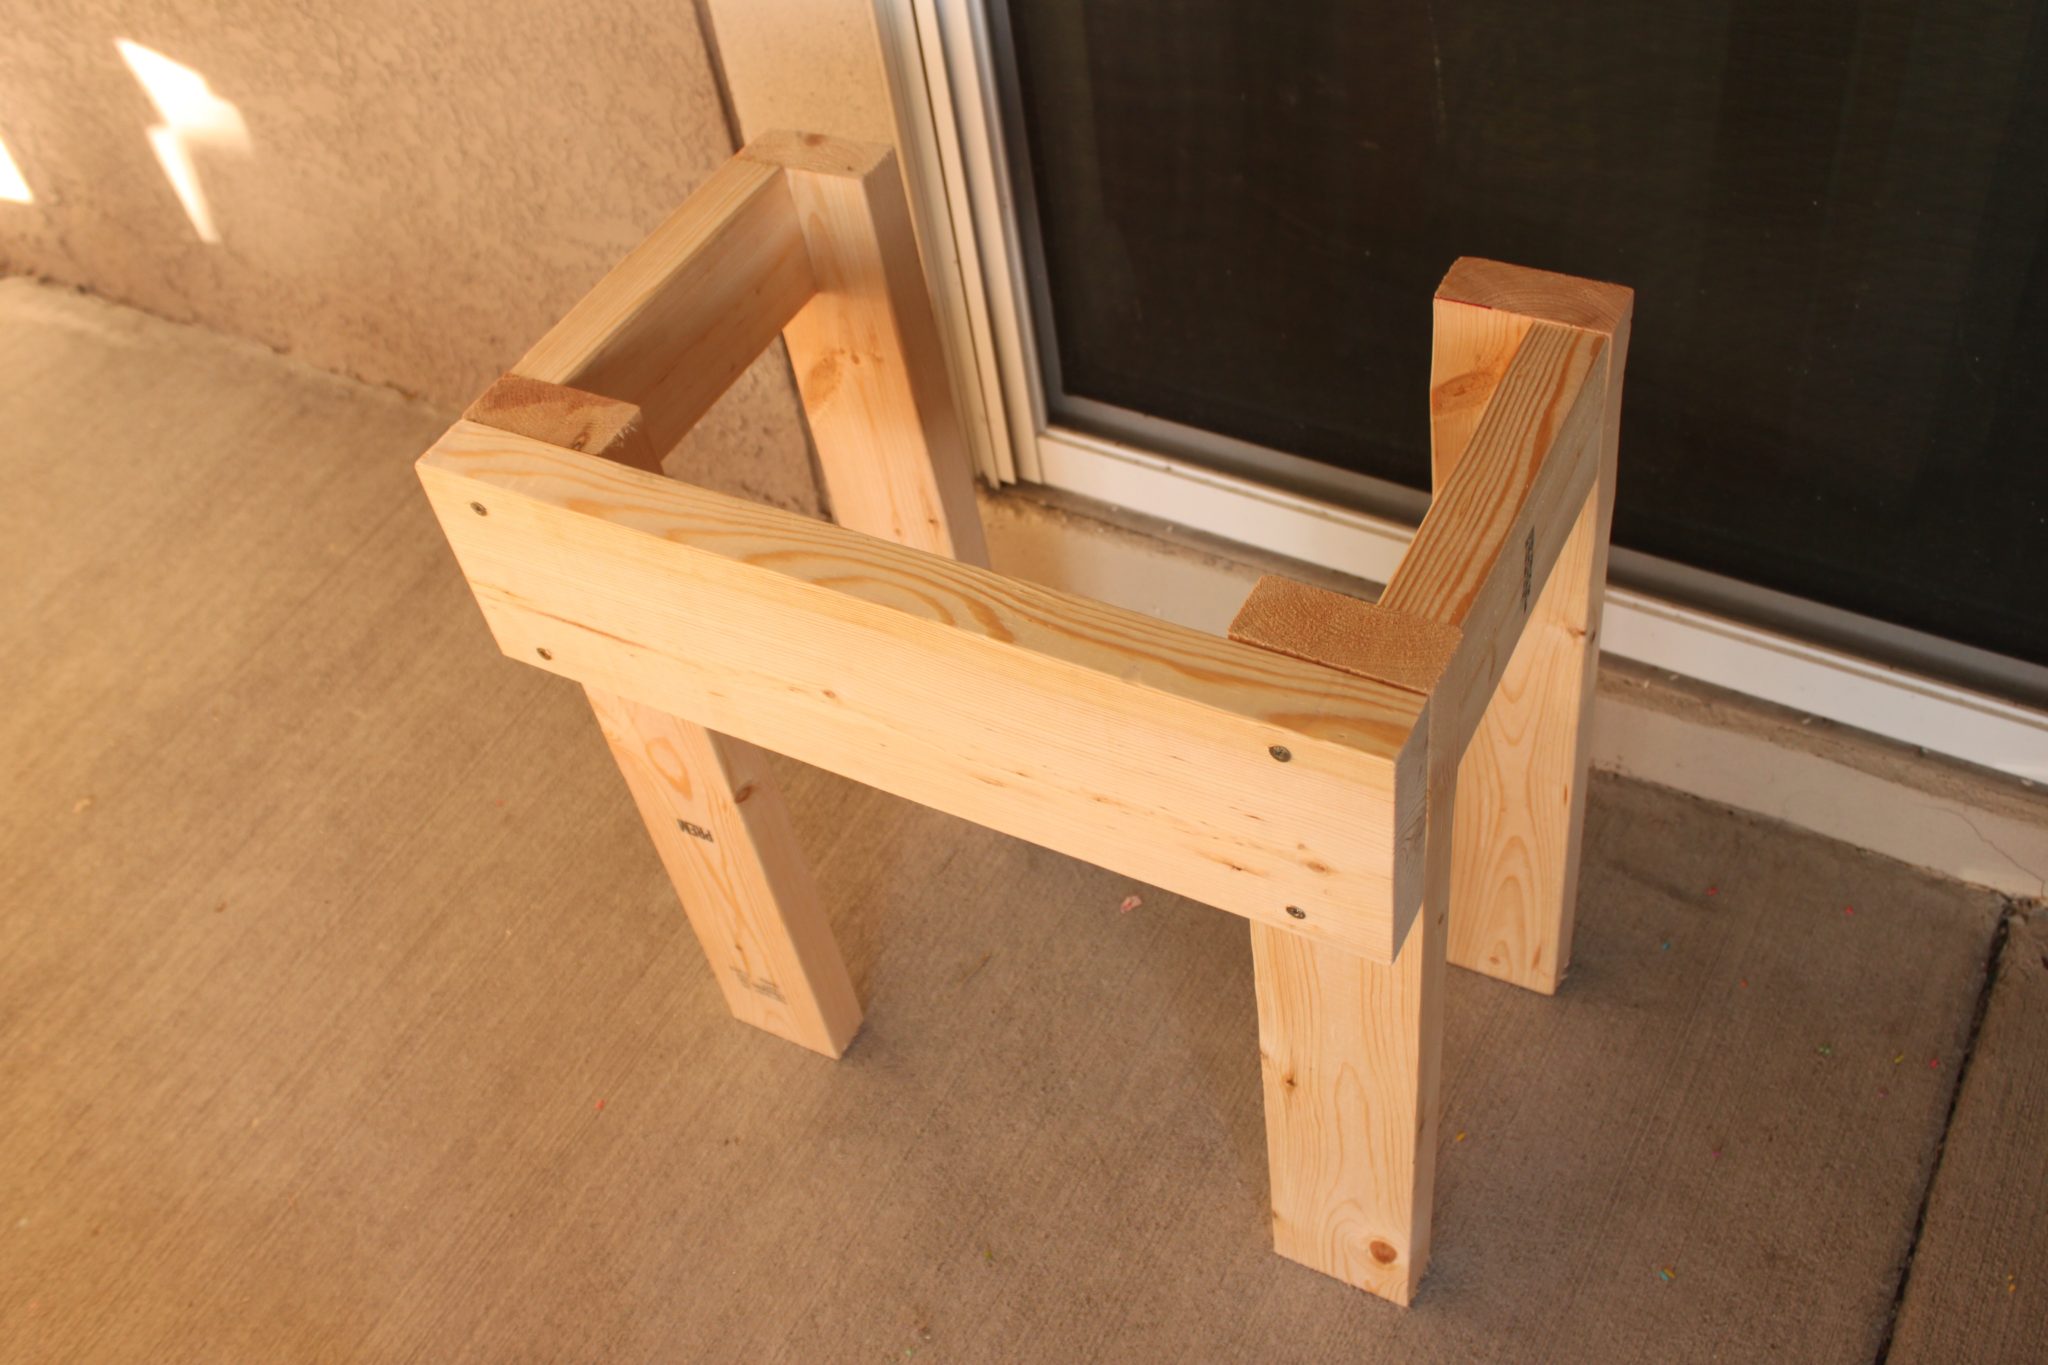
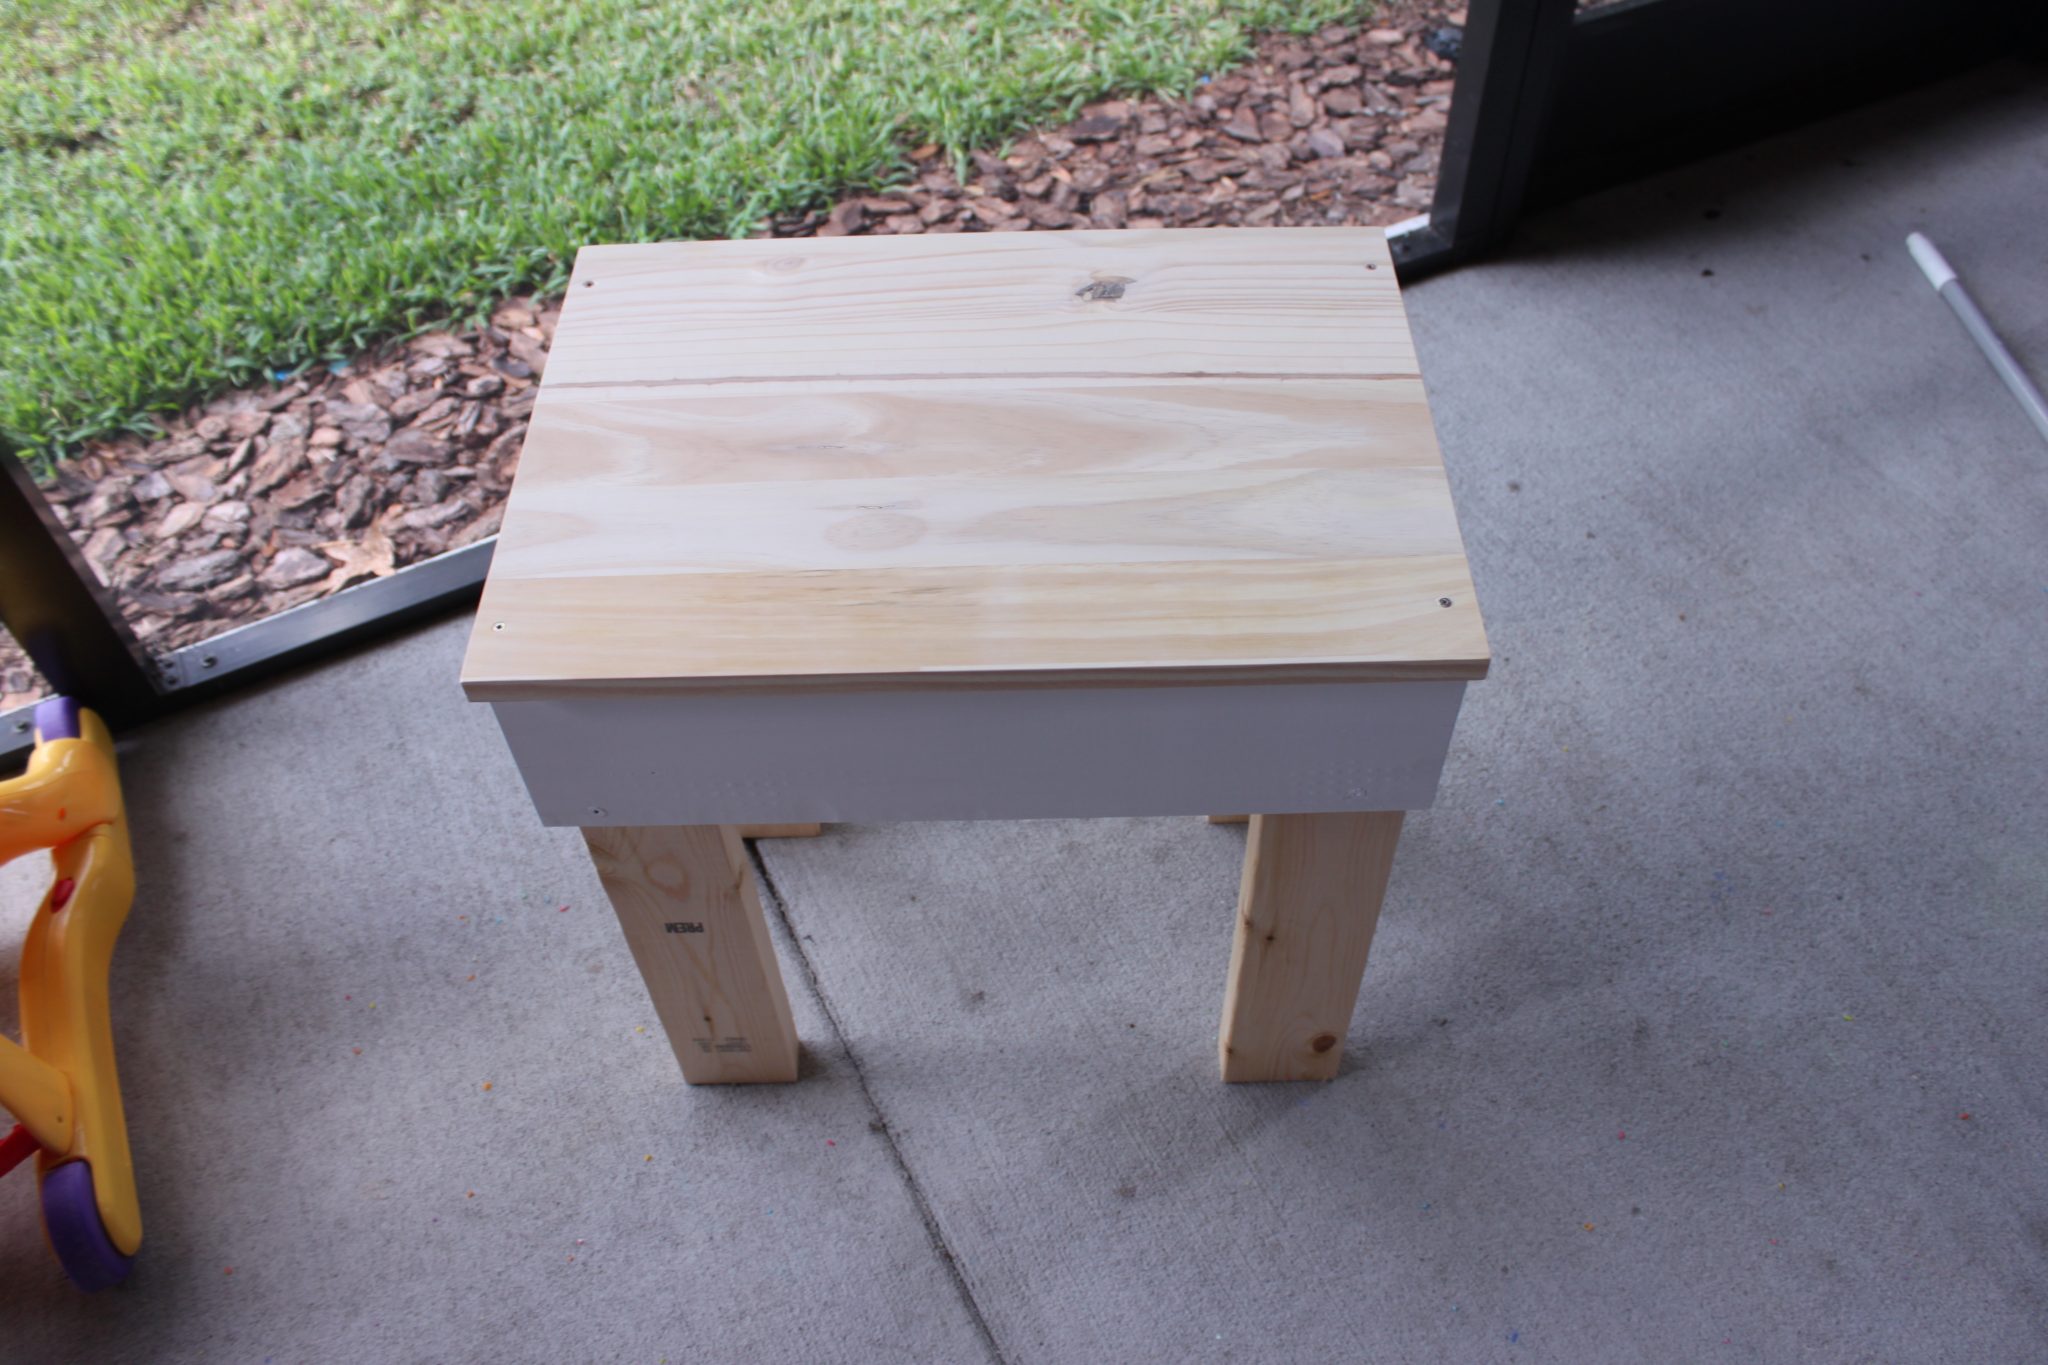
You might want to skip putting the top on until AFTER you get the side tables on… I had to take mine off to get a good enough angle with my drill but it’s up to you. I screwed down my 1″x14″x20″ piece of wood onto the top using the 1 1/2″ screws. It should be flush with the back & overhanging in the front. Make sure the edges are nice & sanded.
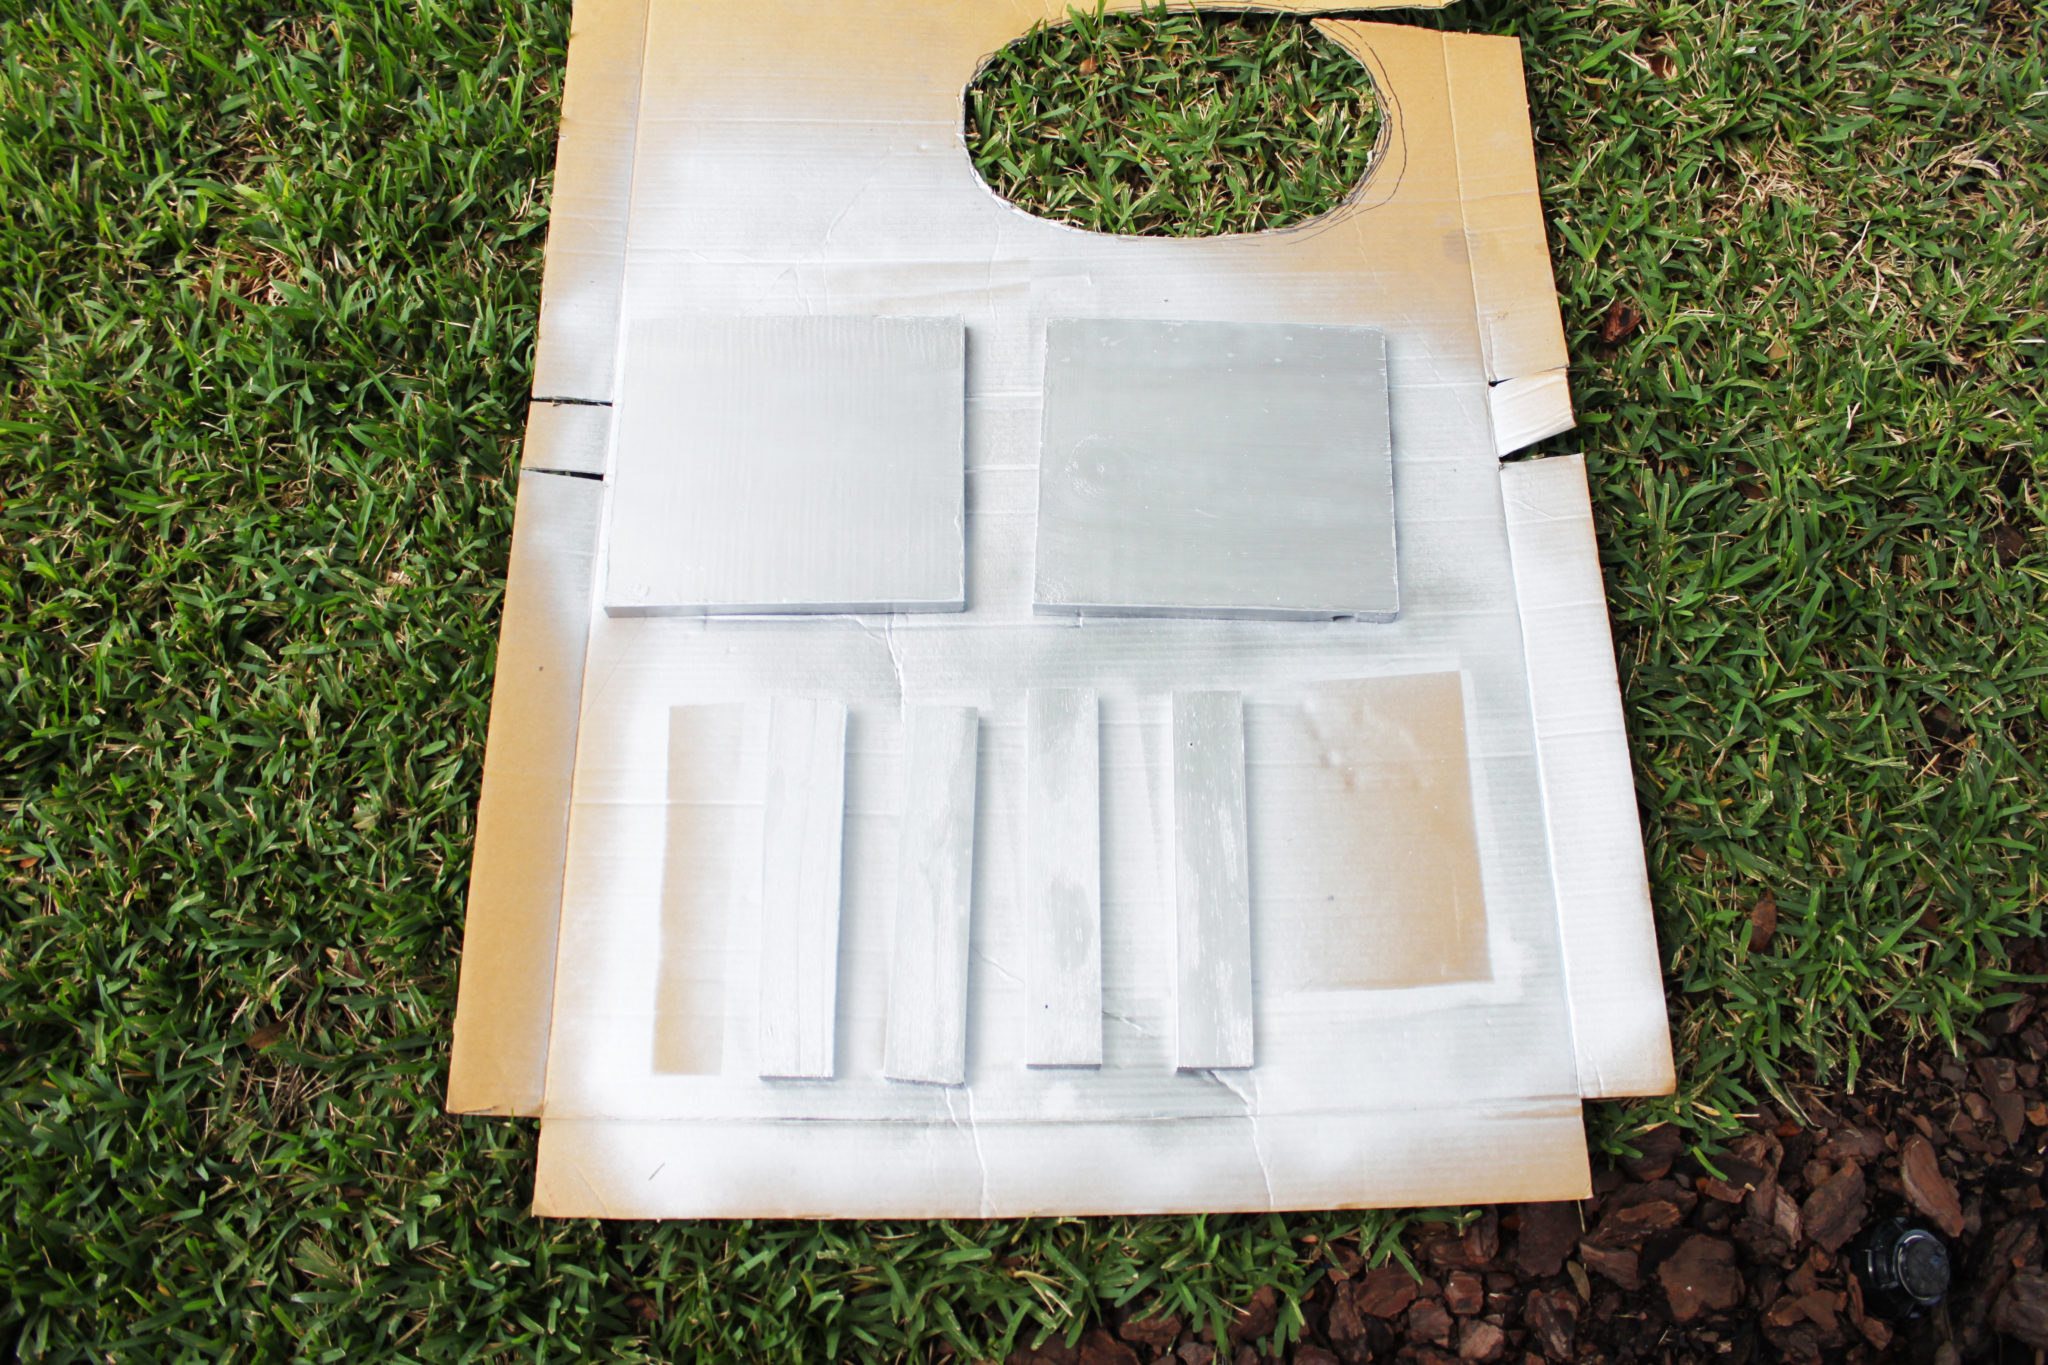
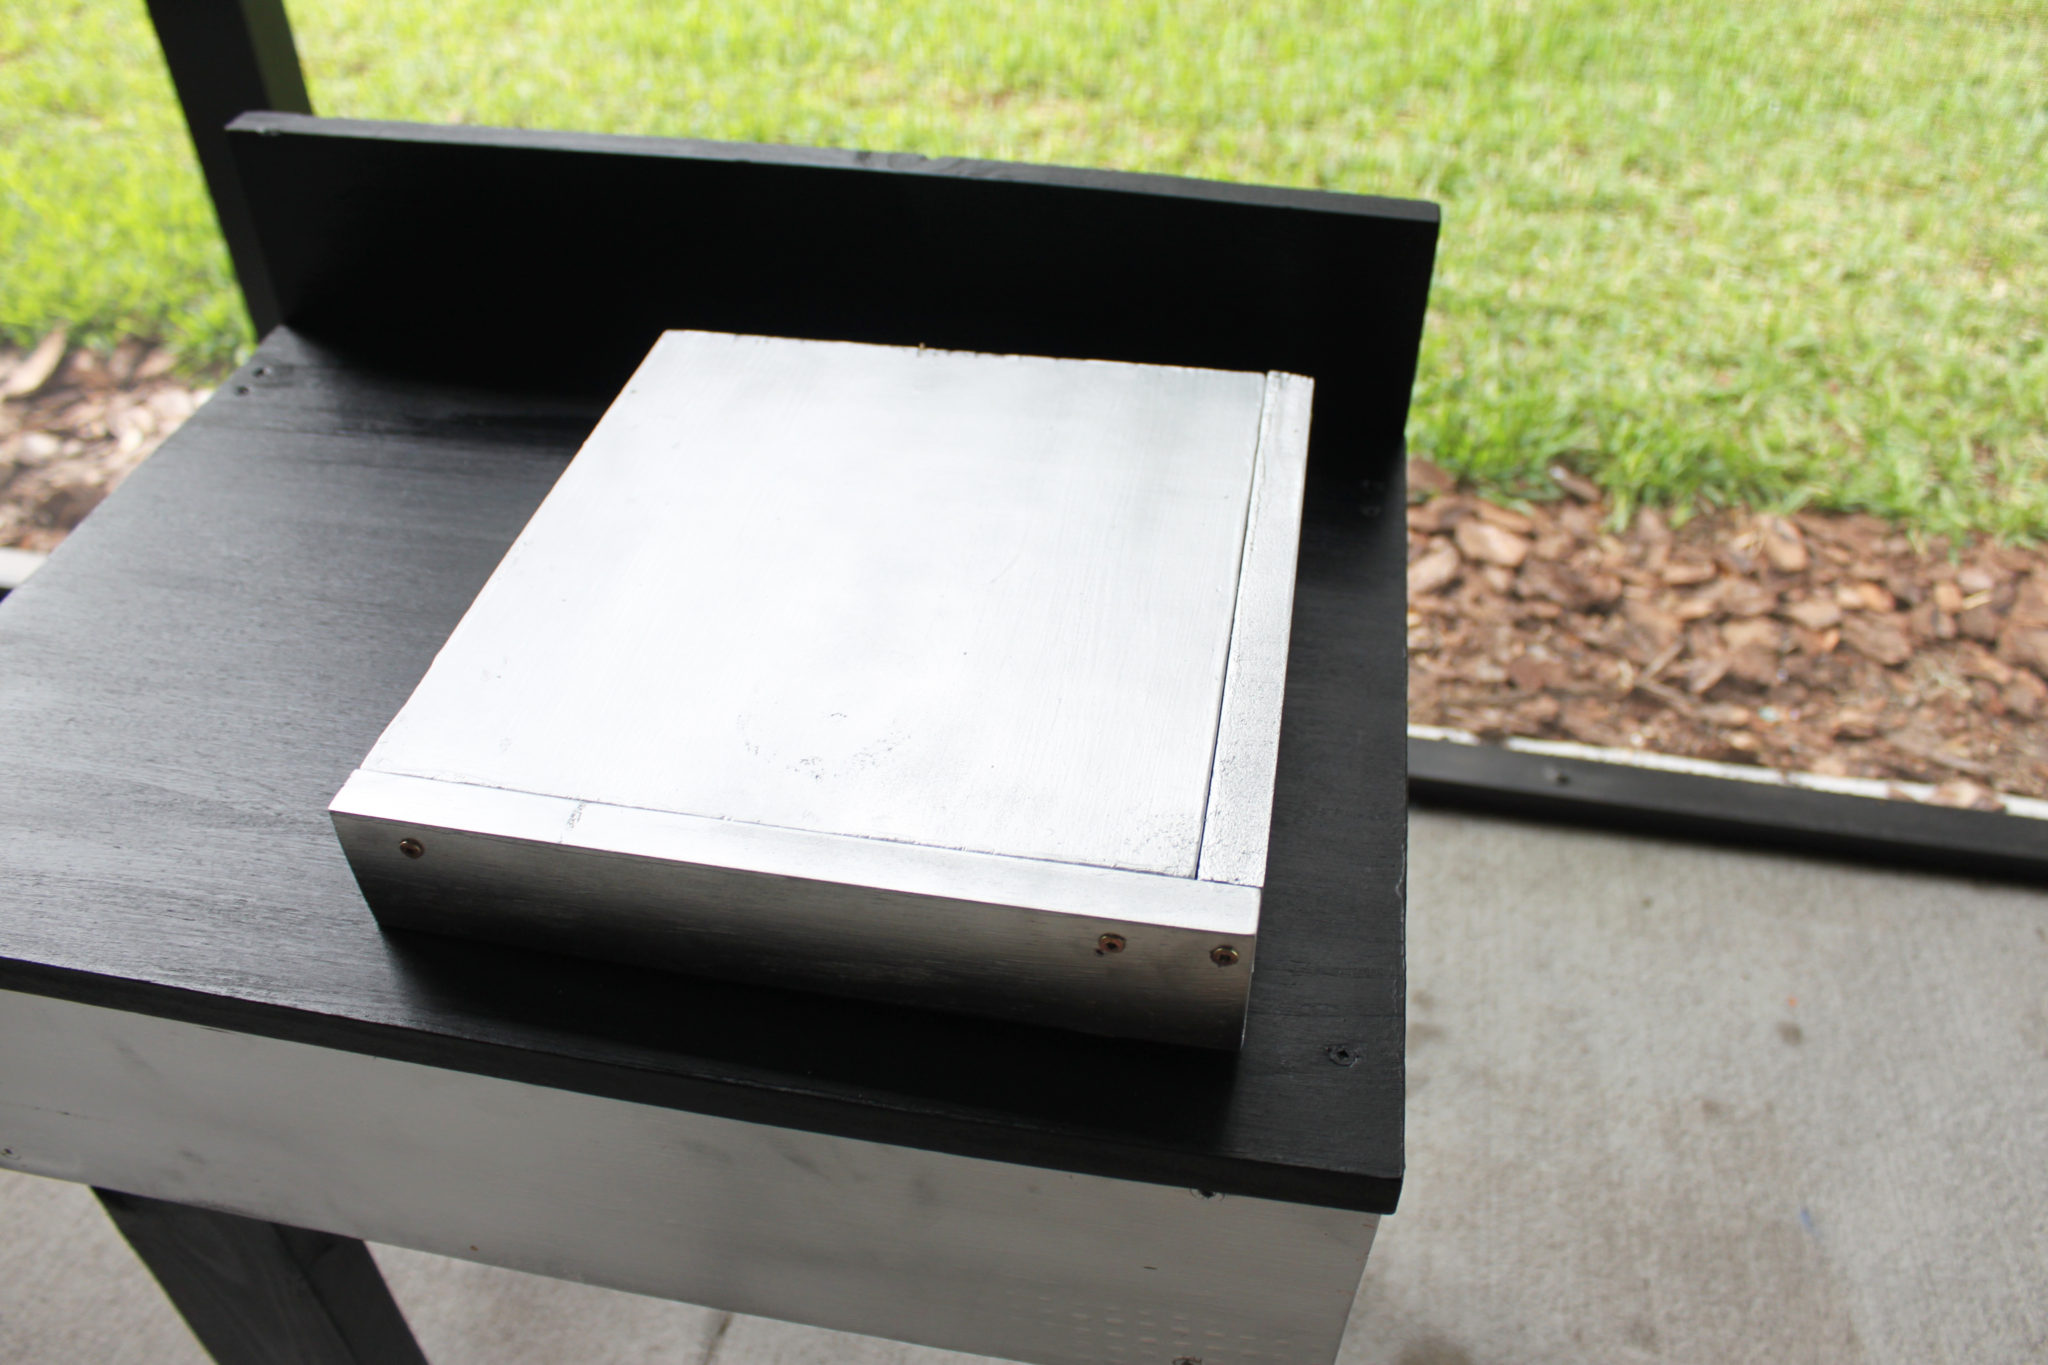
Sand any rough edges & prime the front piece (2″x6″x20″) as well as the side table pieces (two 1″x10″x9″ & four 1″x2″x10″ pieces) with white paint, then spray paint them chrome.
I got excited & painted before I took the picture but the next thing you’re going to do is screw on the “backsplash” part. I made mine about 3 inches off the top but you can really make it as tall as you want. Also, make sure you spray paint the silver front first & then do the black.
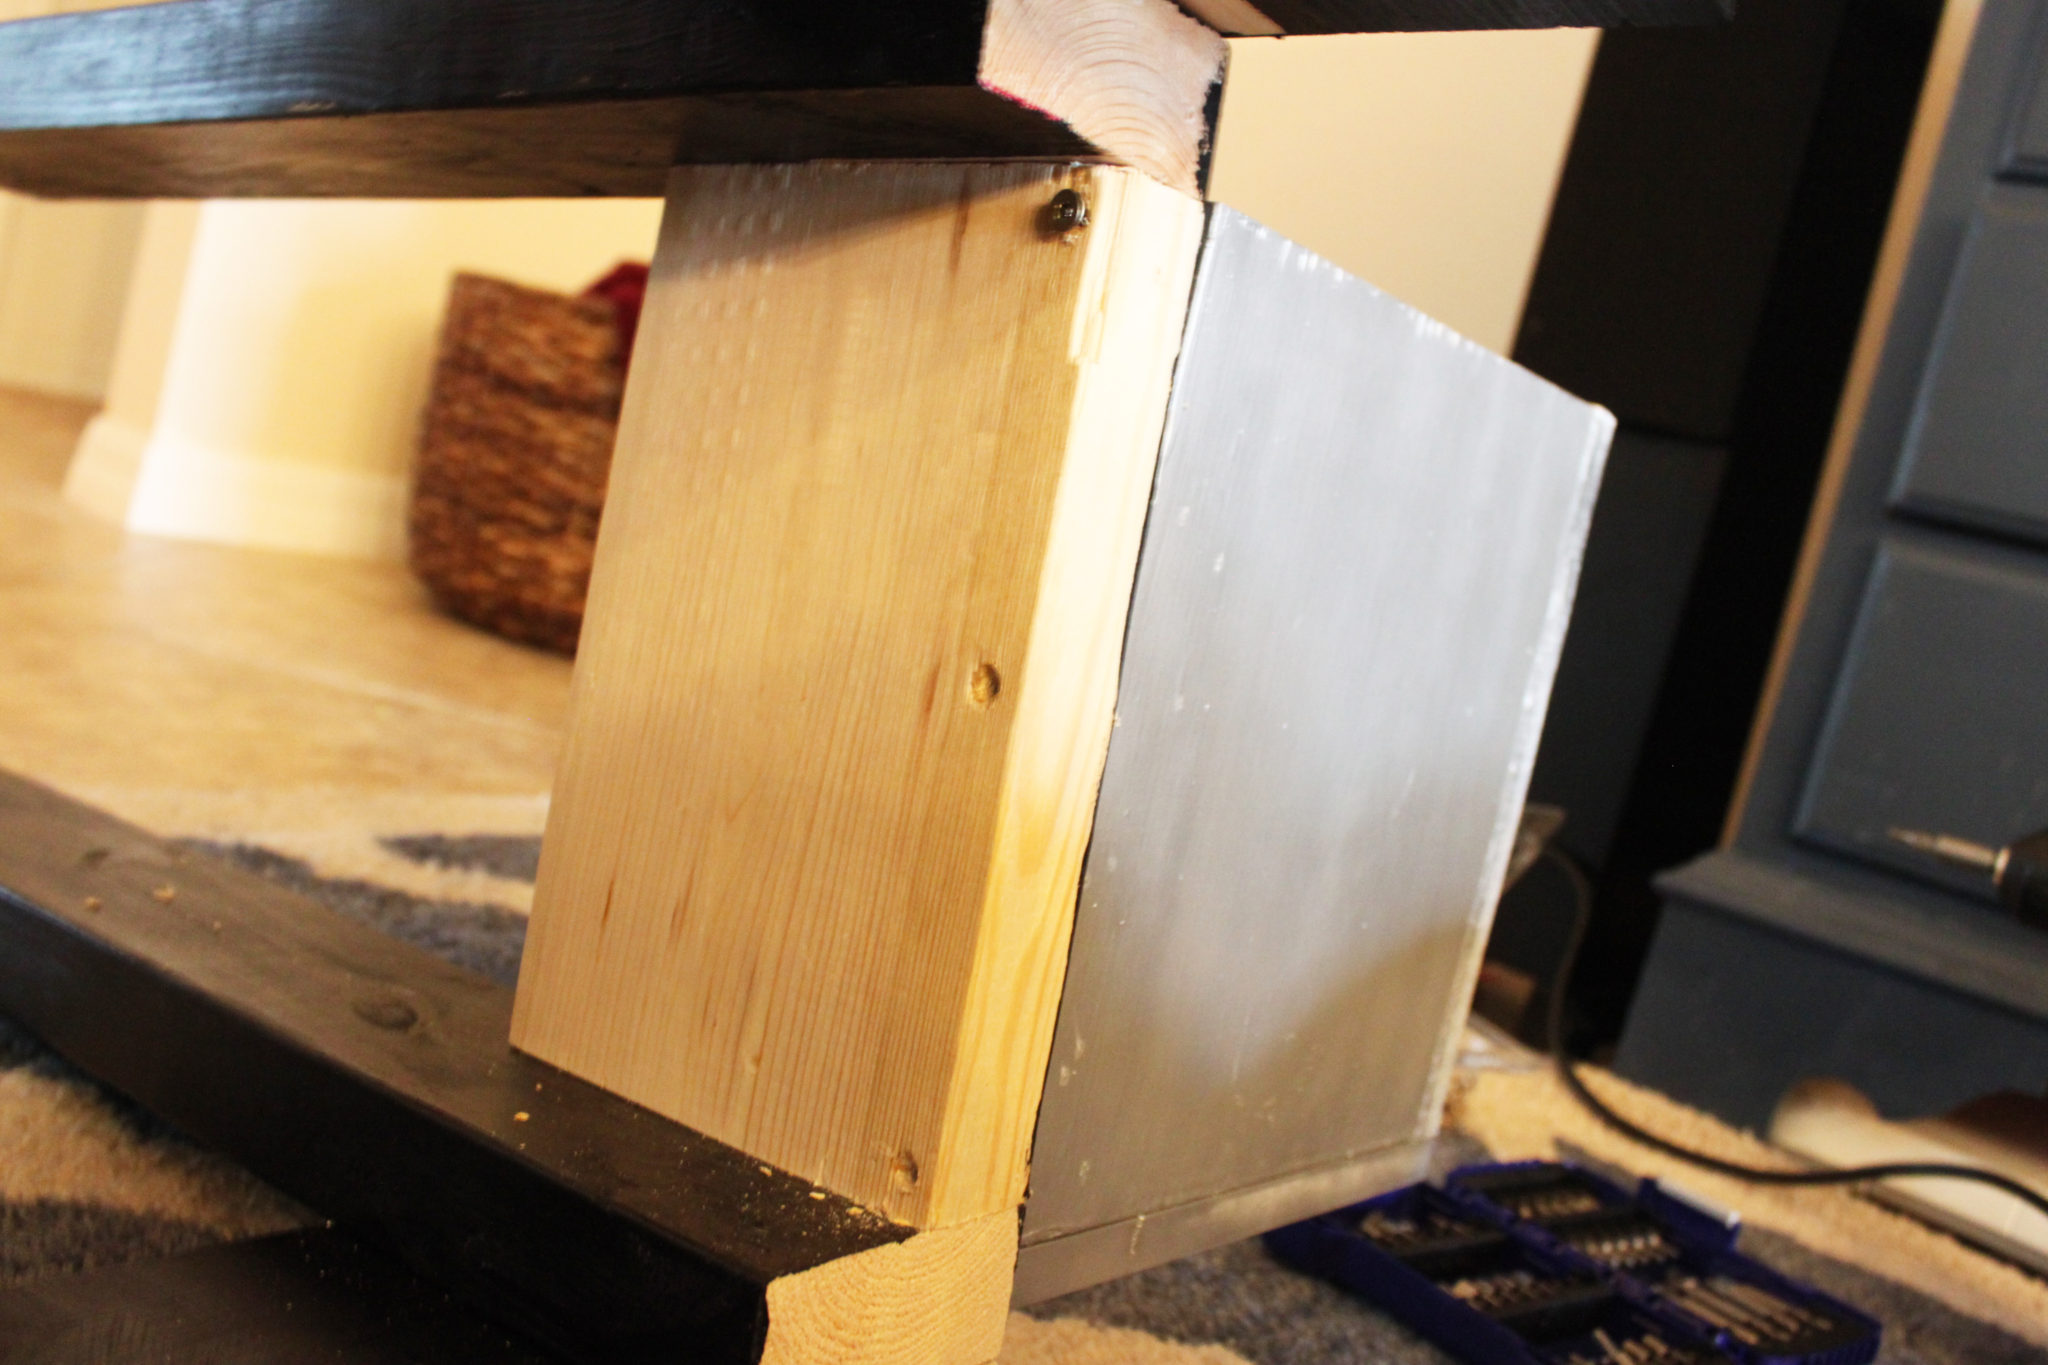
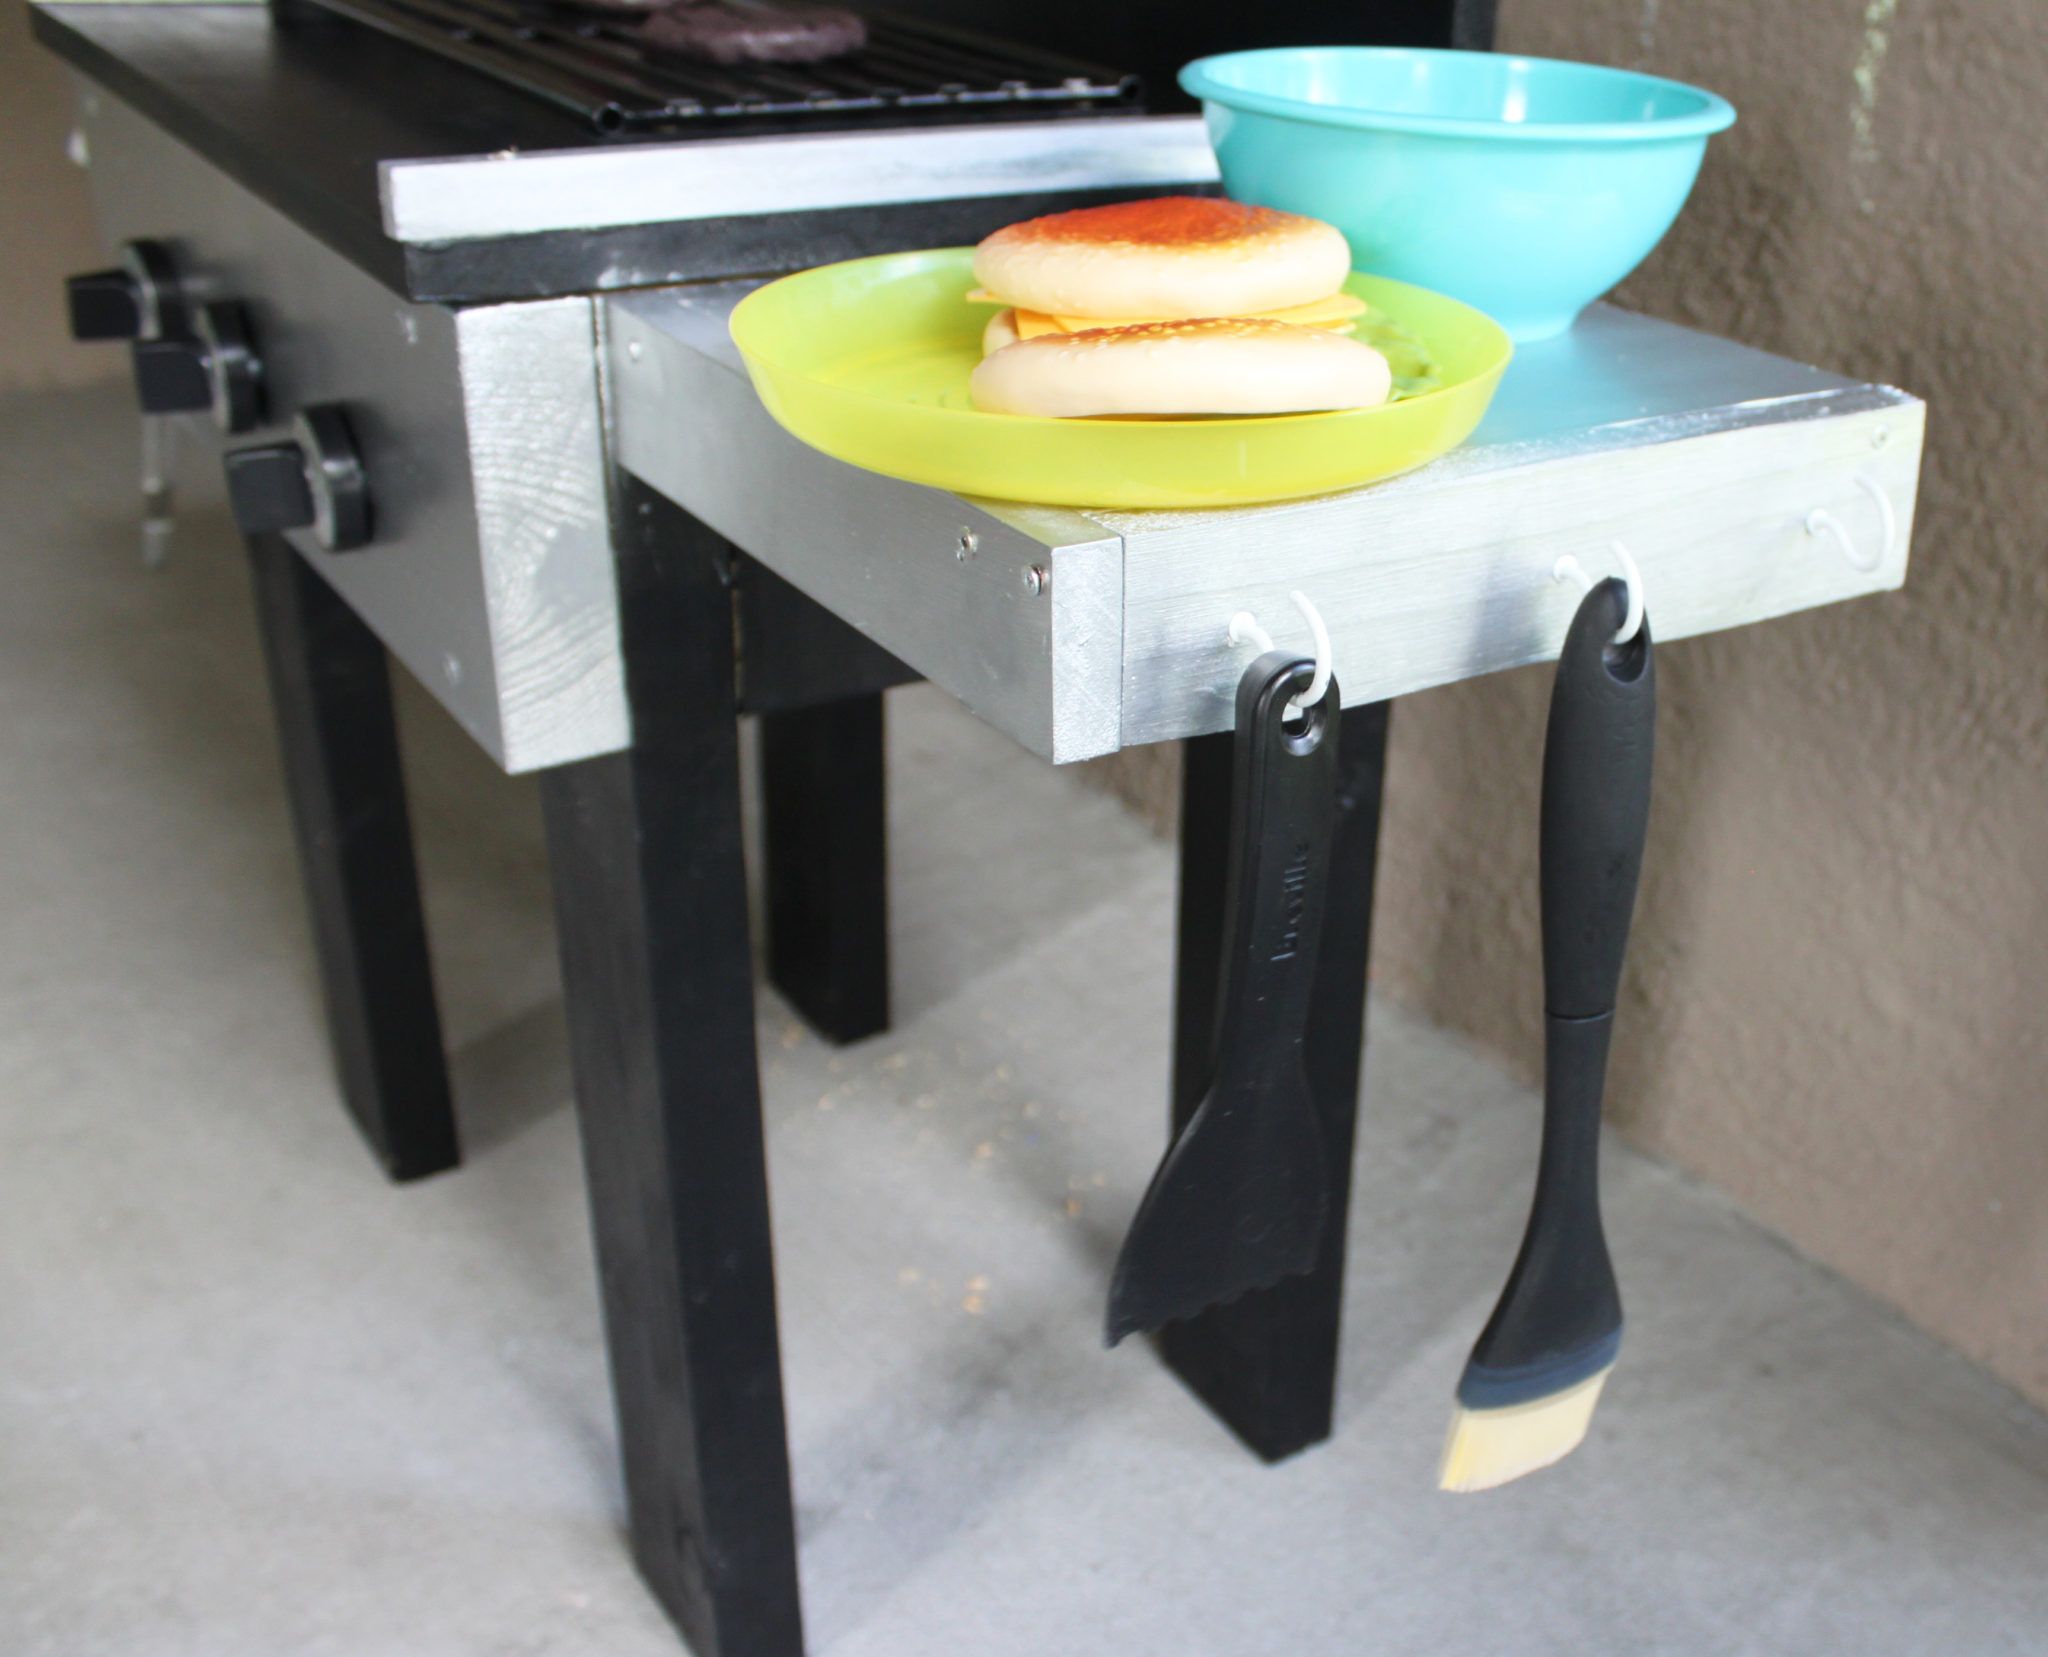
The next step is using the 1 1/2″ screws to put the “edges” (1″x2″x10″) on the side tables (9″x10″) so it’s not just a flat piece of wood. I did one on front & one on the side. You can do another on the back, just make sure you get 2 extra pieces cut for that because it’s not on my supplies list. *Important: make sure you pre-drill holes so you don’t split the wood!!*
This next part was SUCH A PAIN. I had to take the top off & flip the grill on it’s side to screw on the side tables because I couldn’t get a good angle with the top on. You’re going to need someone to help you hold the side table in place while you pre-drill holes then screw it together using the 1 1/2″ screws.
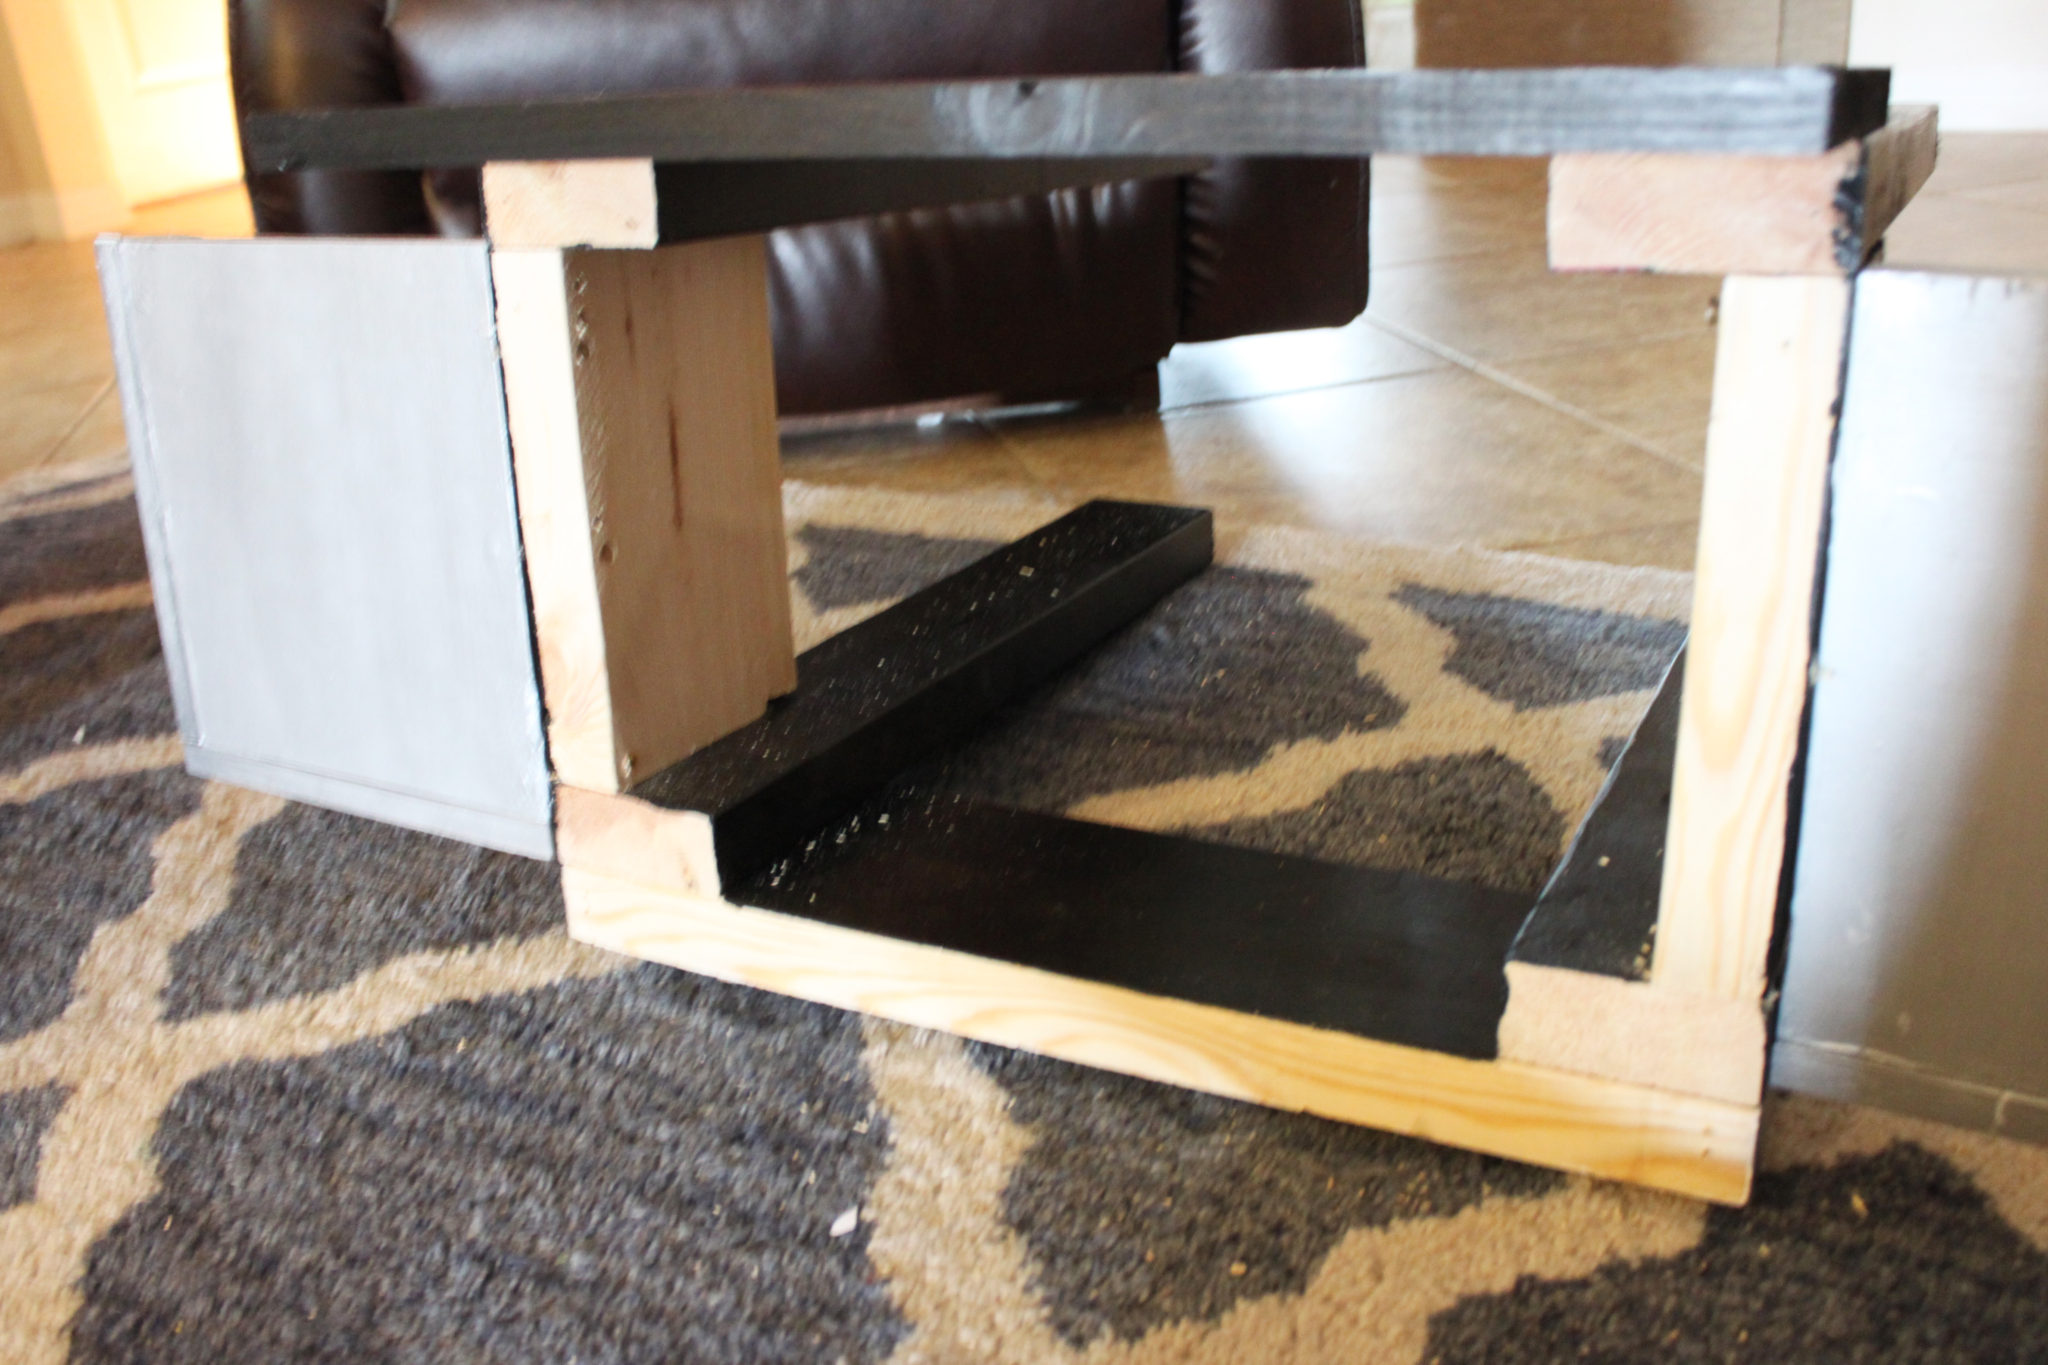
I even ended up taking the backsplash off because one of the sides was giving me a hard time. Here’s what it looked like after & let me tell you it was SO satisfying when this part was complete, haha!
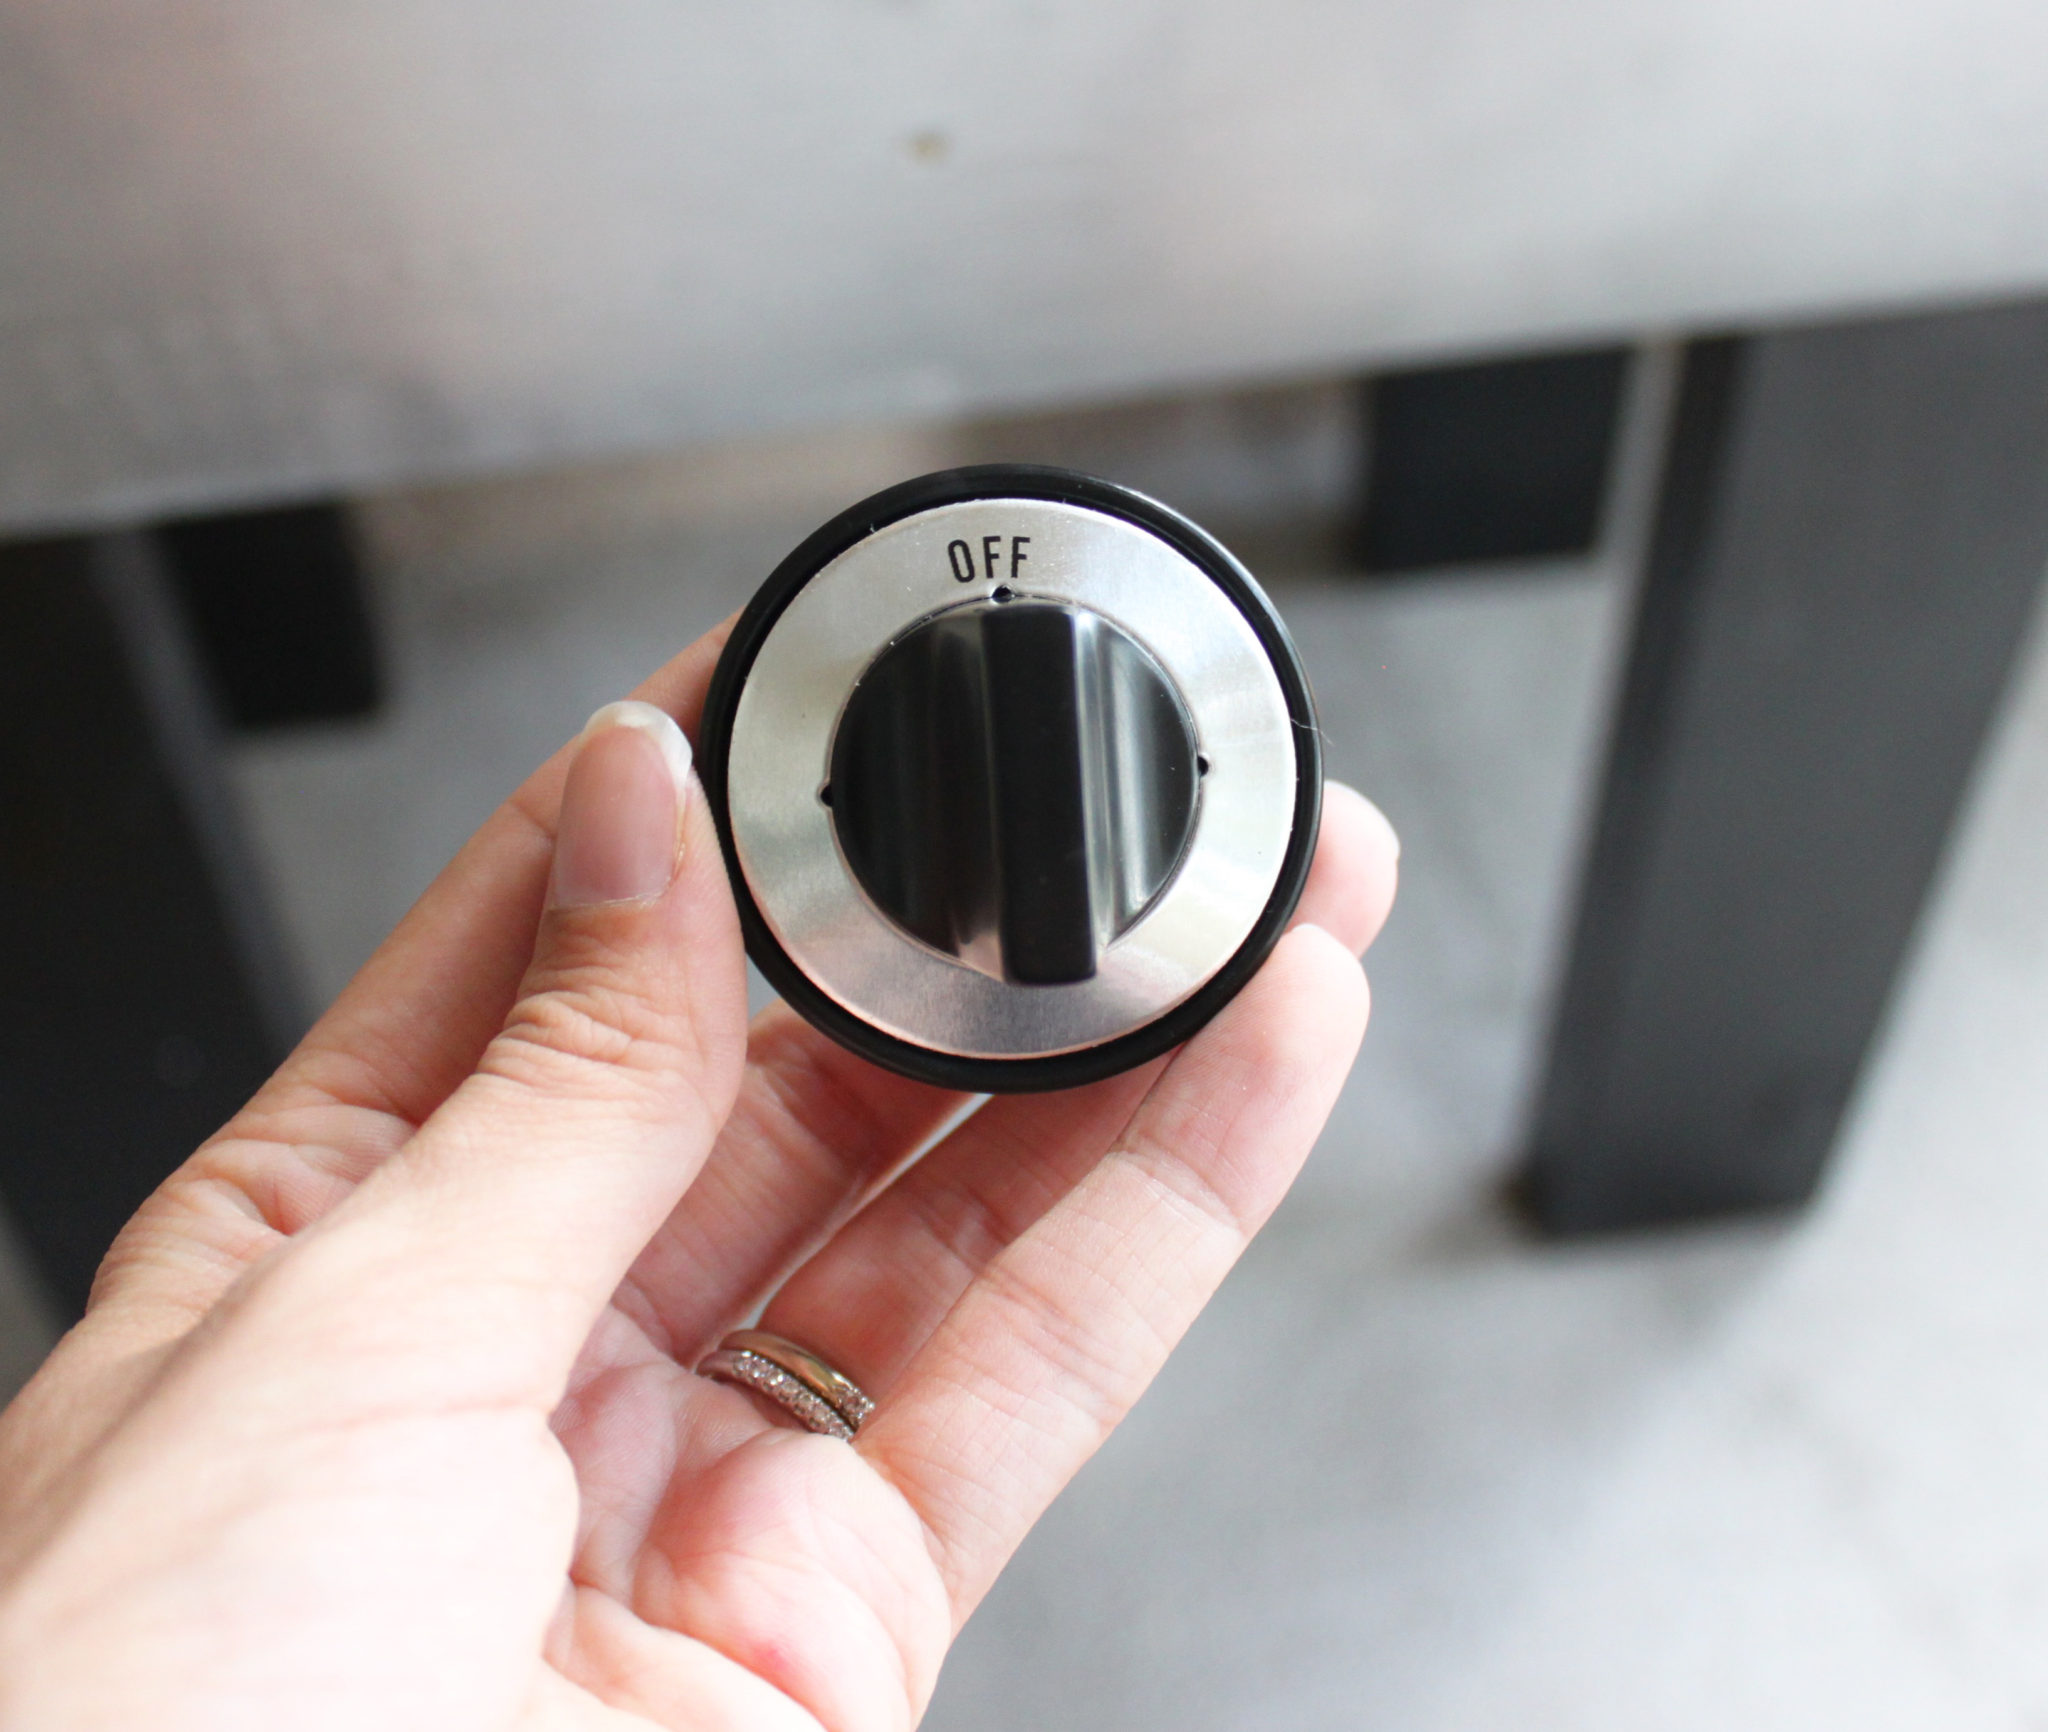
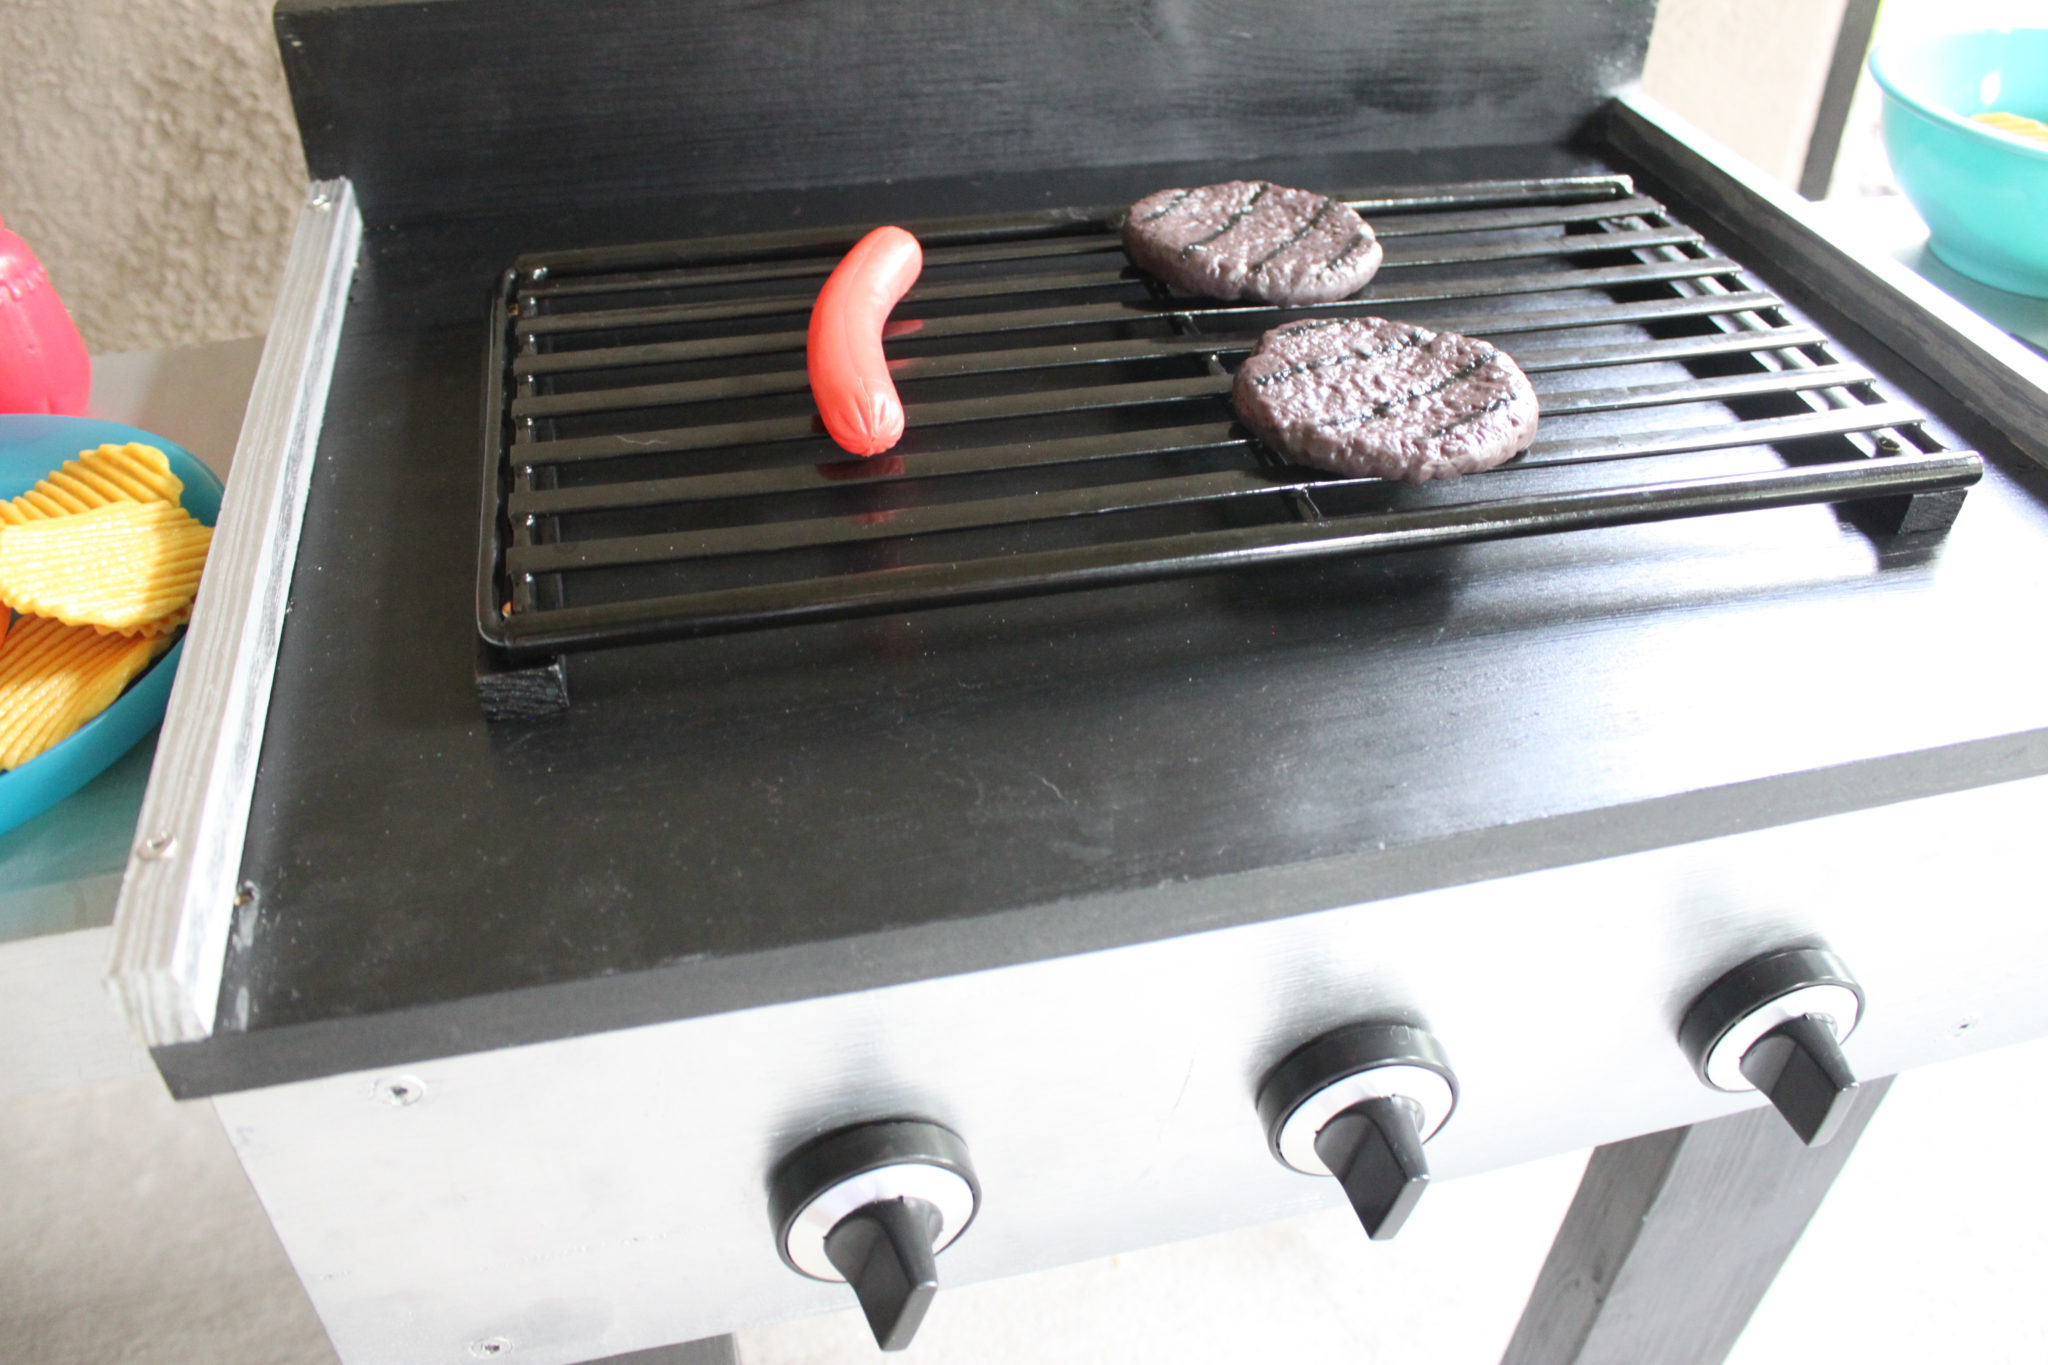
Put the top & backsplash back on, & now it’s time to add your knobs. Mine are actually stove knobs but they were the most inexpensive & I’m sure Giovanni doesn’t care, haha.
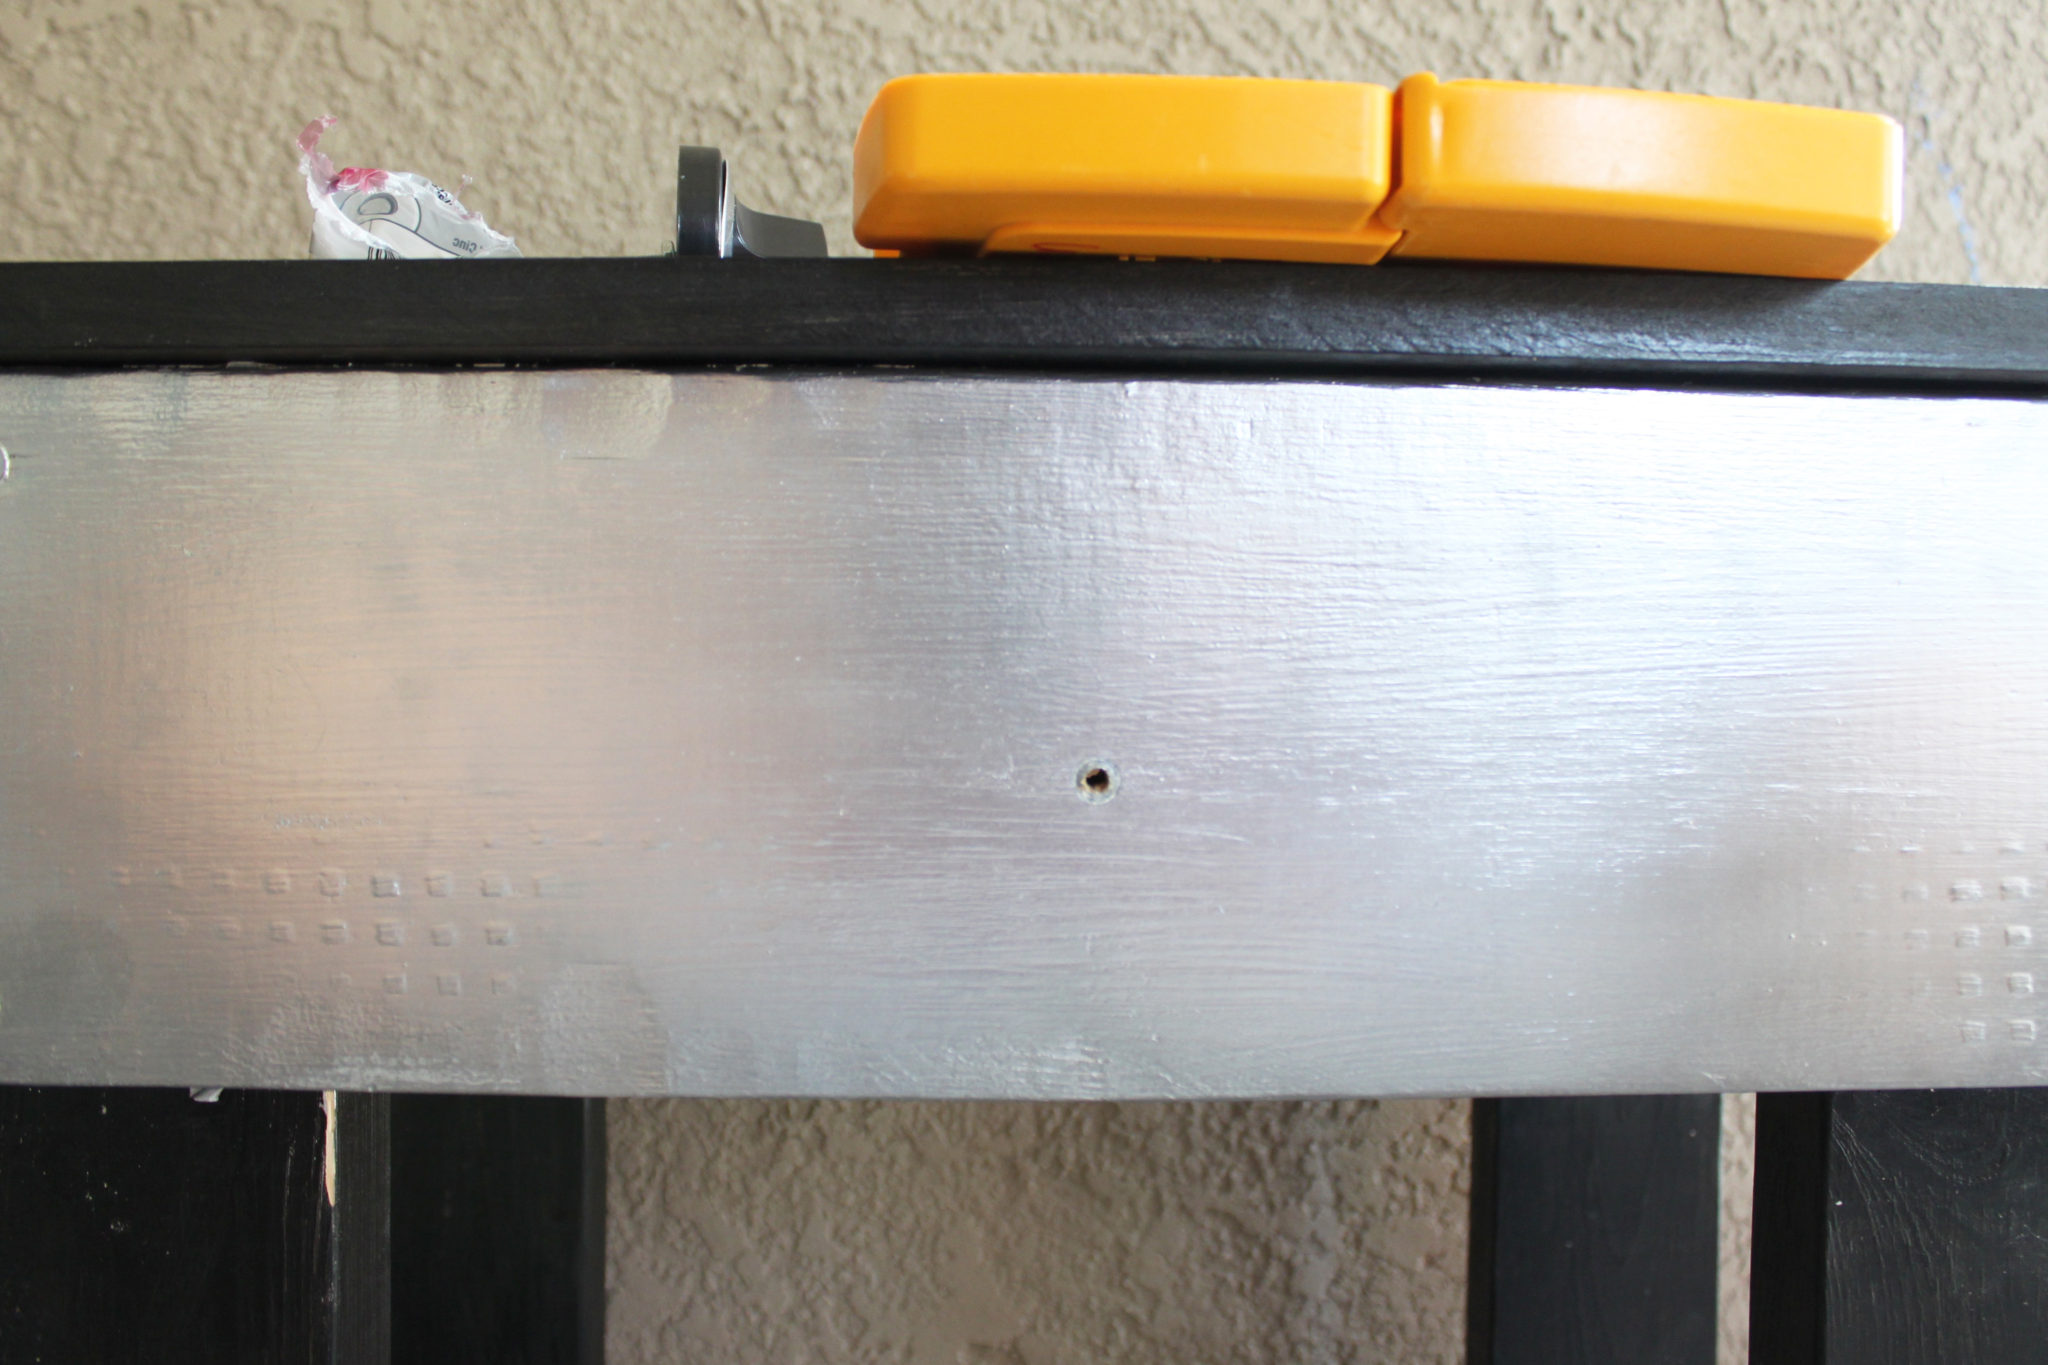
First you’re going to pre-drill a hole in the center of the front piece.
The knobs I got have 2 pieces, the small piece goes inside the hole.
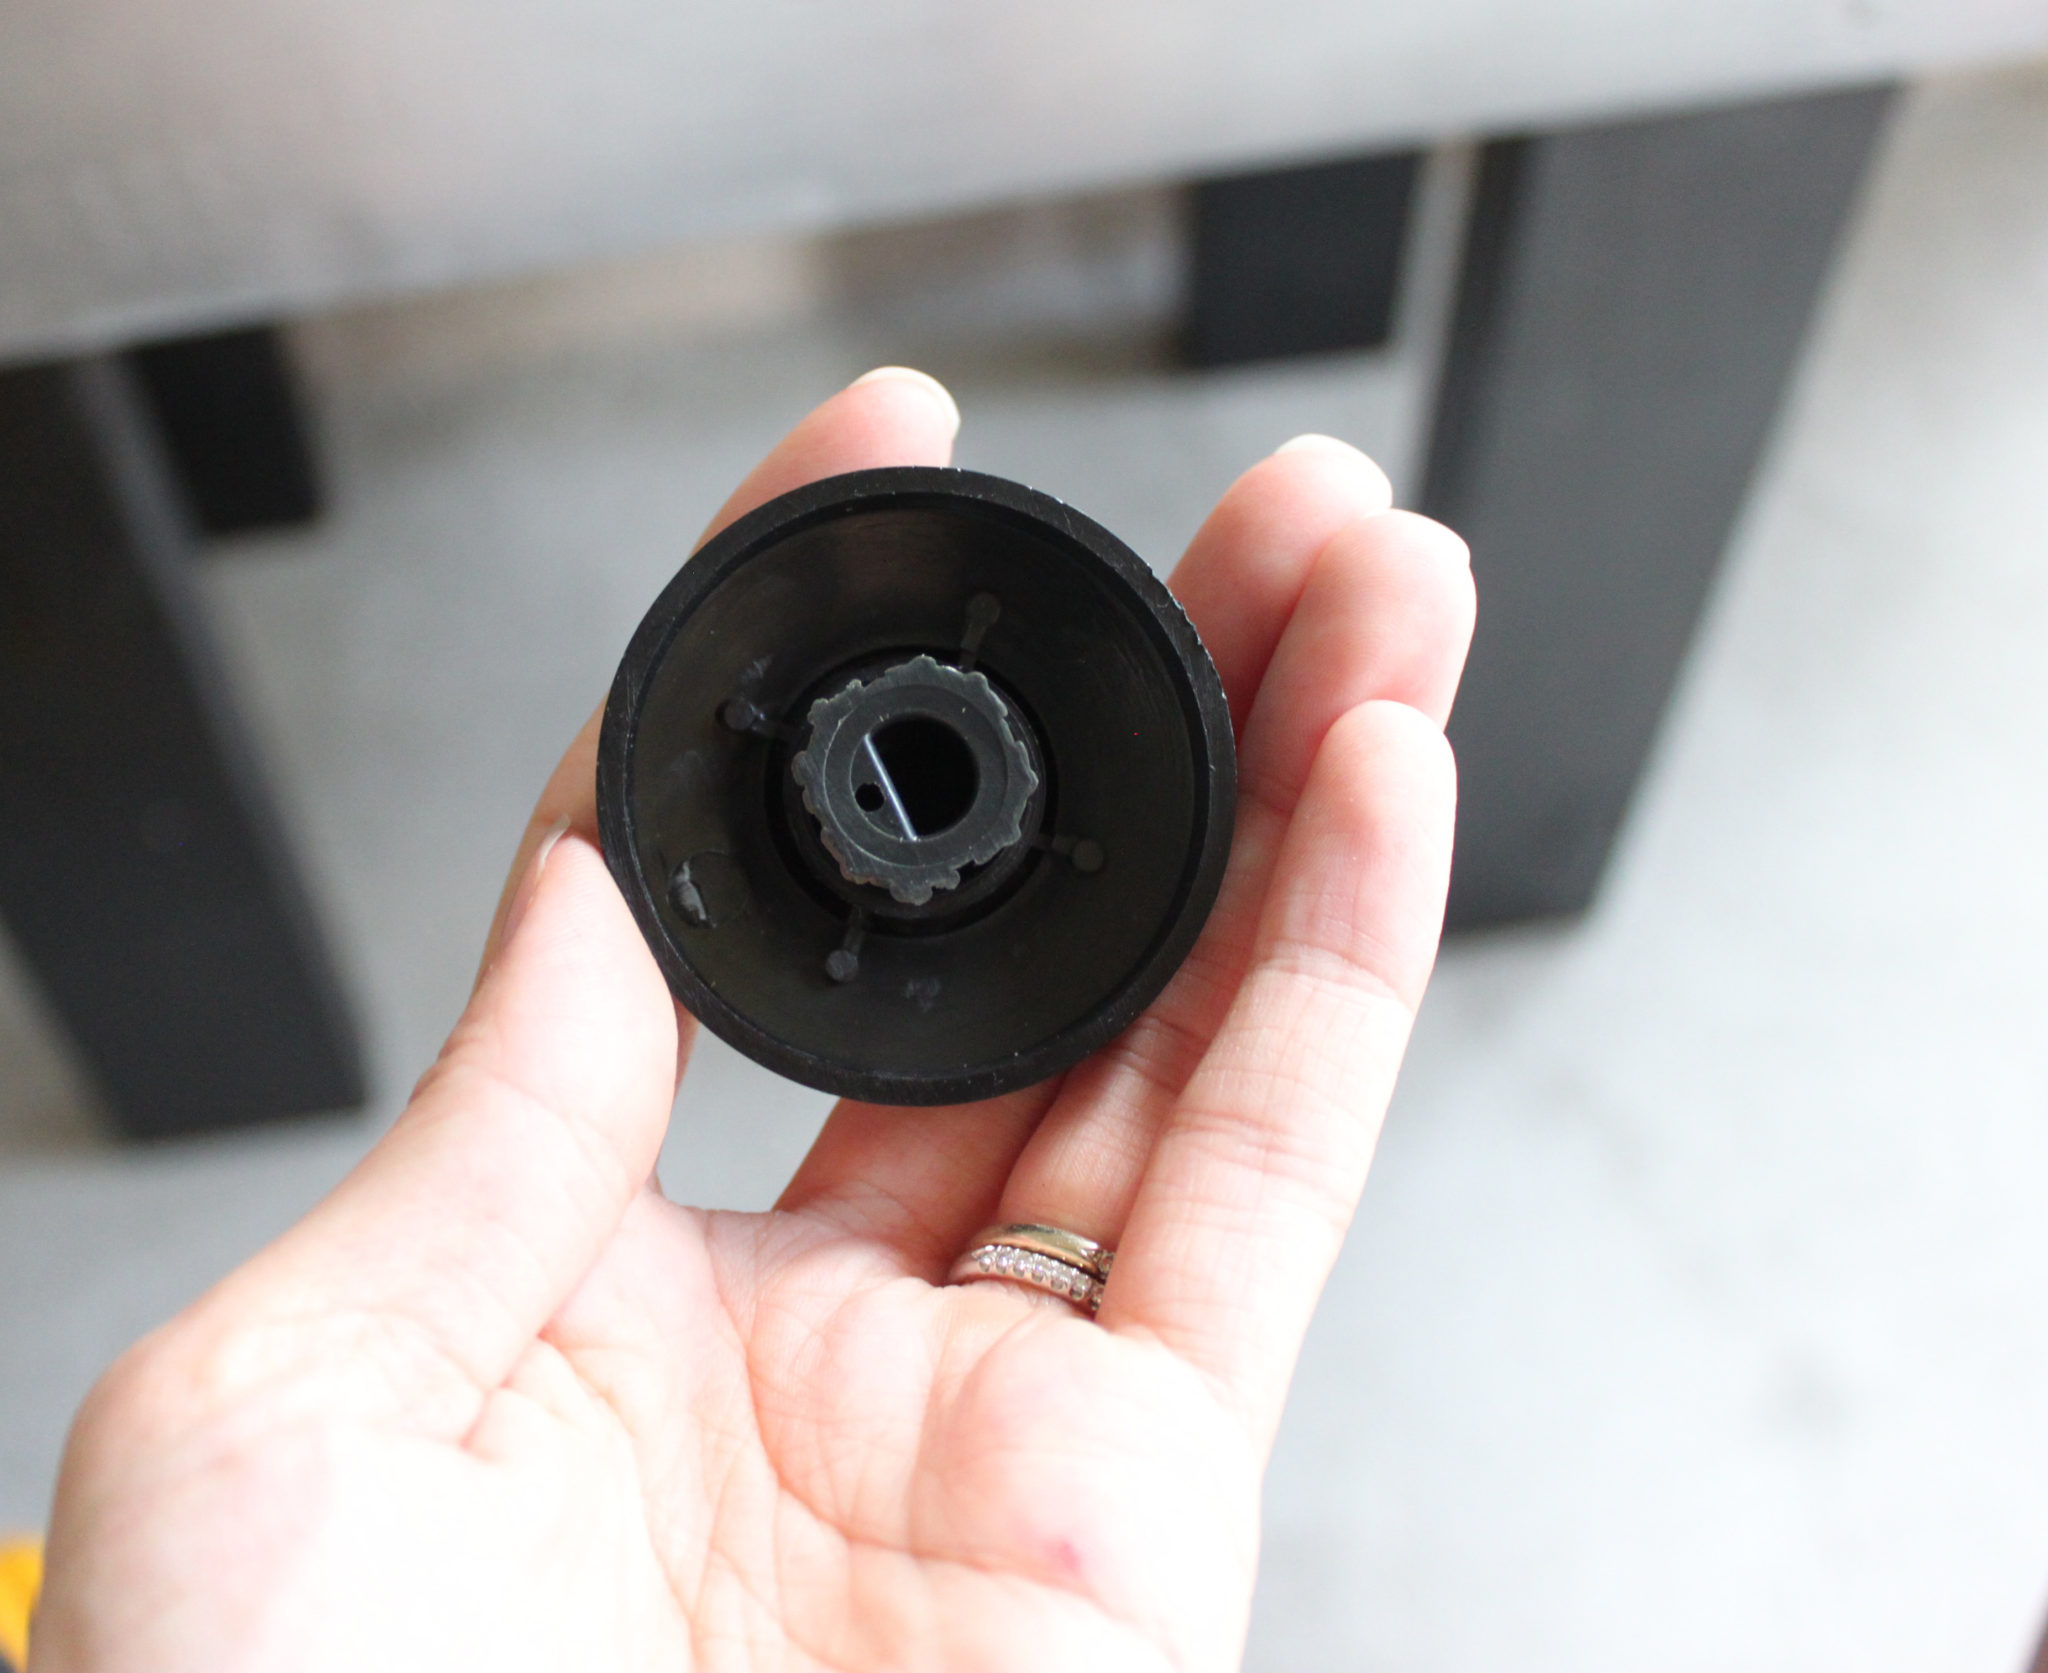
To attach the knobs, I put the screw through the hole & then glued the piece (& top of the screw) into the knob.
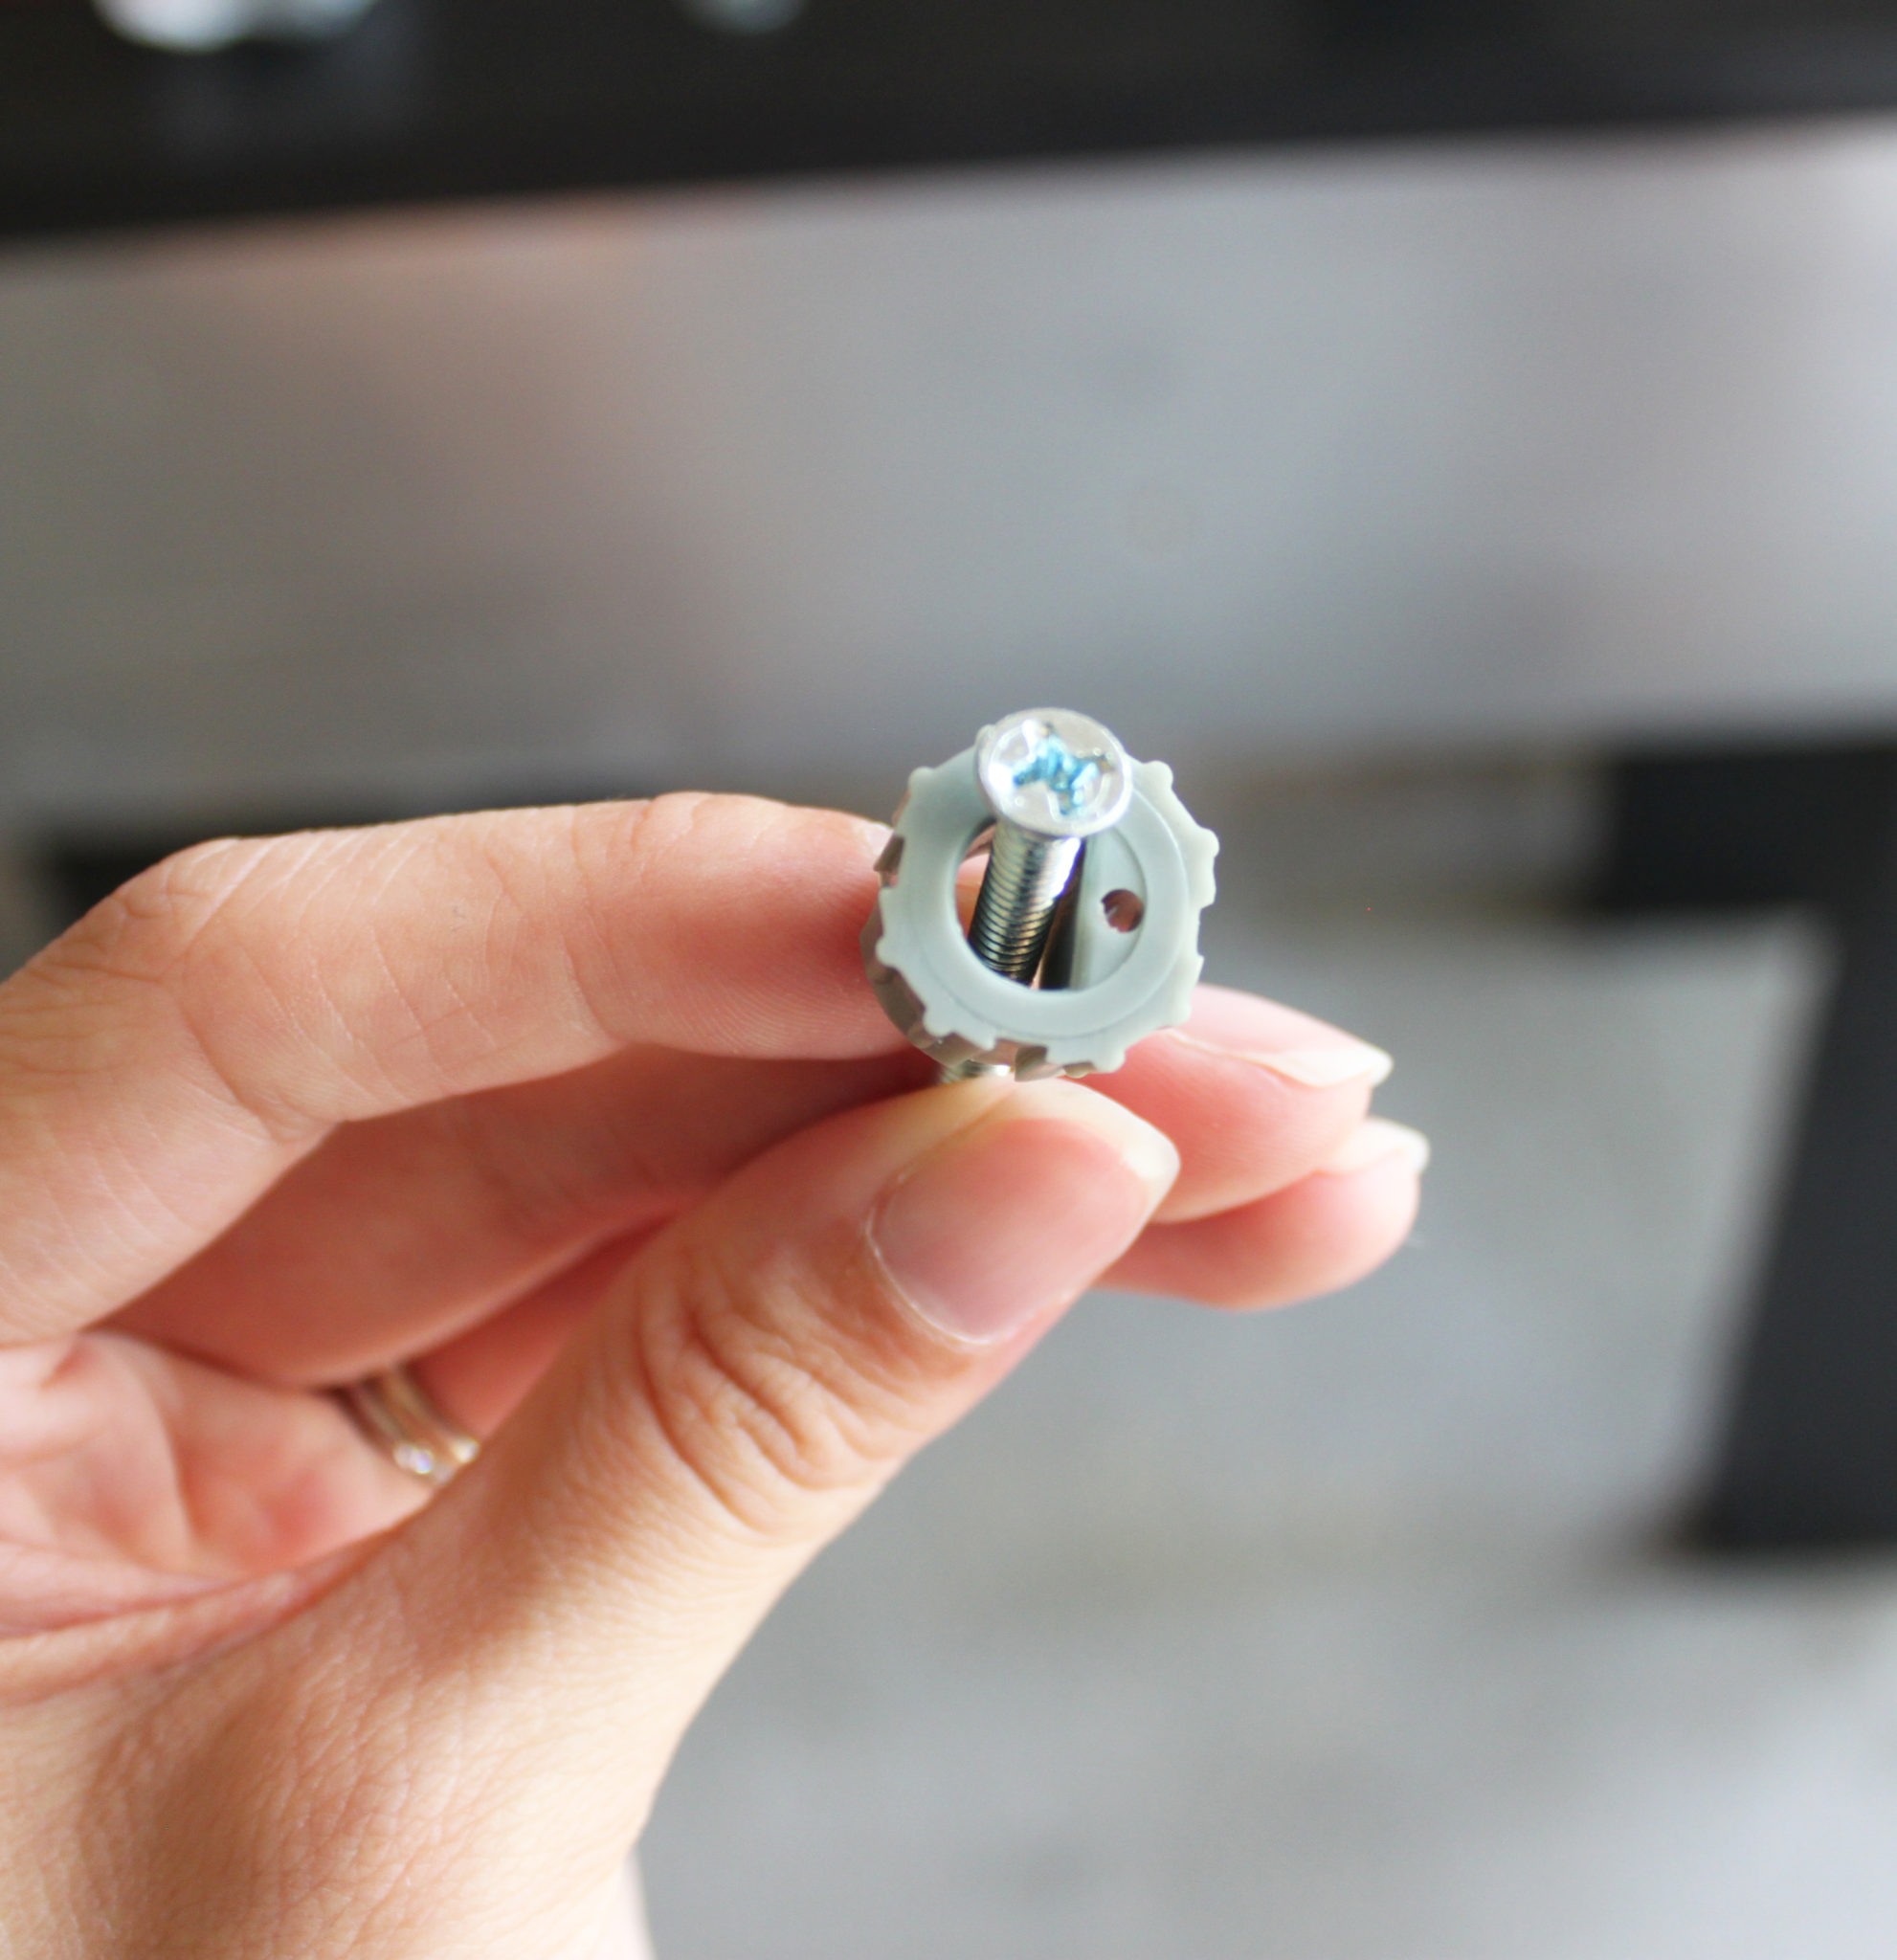
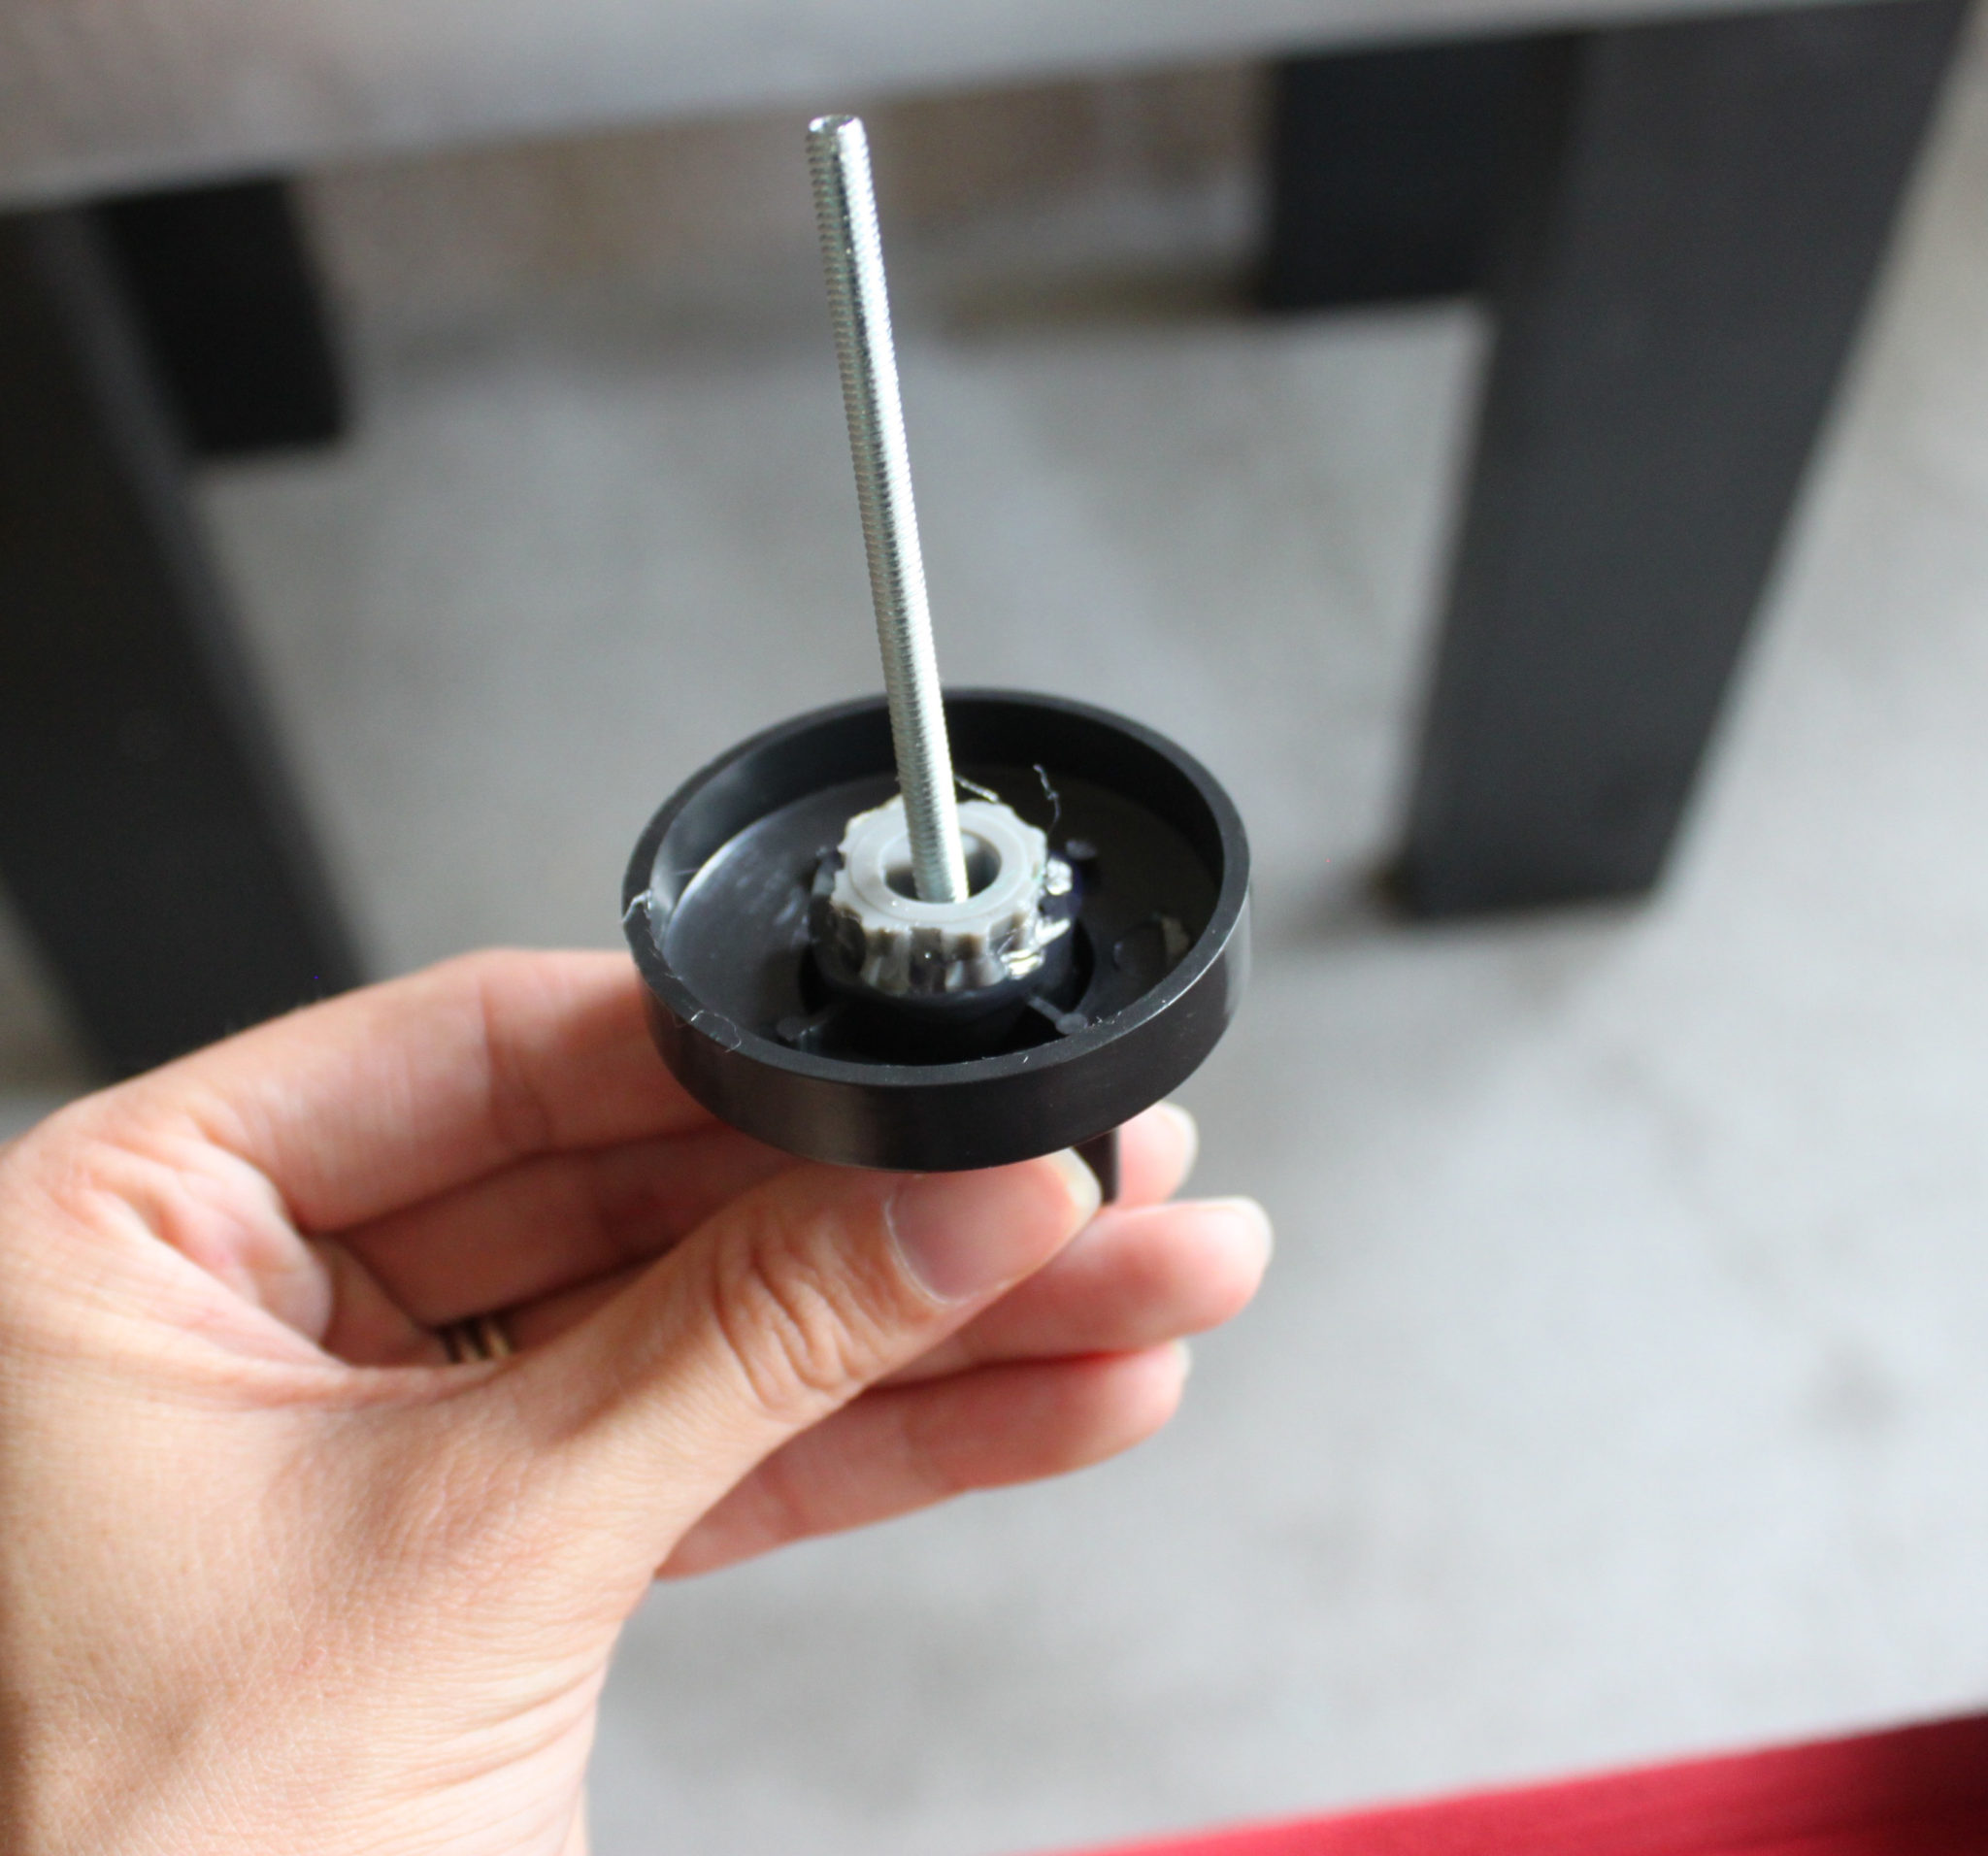
Next, add on a washer, put it through the hole in the wood, add another washer on the back & 2 nuts so it stays put.
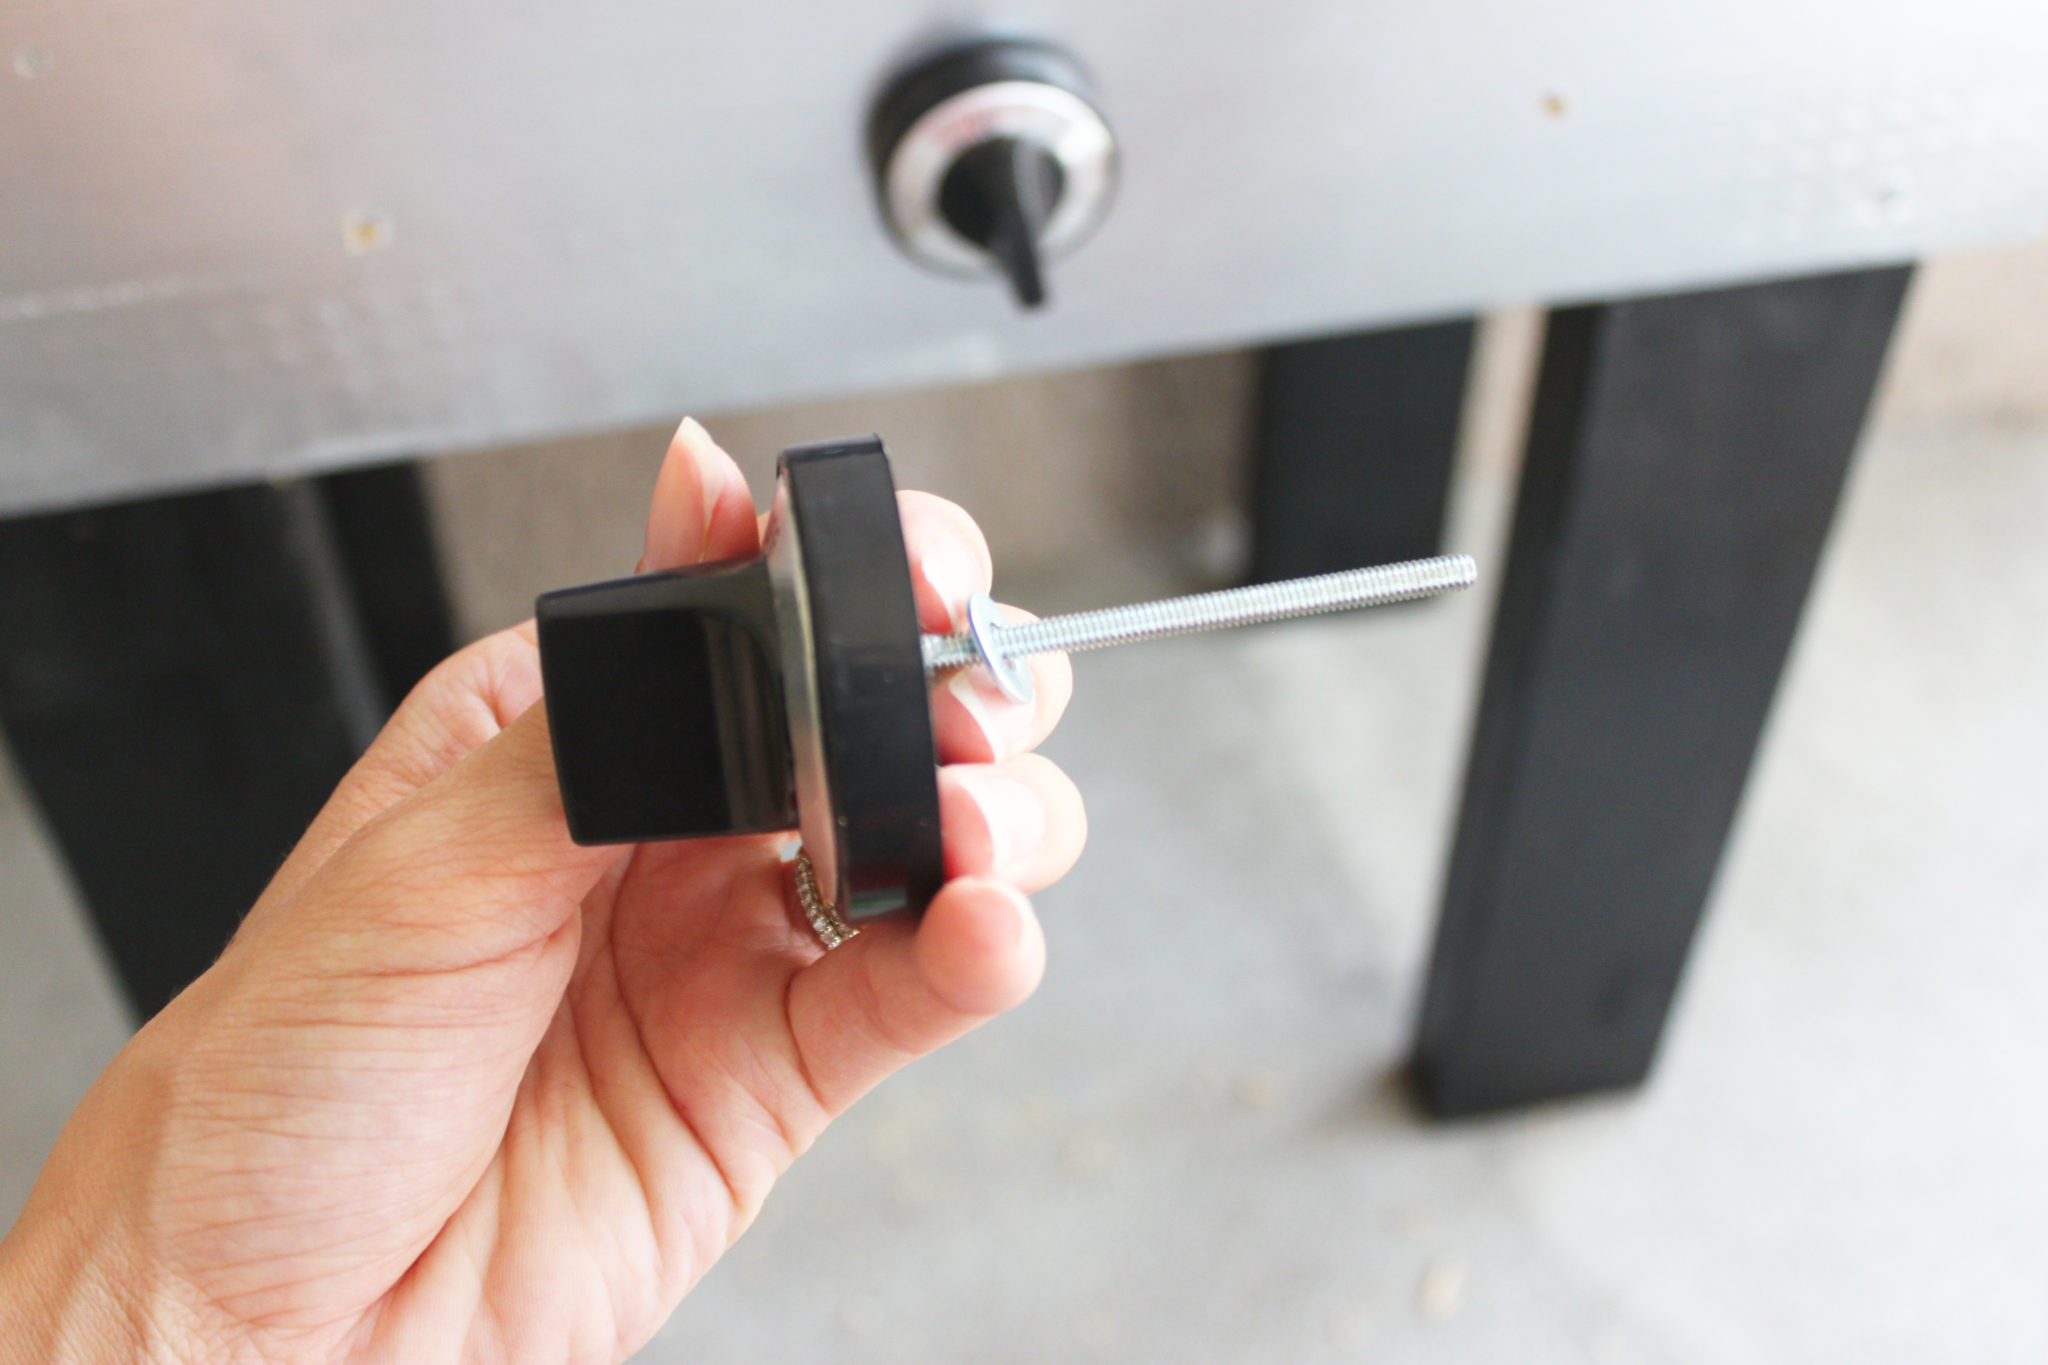
Continue for the other 2 knobs. They should turn but not come loose. My OCD is telling me they are not exactly in a straight line but we’re going to try so hard to just ignore it.
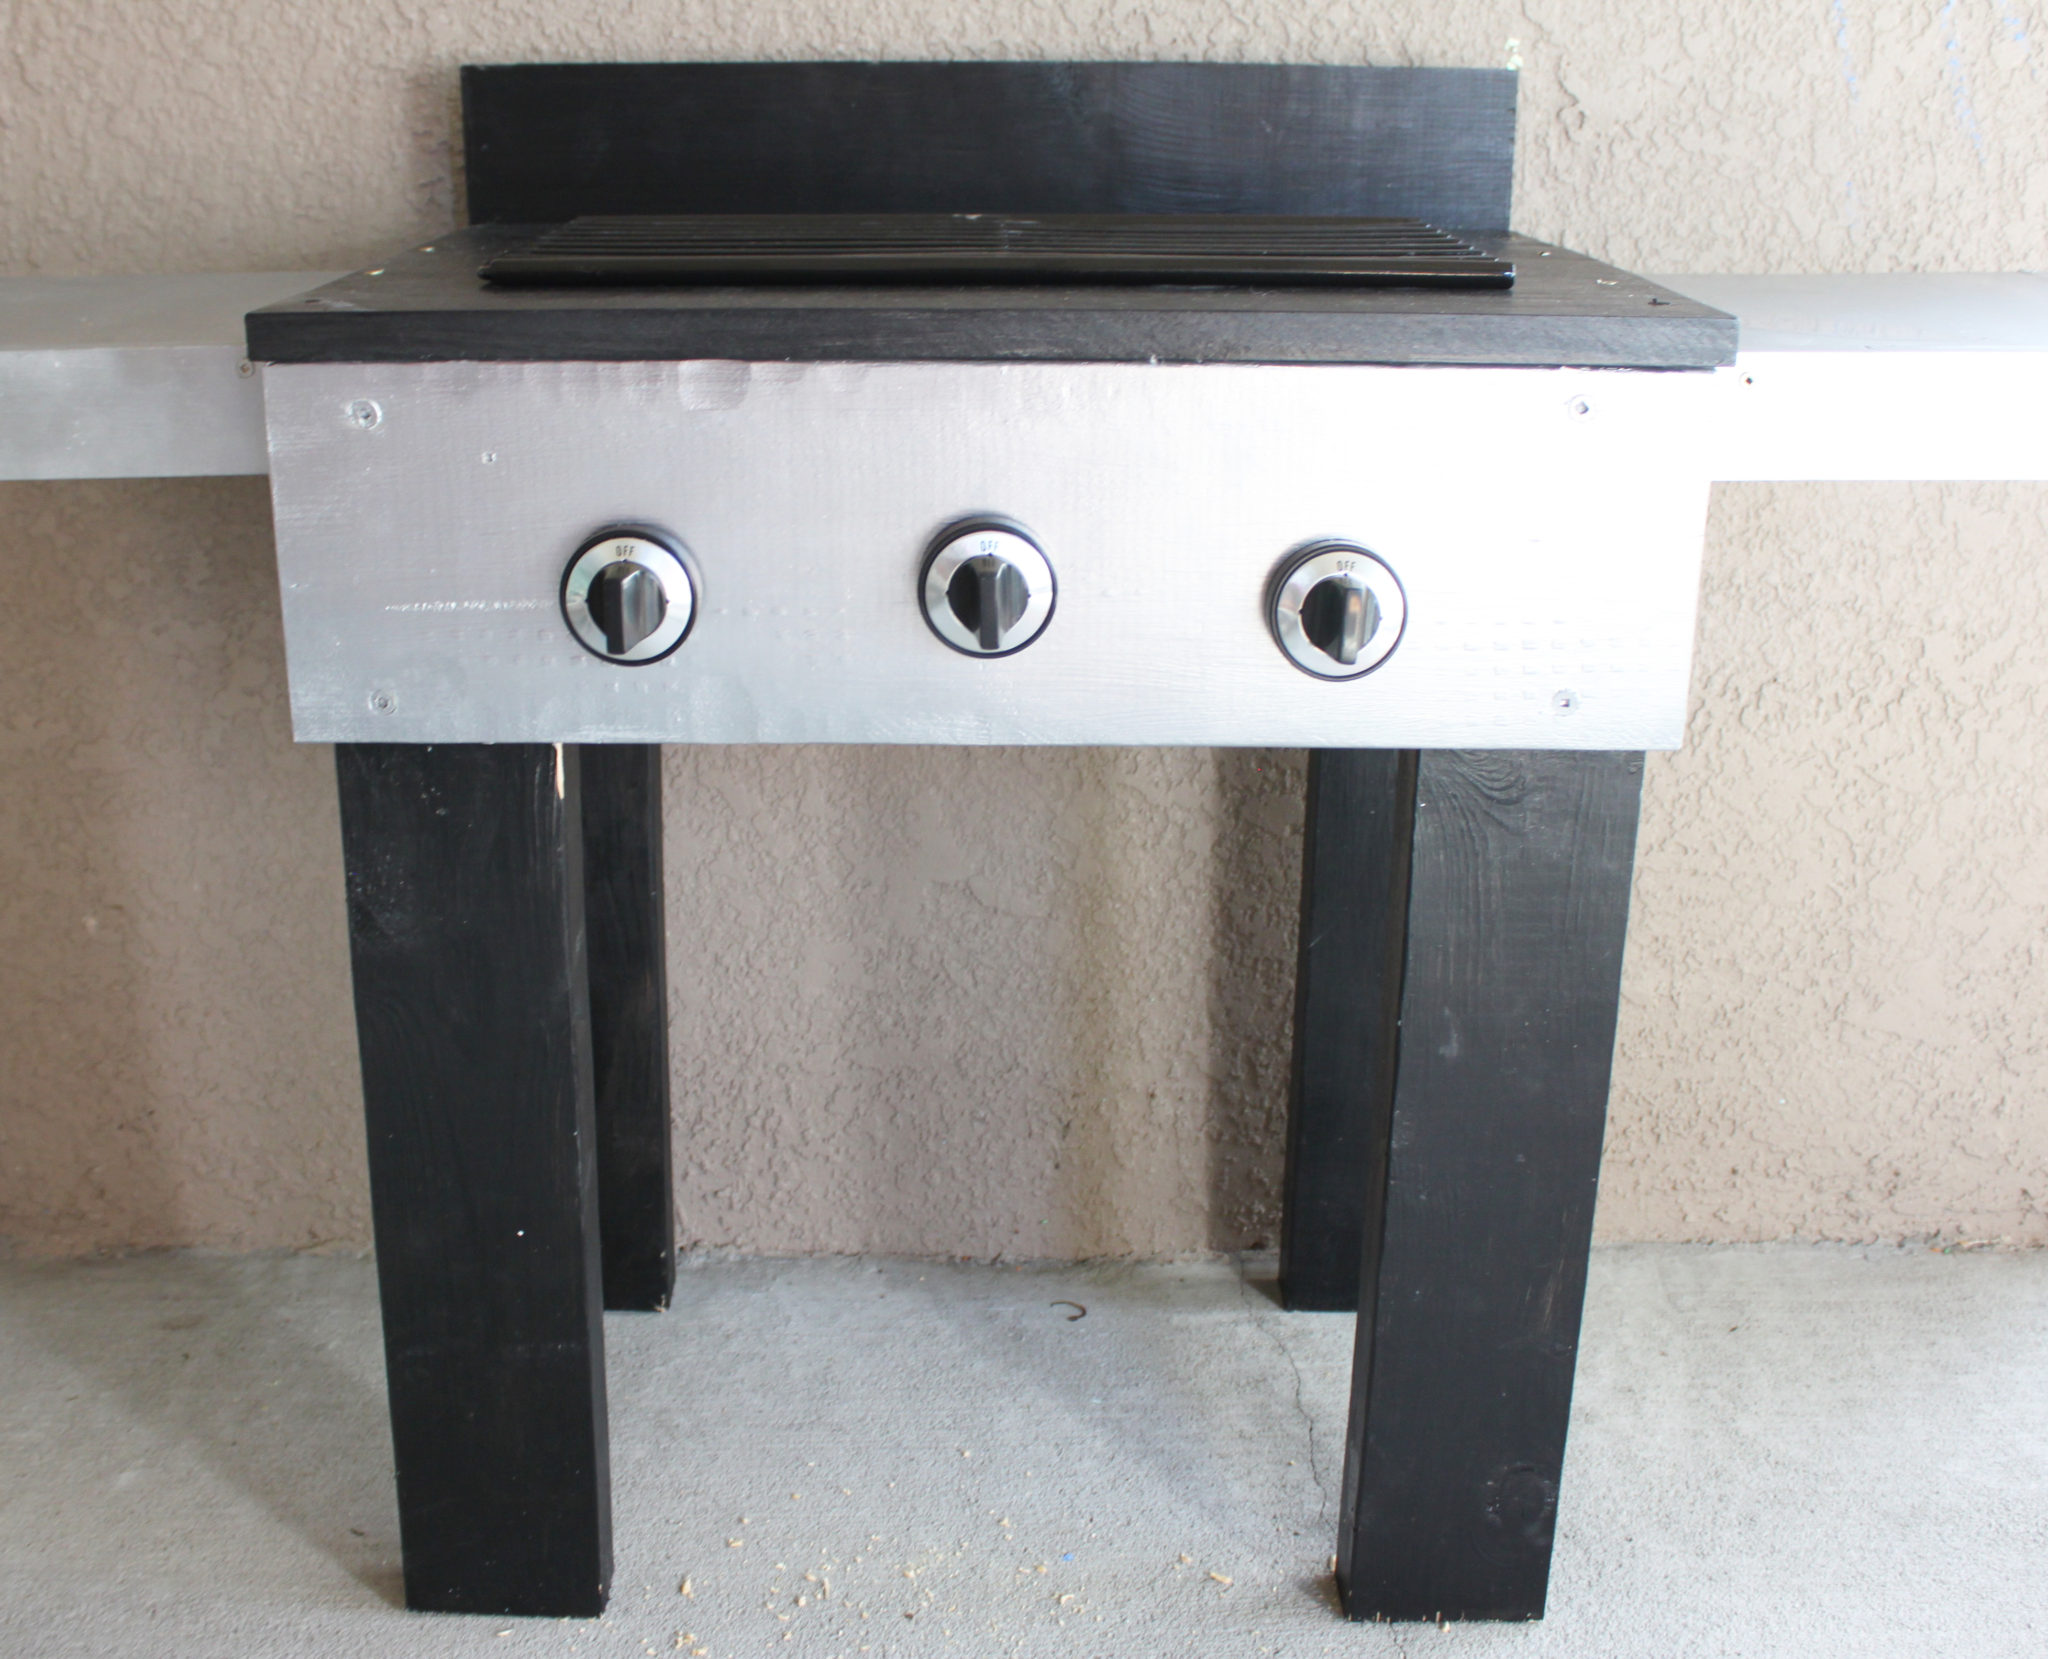
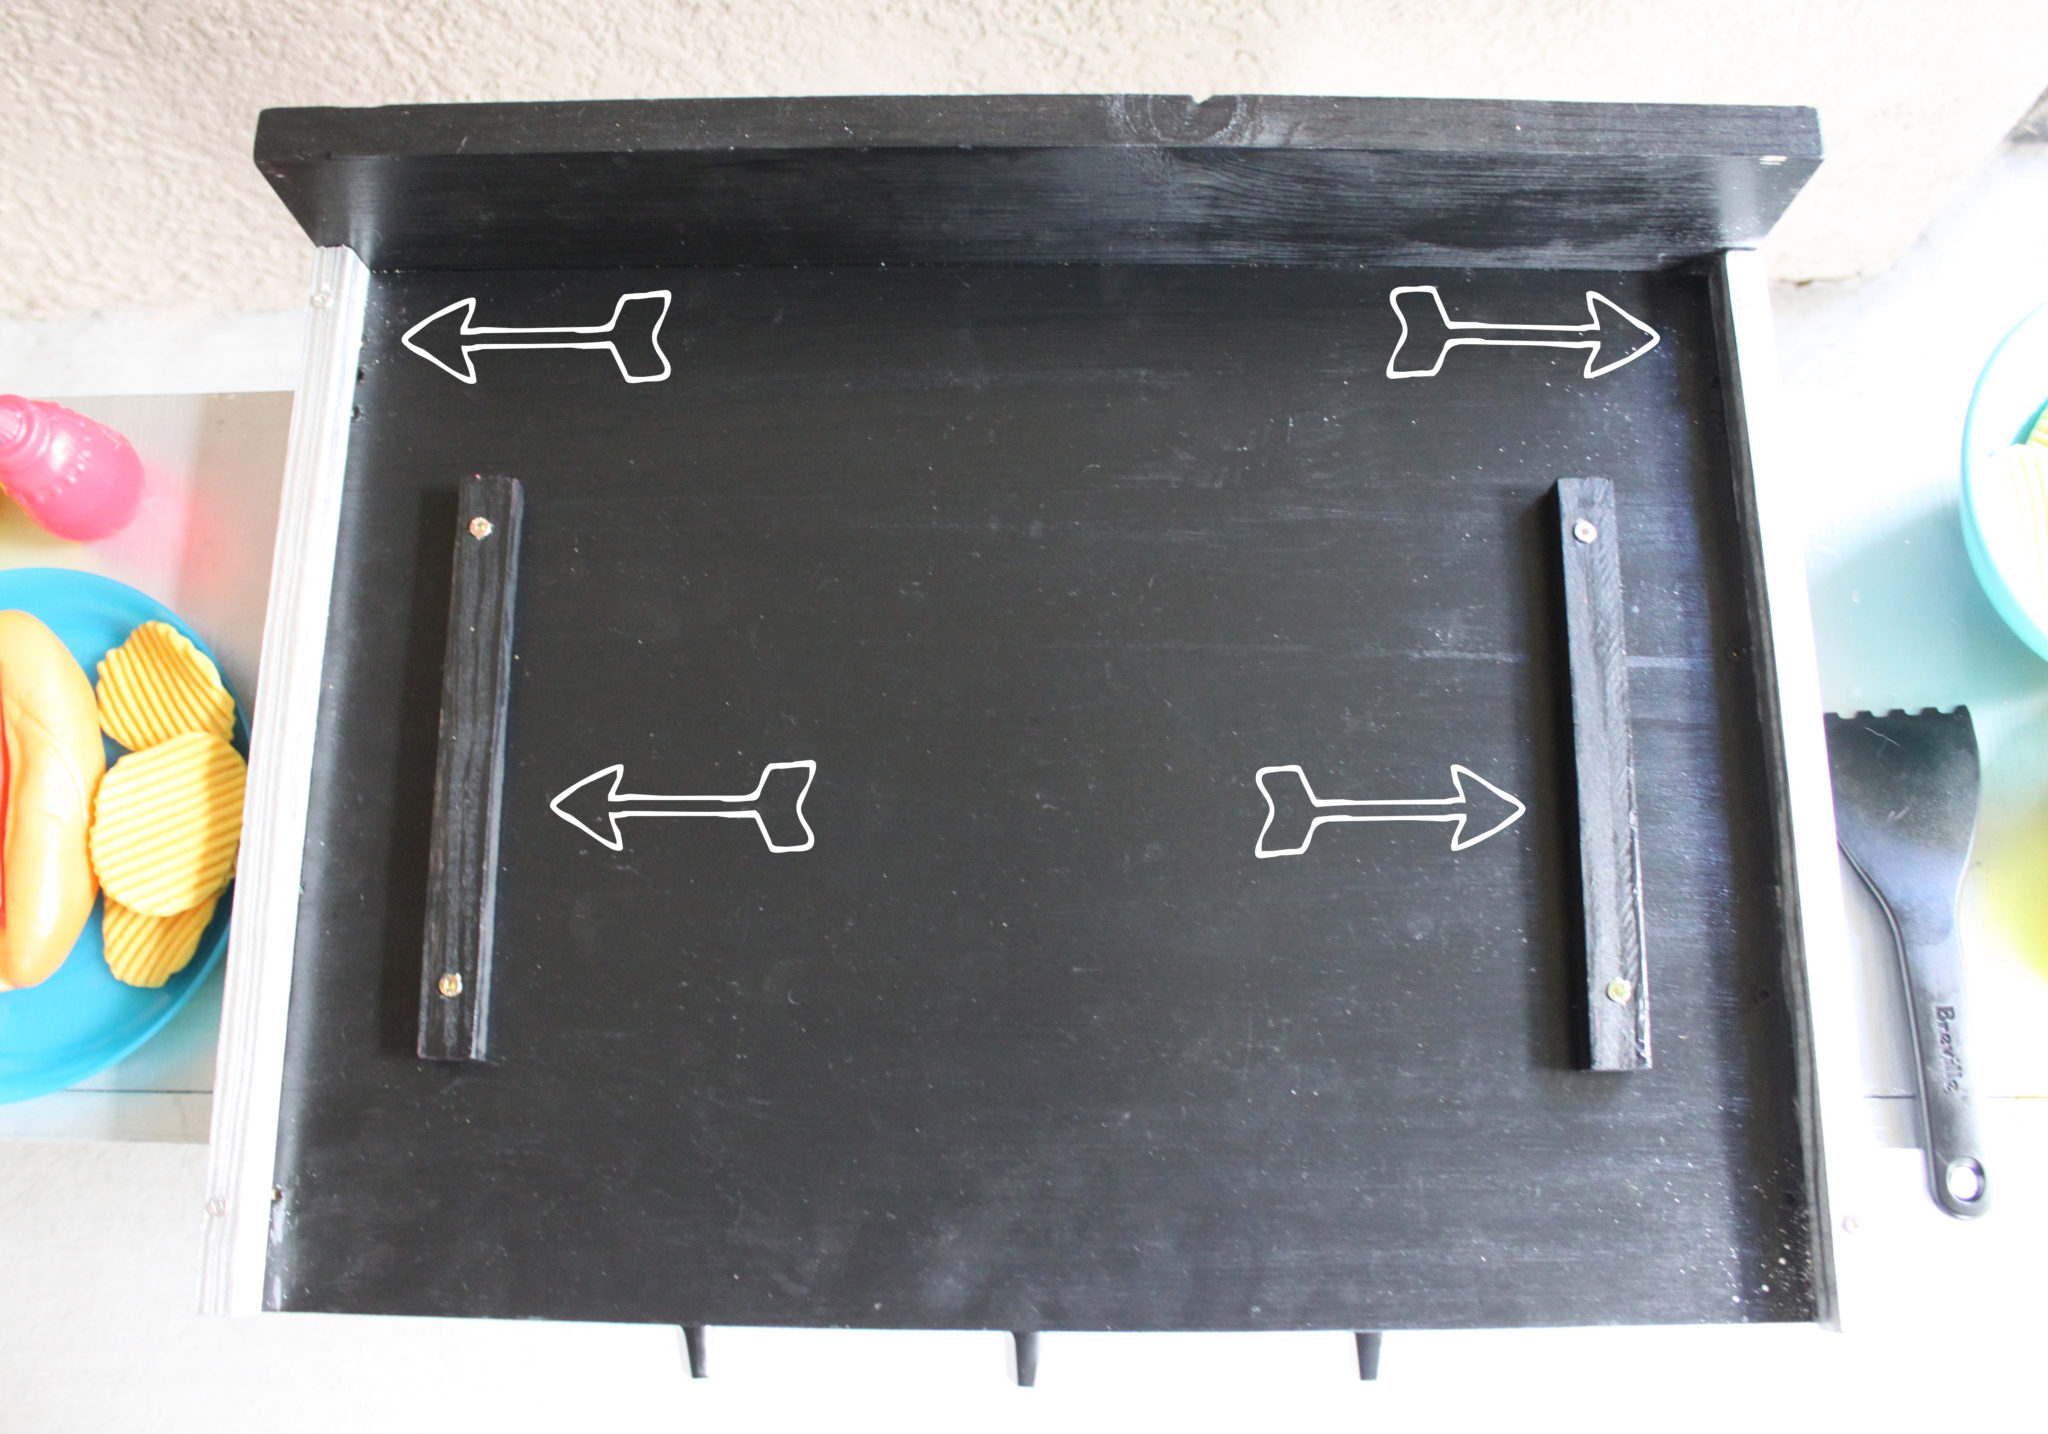
Spray paint silver, then screw down your 1″x2″x14″ pieces by pre-drilling then using 1 1/2″ screws to fasten them on the left & right side of the top.
Paint your 1″x2″x7″ pieces that will hold up the grate. Line up where you want your grate to be then pre drill holes & screw down using the 1 1/2″ screws.
Go back & do touch up paint where it needs it & cover all your screw heads, then go ahead & put your grate on. I didn’t fasten mine down because I figured it would be easier to clean… Giovanni hasn’t tried to take it off so I’m leaving it for now!
Screw in 3 hooks to the side of the side tables, so you can hang tongs & other grill tools on them.
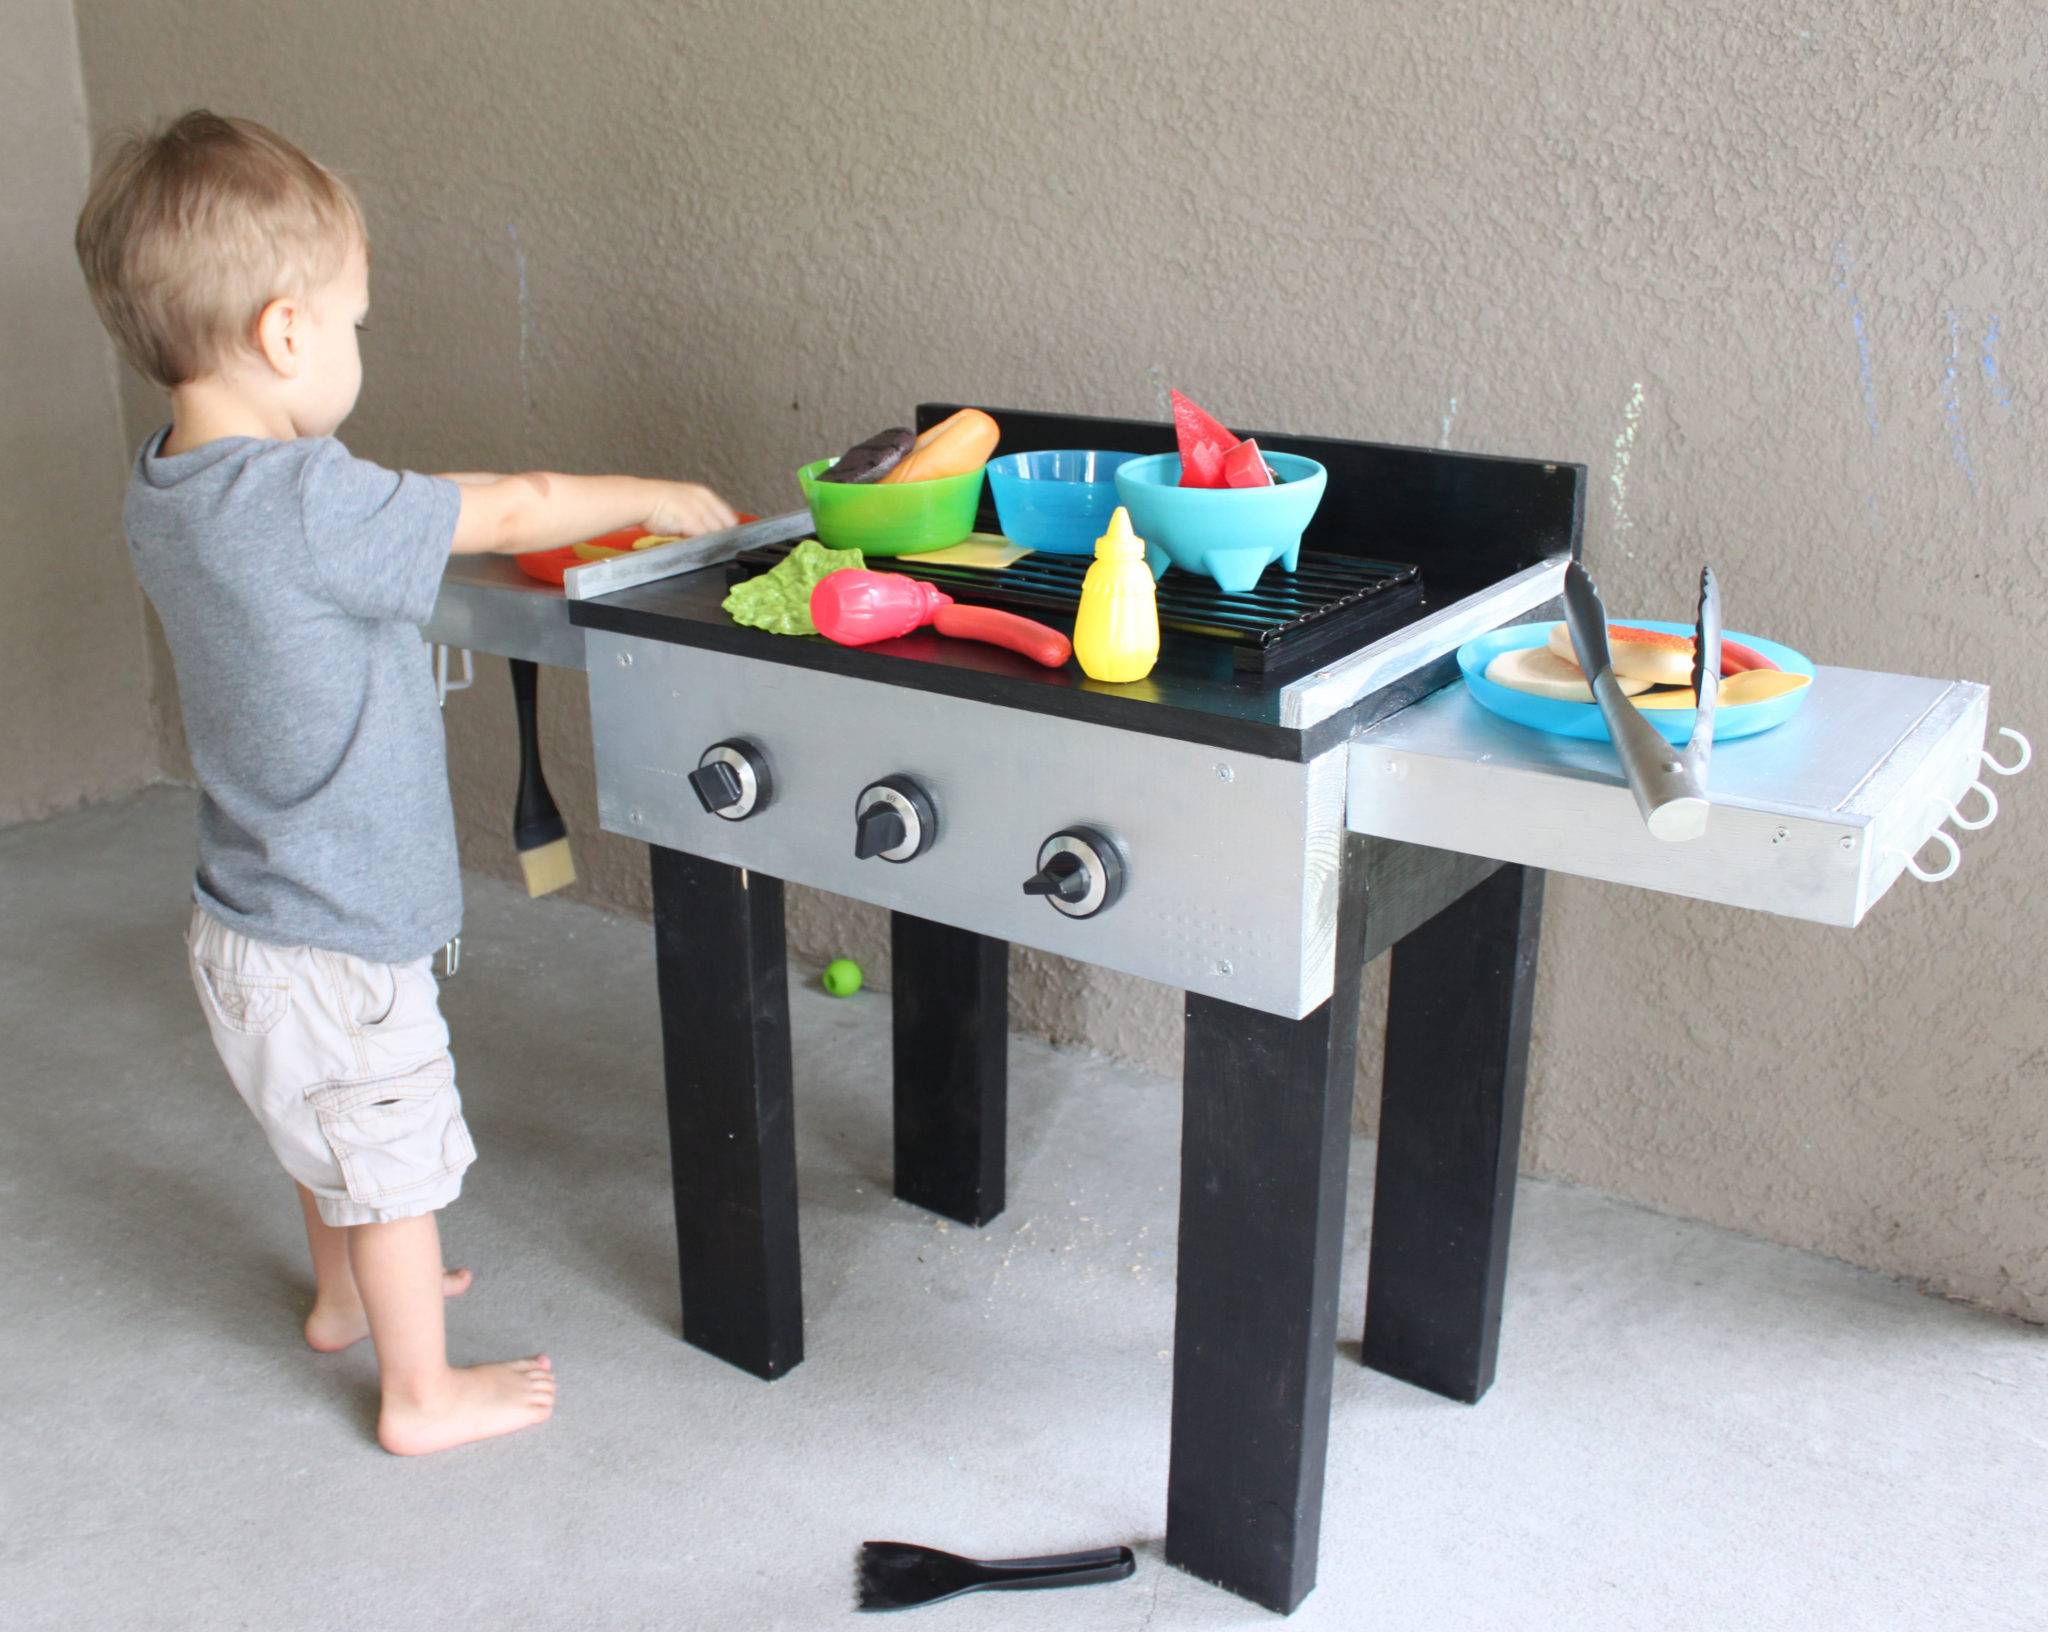
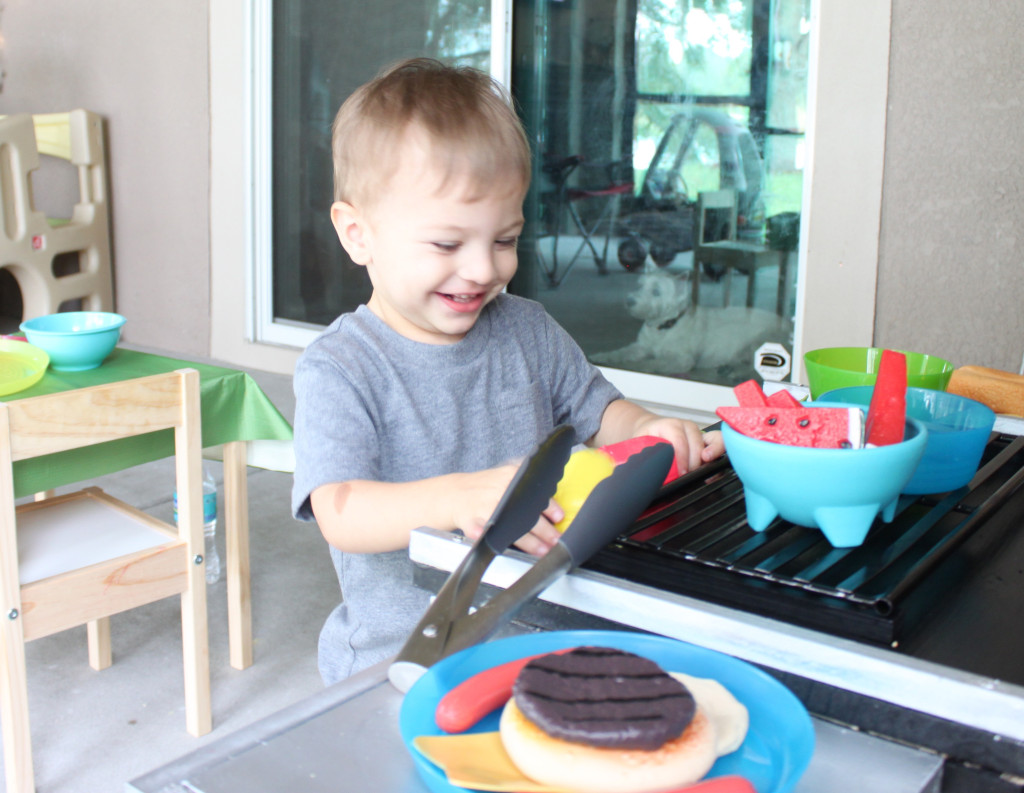
Gio loves his grill. Just a little.

Looks like we are having grilled watermelon in a bowl, guys! Sounds good ;)
By the way, I ordered the play food from Constructive Playthings. It’s their BBQ set, it was $30 + $8 shipping. That’s almost as much as I spent making the grill, hahaha! BUT… It’s vinyl, life-sized, realistic & VERY well made. Gio was gnawing on a hot dog all day & there isn’t even a bite mark in it, haha. I can tell it will last for a long time & he loves playing with it so I don’t mind paying more for something quality!
I eventually want to add a cover that opens & closes, but for now I want to keep those little fingers safe from pinching.
I hope you guys enjoyed this post, I loved figuring everything out & putting it together! It was supposed to be a Christmas present, but I obviously couldn’t wait that long to show him, haha. Thanks for stopping by, we’re going to go have ourselves a burger now. Gio knows how I like mine… ketchup, mayo, pickles & extra cheese :)

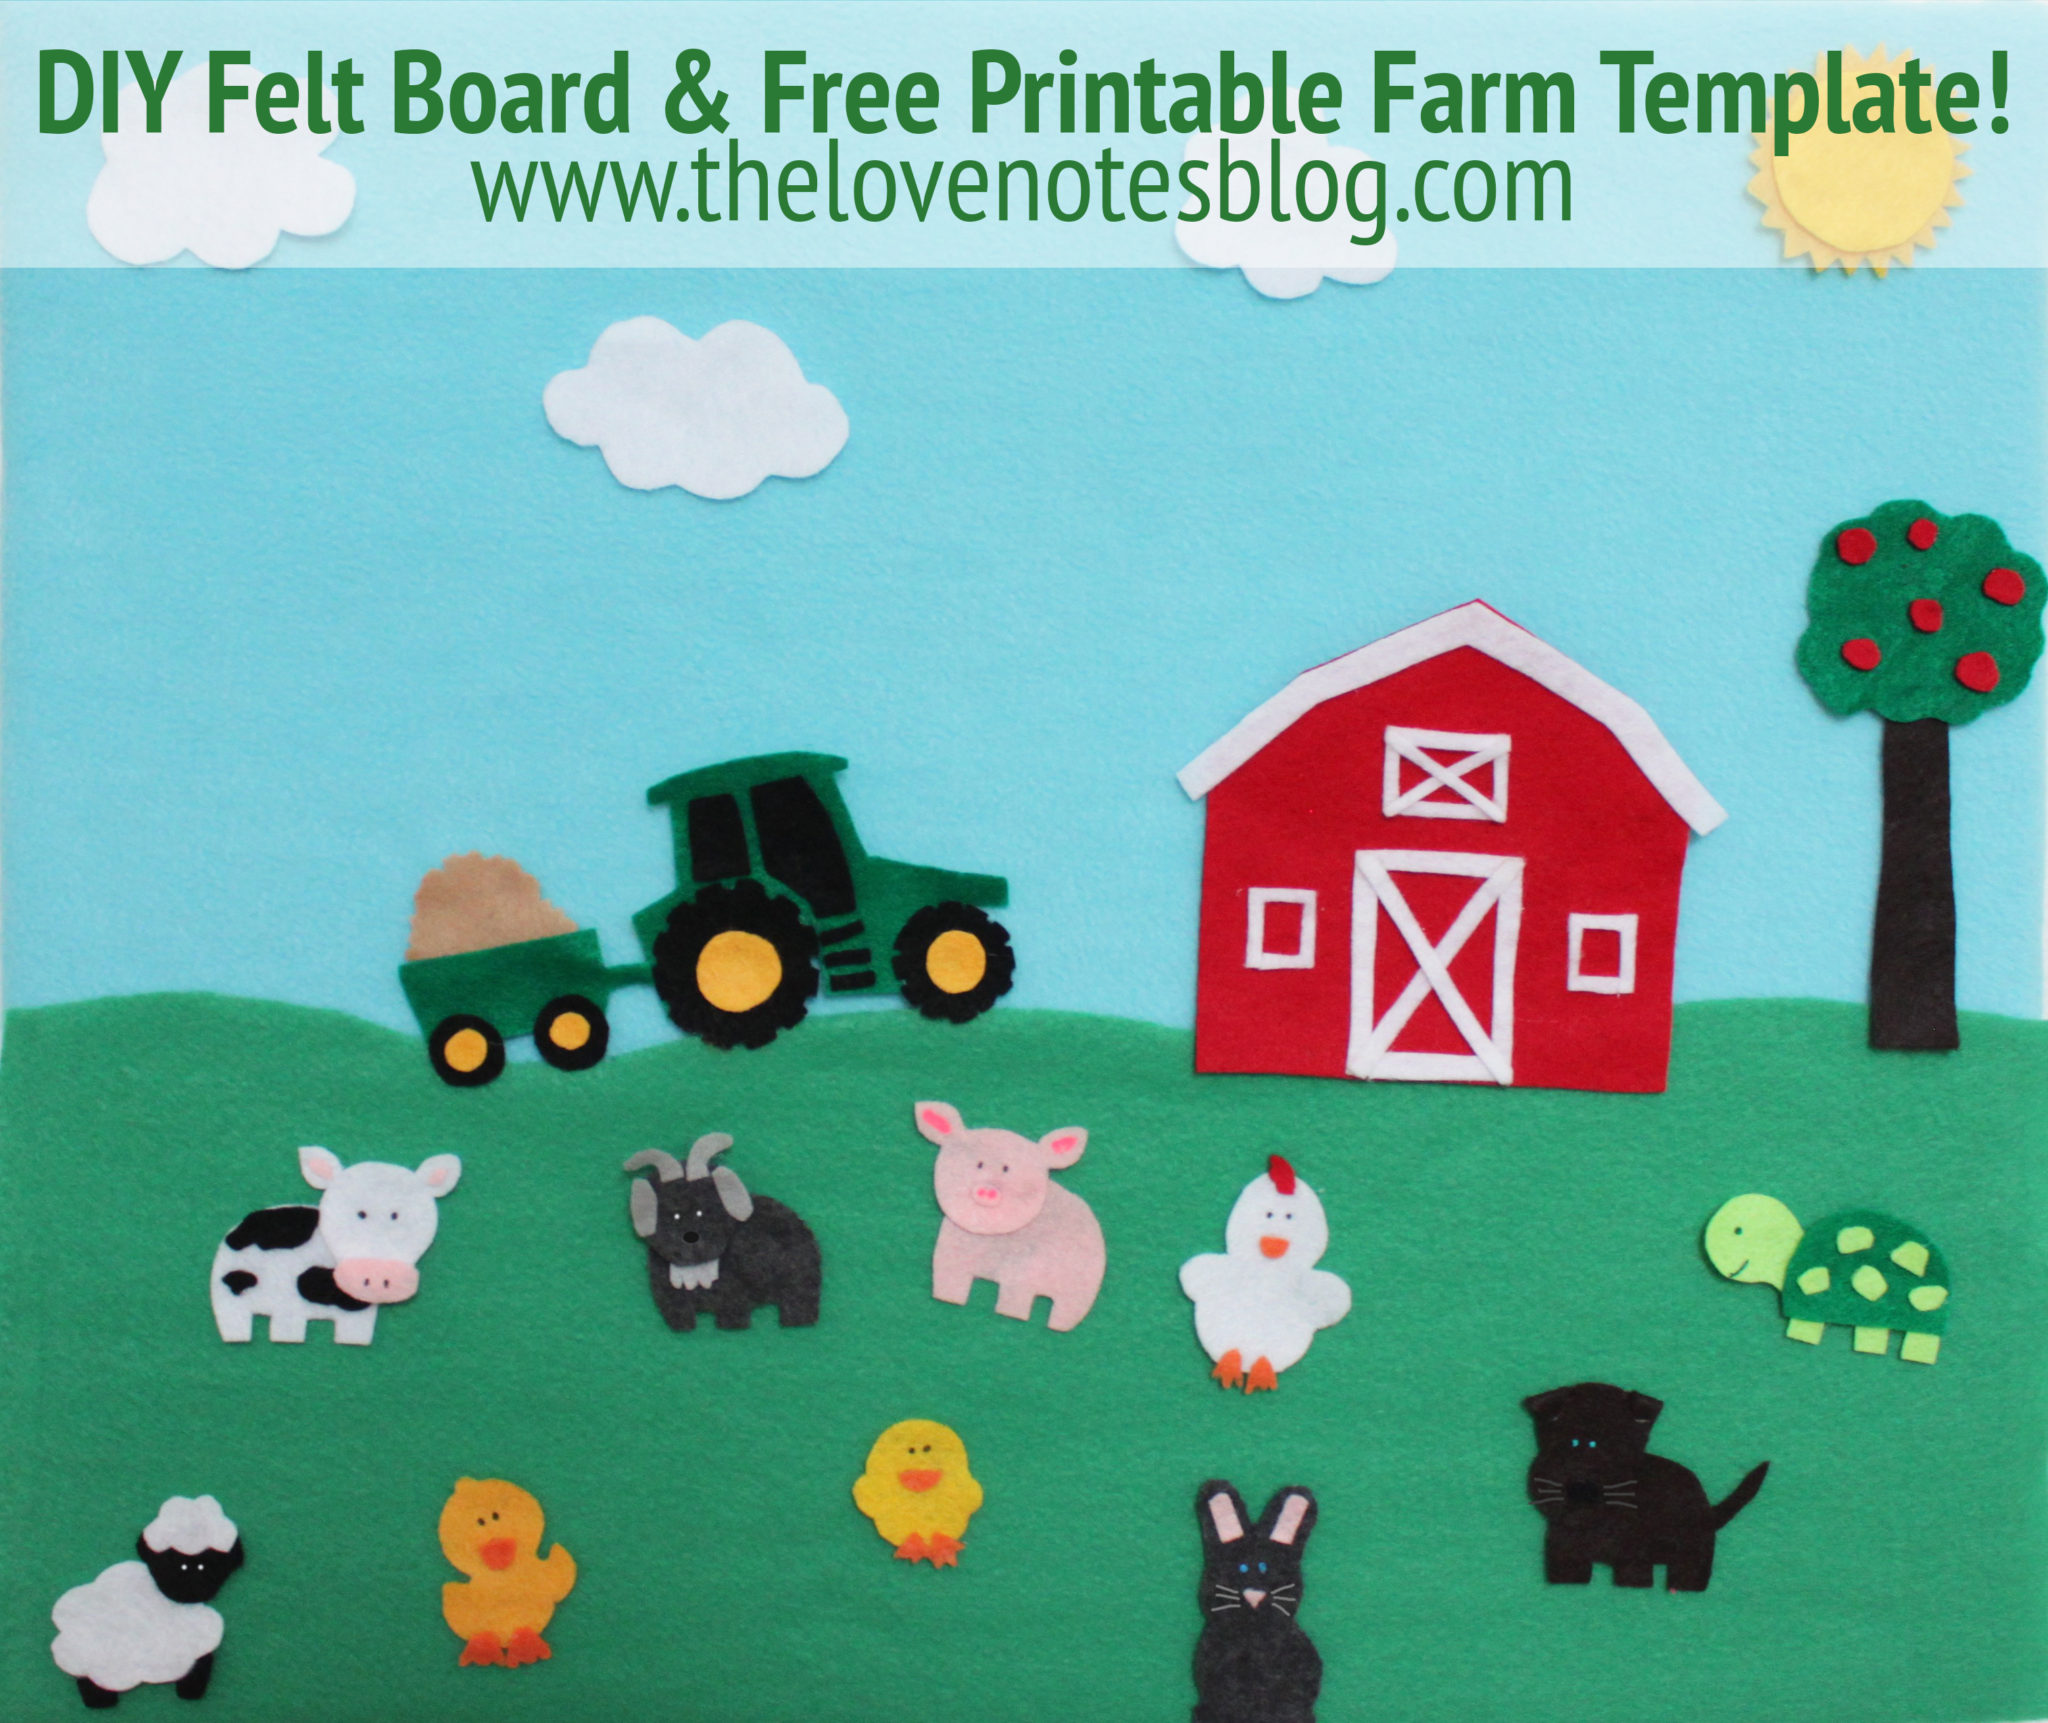
DIY FELT BOARD & FELT FARM ANIMALS!


2 Comments
Pingback:
Wood Ship Kit
That’s really nice post. I appreciate your skills. Thanks for sharing.