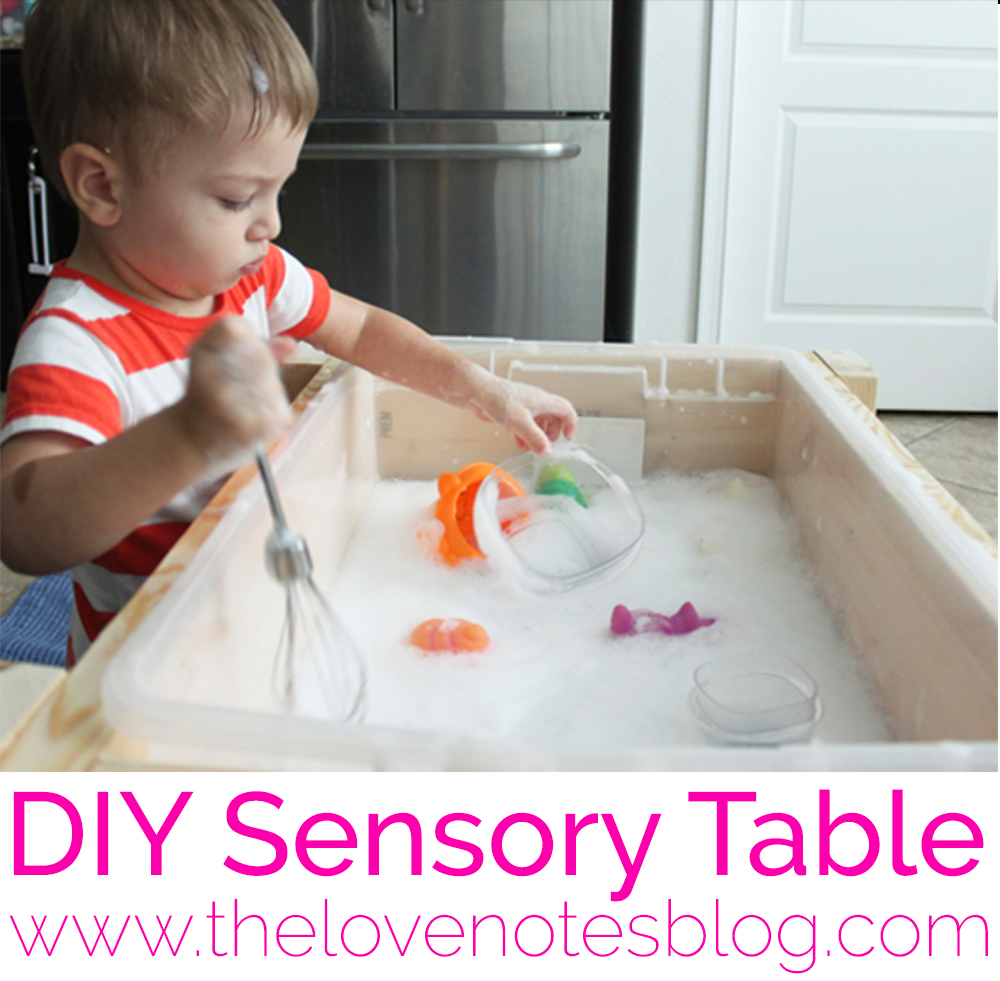
DIY SENSORY TABLE
I’ve been wanting to get Gio a sensory table for soooo long! I wanted a nice, sturdy wooden one like the one I had in my classroom as a preschool teacher… but those run upwards of $200 & I just couldn’t bring myself to spend that knowing I could probably DIY it for much less… Ummm, try $30!!
I don’t have any wood saws or a ton of tools but I figured there had to be a simple DIY floating around somewhere on the interwebs… & I was right. Thanks, Pinterest :) After reading a few different tutorials, I came up with my own design & custom dimensions for Gio’s height. I also wanted to use a clear storage bin I already had, so I had my wood cut to fit around that.
Here’s what I used:
- (1) 2″x6″x8′ I had Lowe’s cut into 4 pieces: 2 pieces at 2″x6″x14″ & 2 pieces at 2″x6″x21″
- (1) 2″x4″x8′ I had Lowe’s cut into 4 pieces for the legs at 21″ each. You could adjust this height to your needs.
- Pro Crafter 6×2-1/2″ wood screws. These were more expensive than others, but did not require pre-drilling. Loved these!
- A sample size of paint (which I didn’t end up using, I went back for clear polyurethane instead)
- Sand paper ( I already had this)
- A drill ( I already had this)
The items I bought totaled less than $30!
Here’s what I did:
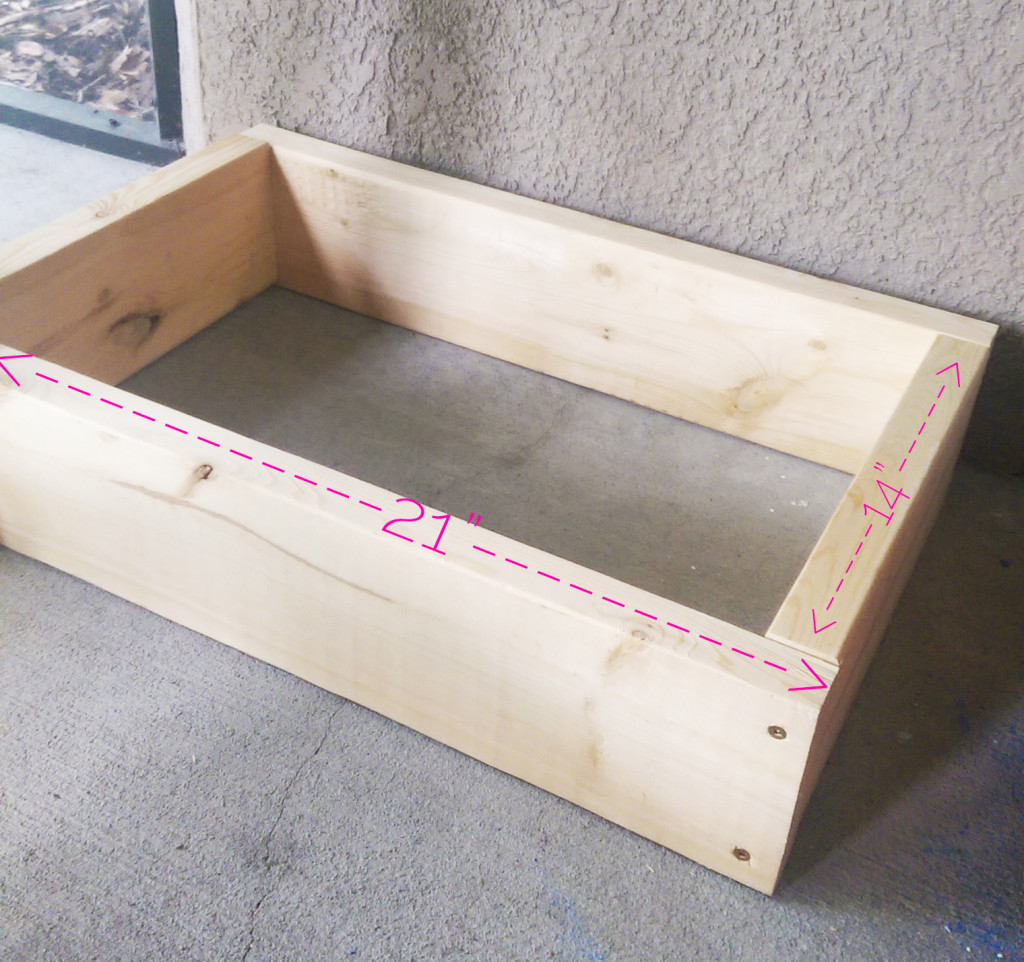 To make the frame, use a drill & 2 screws to connect the 2″x6″ pieces together. I made sure the 21″ pieces were on the outside ends of the 14″ pieces.
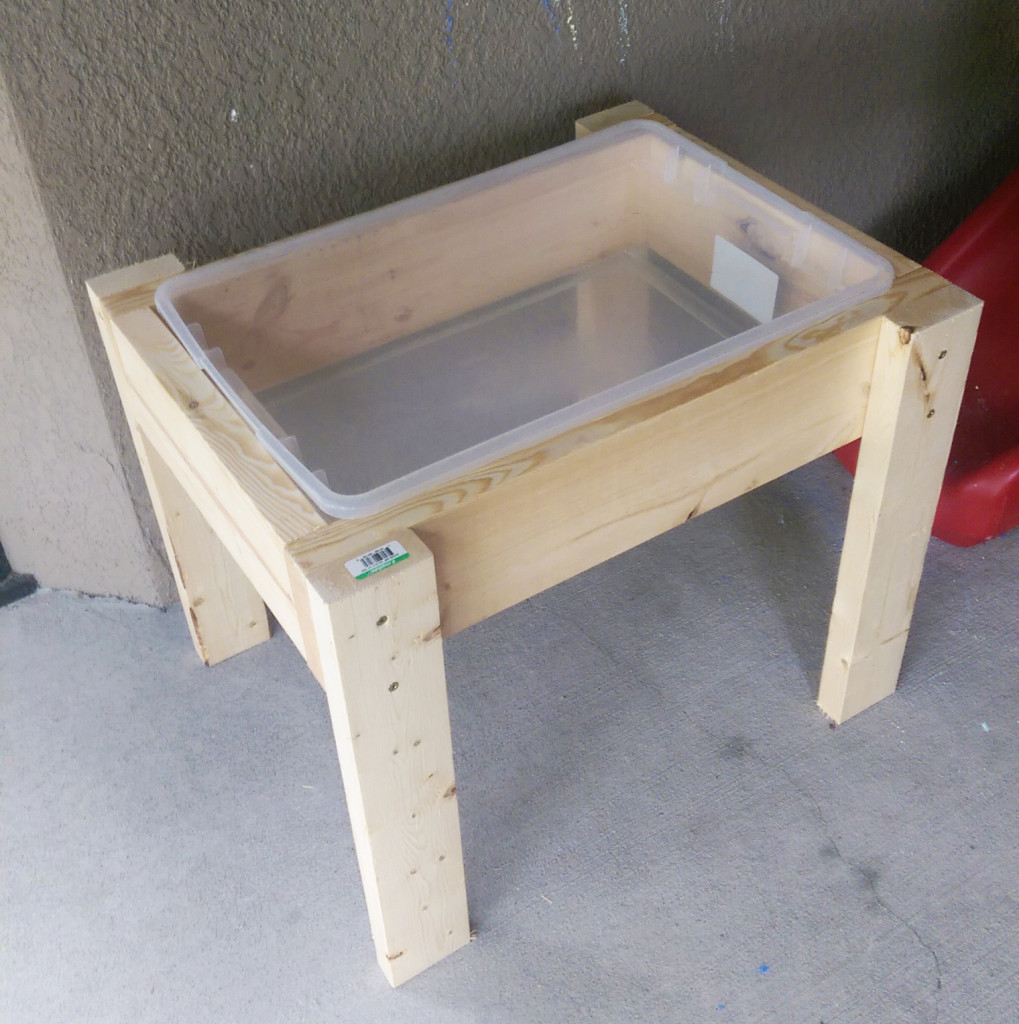
Connect the legs at the 4 corners using a drill & 2 screws again. I did this part upside down so the top would be perfectly flat. Forgot a picture, sorry!
Then make sure you sand everything down so it’s nice & smooth for little hands.
Paint or seal with polyurethane. <– I haven’t done this yet… I was going to paint it bright blue but decided we’re doing a “natural” wood look in the playroom. So since I’m preggo, hubby is going to seal it with clear polyurethane this weekend so I don’t have to breathe in the fumes!
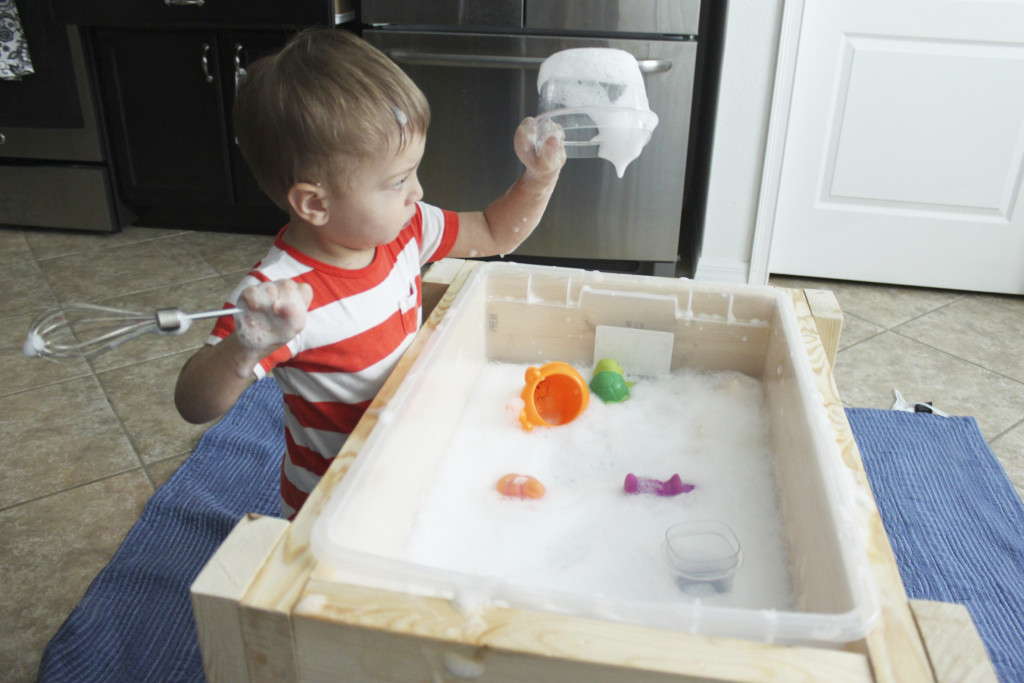
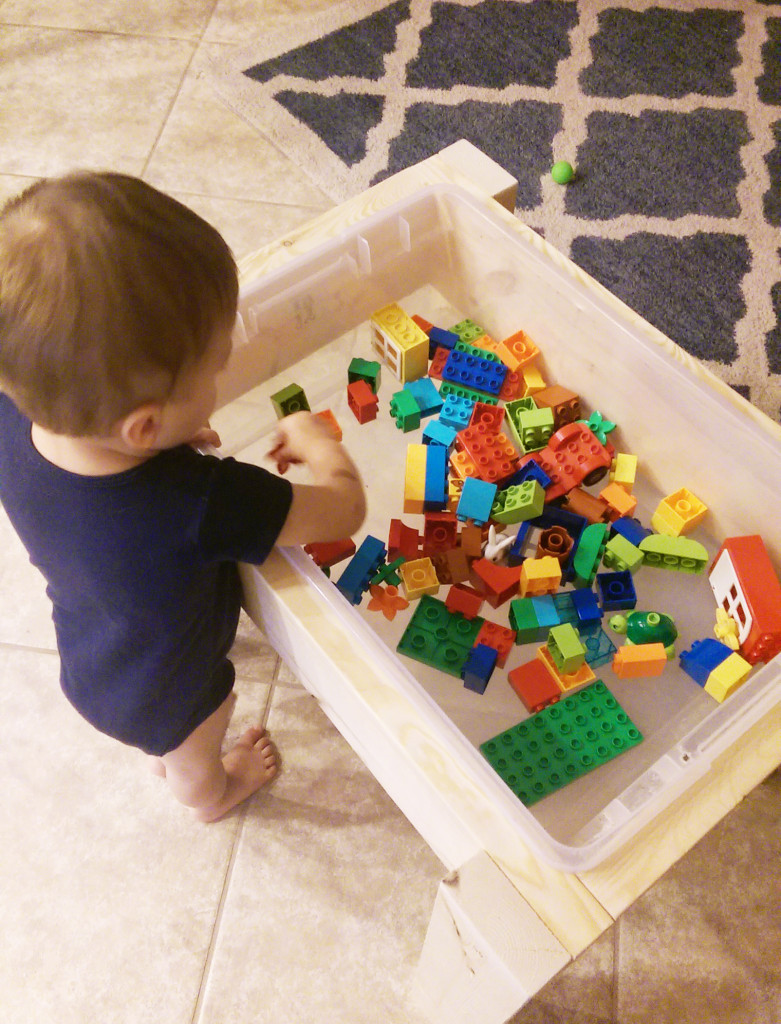
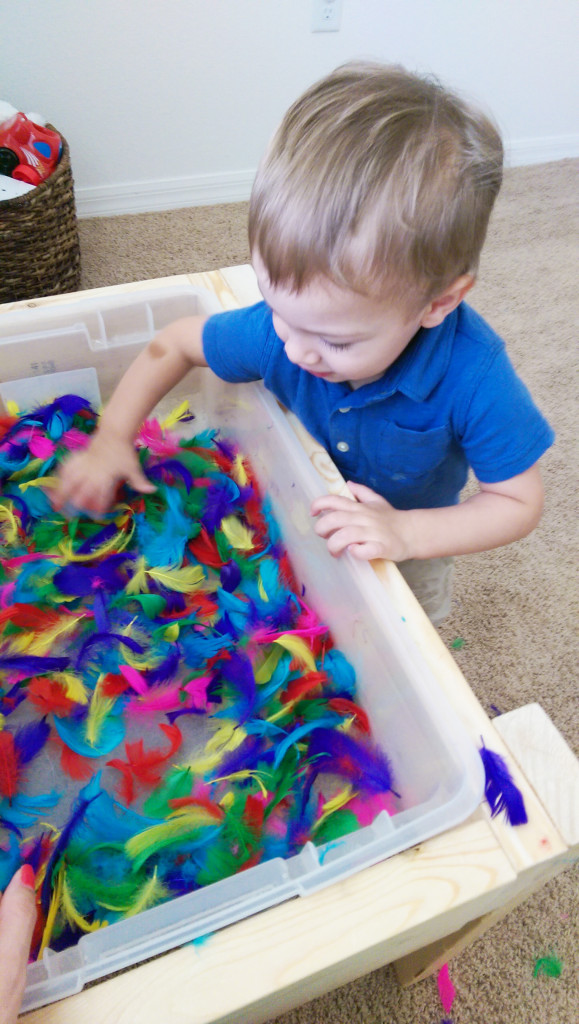
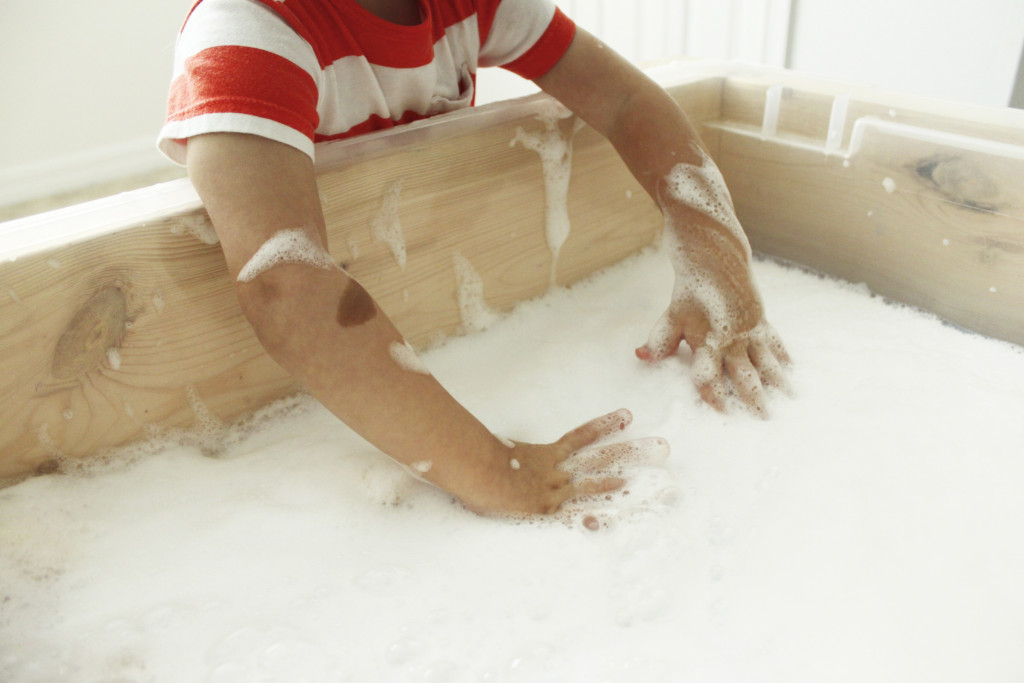
I LOVE how it turned out! & we’ve been using it like crazy. It’s the perfect size & the possibilities for what to put inside are endless. I put a blanket on the floor if it could get slippery, or we just do it outside if it’s really messy.
I think I spent more time measuring than I did actually putting it together, haha. 15 or 20 mins was all I needed to get it done! Obviously the gentleman in the wood cutting center at Lowe’s made my job a heck of a lot easier… but still. Haha. I hope you found this helpful or inspiring, be sure to check back for more DIYs in the future! Thanks for stopping by!




3 Comments
nikki
I love this diy. I wanna try it but do you mind sharing the link for the cube (box) ?
Anonymous
Hi Nikki, thanks for your comment! We gave this table away when we moved (& then I built a bigger one when we got here) but I believe it was this one right here! https://www.target.com/p/sterilite-32qt-clear-view-storage-bin-with-latch-purple/-/A-13794492
Good luck on this project! ? Kristen
Mike
Hi, I cut the wood the sizes you Recommended, and the bin you linked up from target above does not fit. Is it possible that there is another box that you used with the specs? Or could the specs be off? We’re excited to make this for the kids. Thank you!