How to Paint Kitchen Cabinets
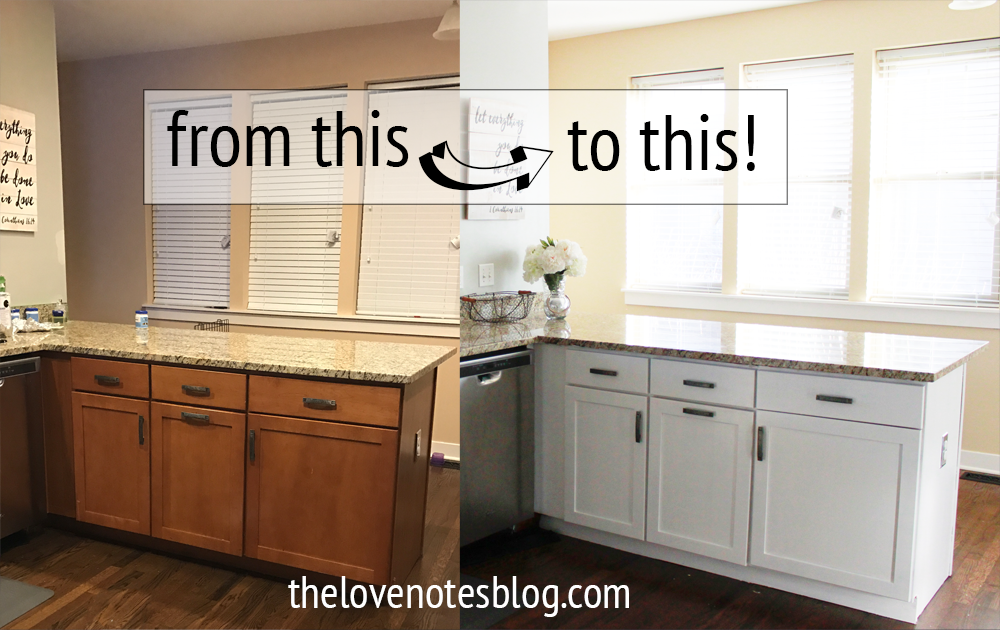
Hi guys! I posted a before/after picture of our newly painted kitchen cabinets on Facebook & had some questions on how we did it, how long it took, etc. so here’s the post with all the details!
I’ve done plenty of painting jobs before but considering this was in our kitchen & not a beat up old dresser, I was a little apprehensive. But we love how it turned out & for less than $100 I’d say it was worth the effort & patience it took to get it done. I wanted to share all the details with you in case you’re looking to update your kitchen too!
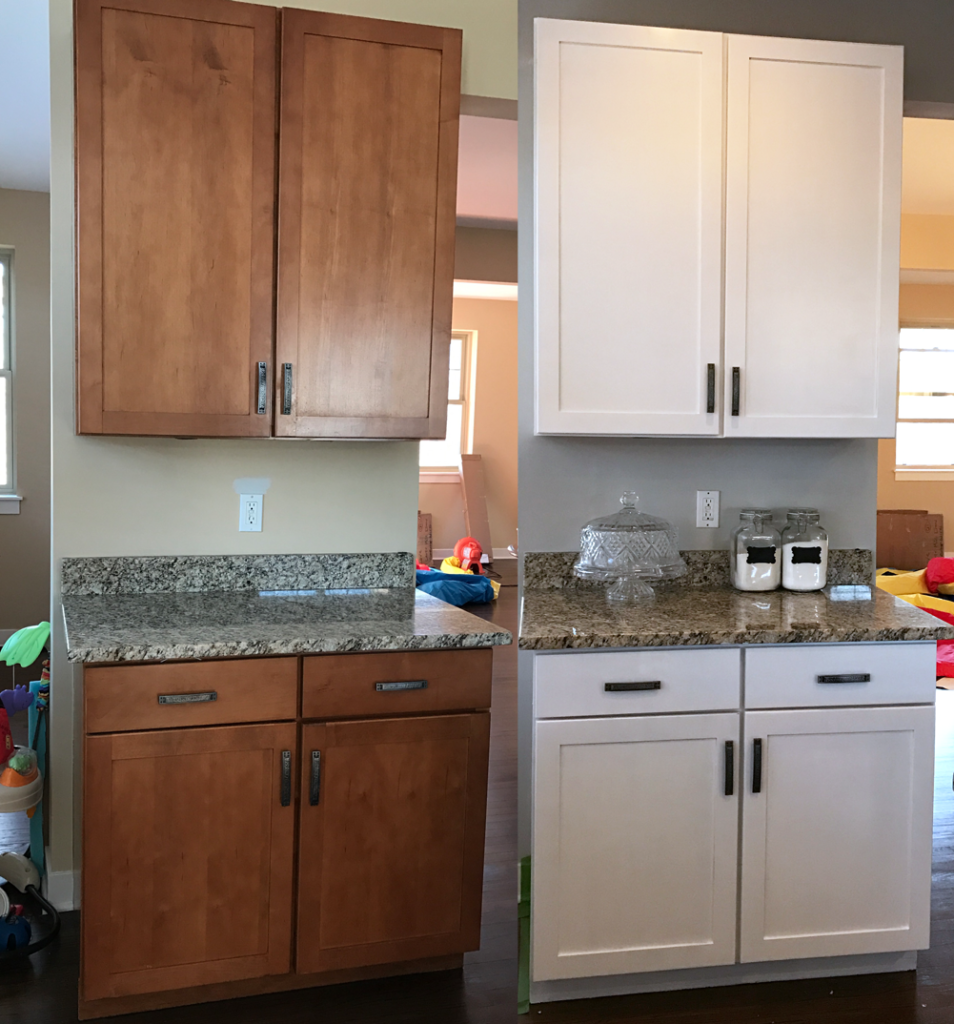
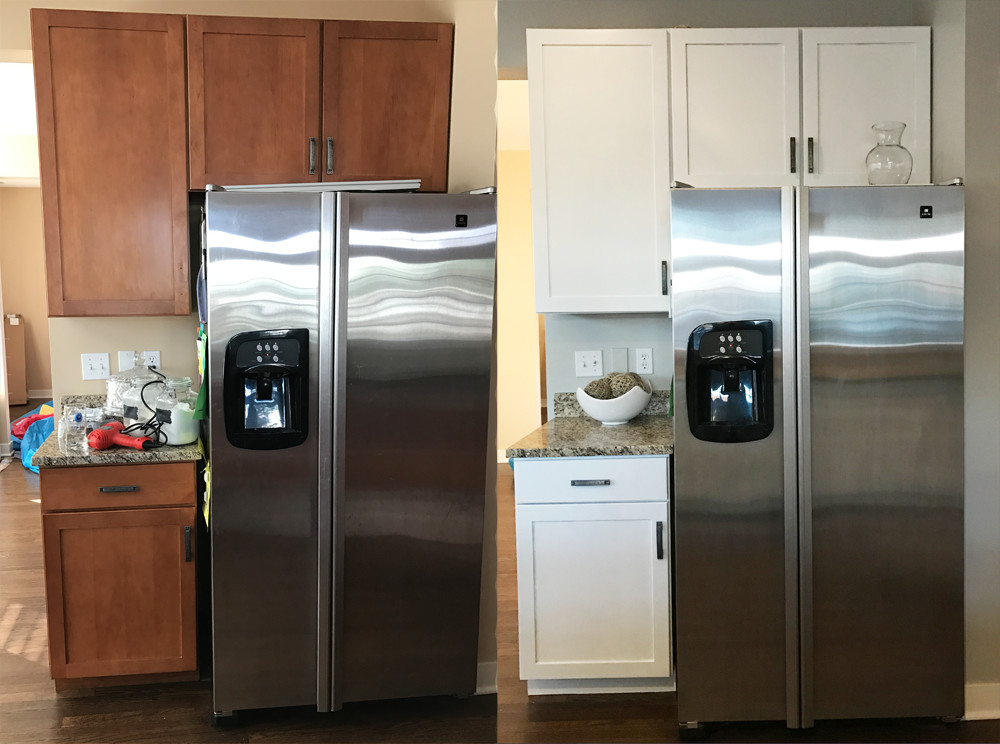
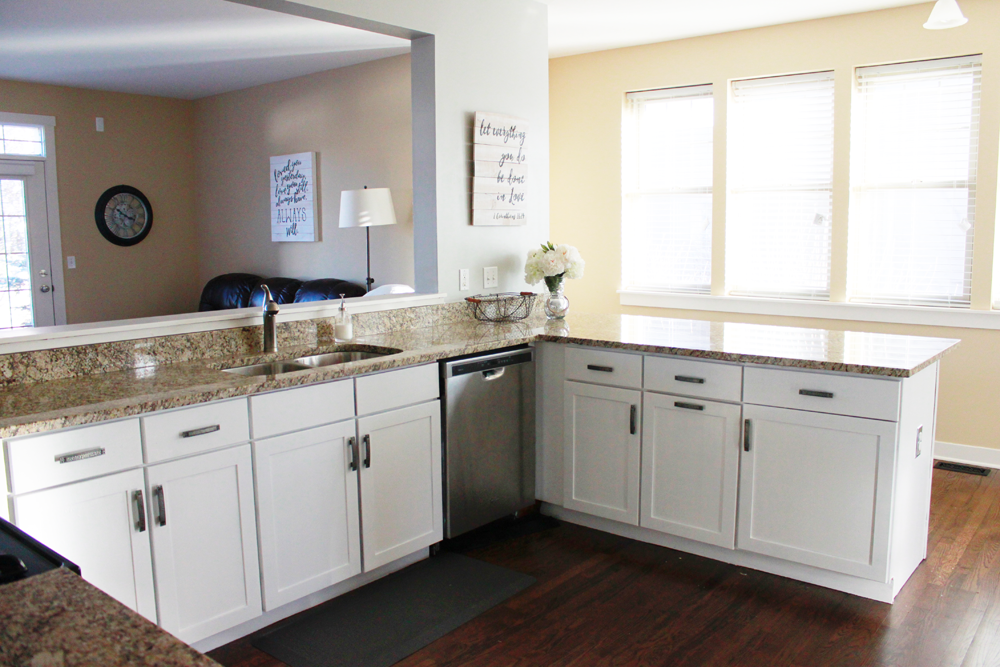
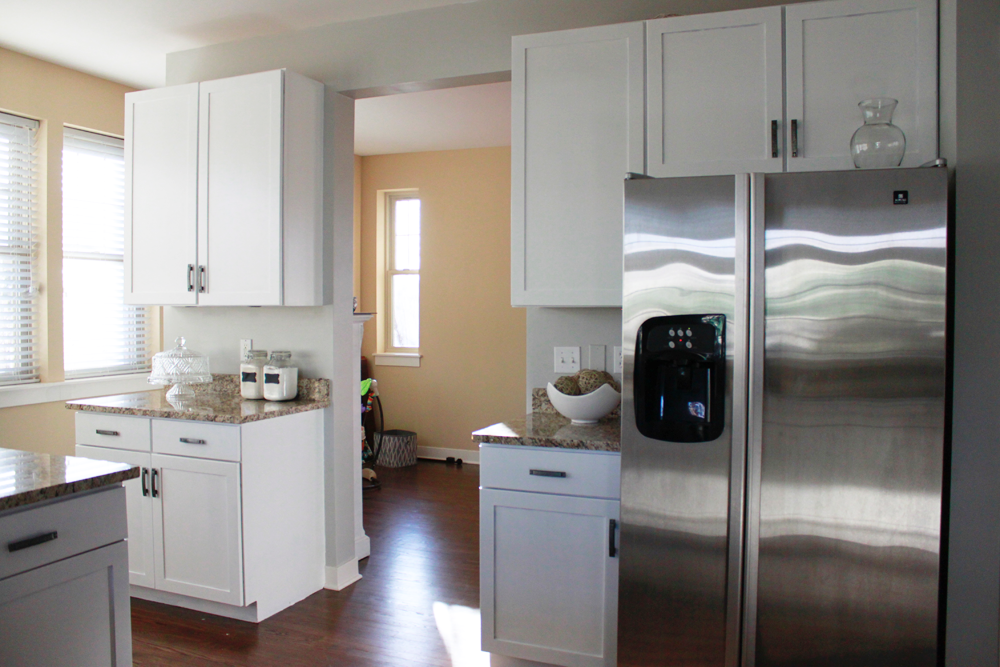
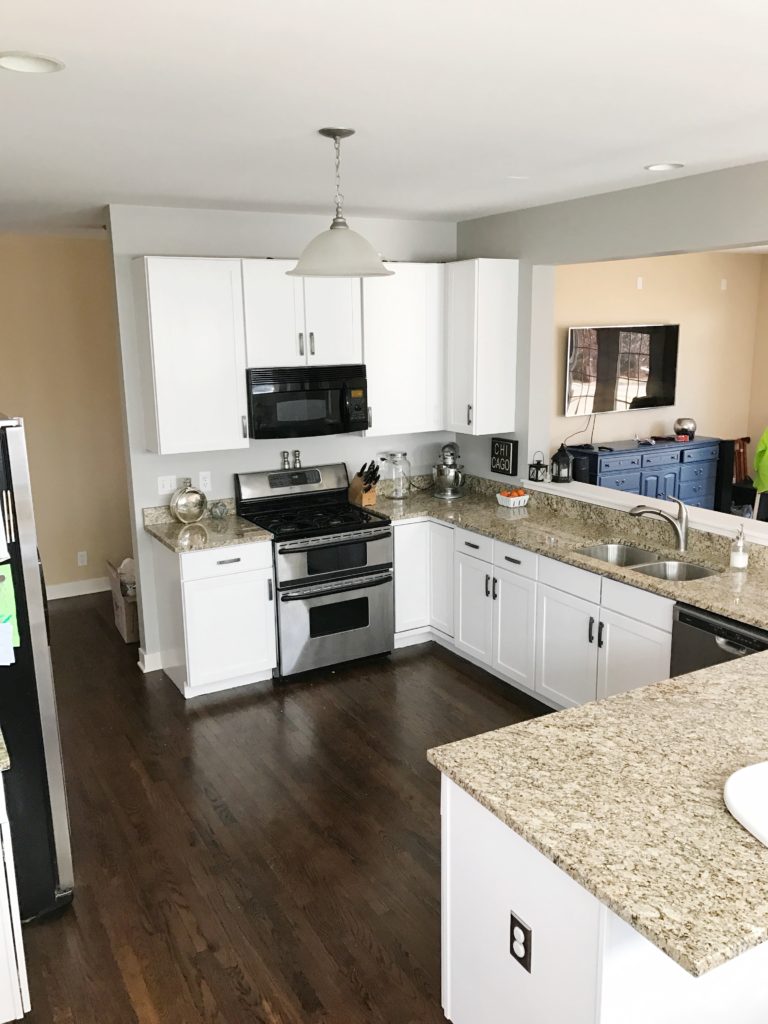
We’ve been wanting to paint our cabinets since we moved in (mid-December) & we finally got around to doing it. While there was absolutely nothing wrong with the plain wood, we wanted a white kitchen & it didn’t disappoint– I can’t believe how much brighter it is in here!!
Ignore the fact that the other walls are tan– that’s our next order of business, haha.
The supply list was pretty small considering the dramatic effect, here’s what we used:
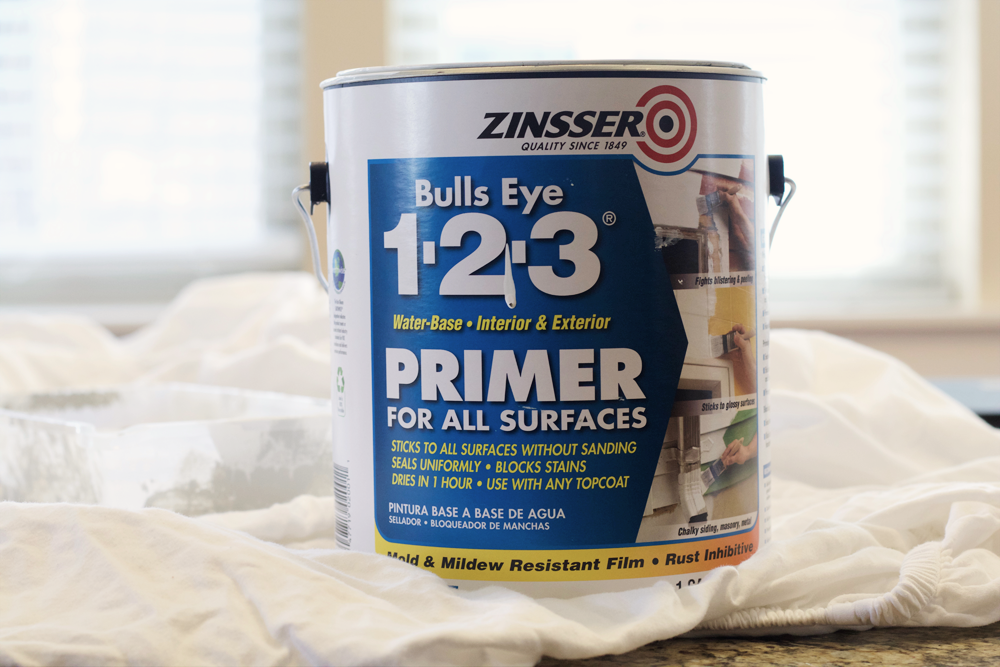
- 1 gallon of Bulls Eye 1-2-3 Primer— $20
- 1 gallon of Valspar Semi-gloss Cabinet Paint in the shade “Du Jour”– $50
- 1 roll of FrogTape Painter’s Tape for the baseboards & along the walls– $9
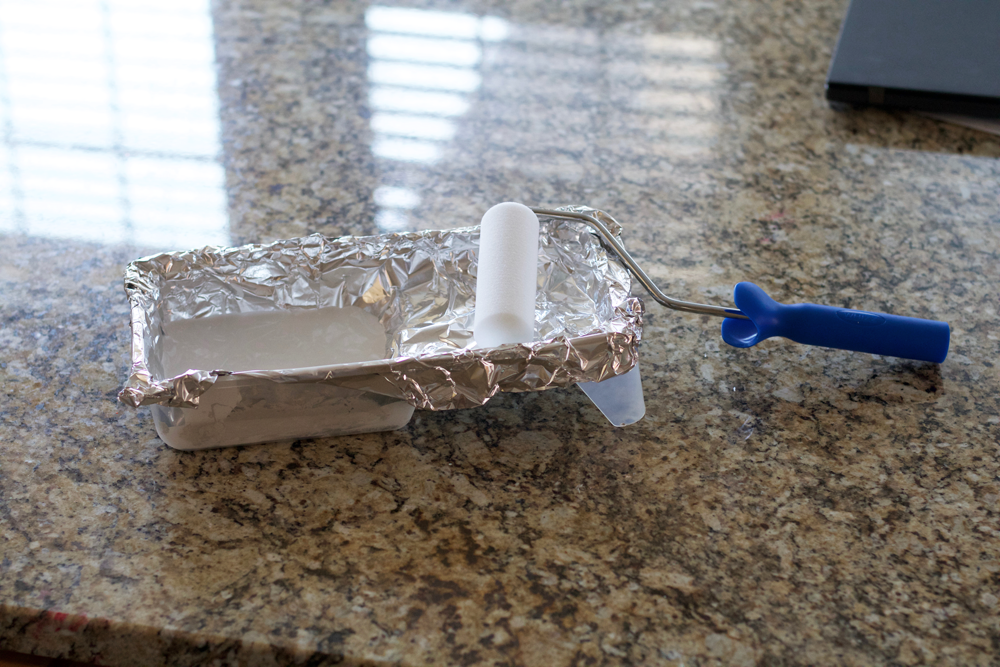
- 1 WHIZZ Mini Paint Applicator Kit (comes with a 6″ foam roller & tray- $6
- 1 Purdy XL Dale Polyester Paint Brush– $13
If we had a paint sprayer I would’ve 100% used that before using a brush & roller. It would’ve been faster!
(I didn’t buy liners for the paint tray so I just covered it with tin foil for easy clean up.)
First things first– if you have a finish on your cabinets, it’s probably a good idea to sand them down. In which case I would invest in a cheap sander, it’s worth it! Ours really didn’t have a finish or gloss, so I didn’t worry about it. Also, if they’re really greasy or dirty, you’re going to need to wash them first. Ours were pretty new, so again, I didn’t worry about it.
Instead of removing the doors, I decided I was going to paint with the doors still on. Which doesn’t make much sense, I know. But I figured it would save me time since I wouldn’t have to wait for one side to dry before painting the other. Two small kiddos means ain’t nobody got time for that. Moms, I know you know what I’m talking about. I also didn’t want them to be able to get into things in the cabinets while the doors were off. I did, however, take off the handle hardware. I wasn’t worried about painting over the hinges since they are on the inside of the doors. If you want it to look super professional, I would take off the hinges.
I started on a section of cabinetry that’s off to the side & painted the inside of the doors first. Somehow I thought if I messed up or it didn’t turn out as planned it would be less noticeable since it was in it’s own section of the kitchen, ha!
I started by painting the areas I wouldn’t be able to roll with the brush, i.e. the corners & inner edges. I was thankful we only have shaker style cabinets & nothing with an intricate design! Once I got the edging done, I went in with the roller on the middle section of the doors, following with the outer, raised perimeter.
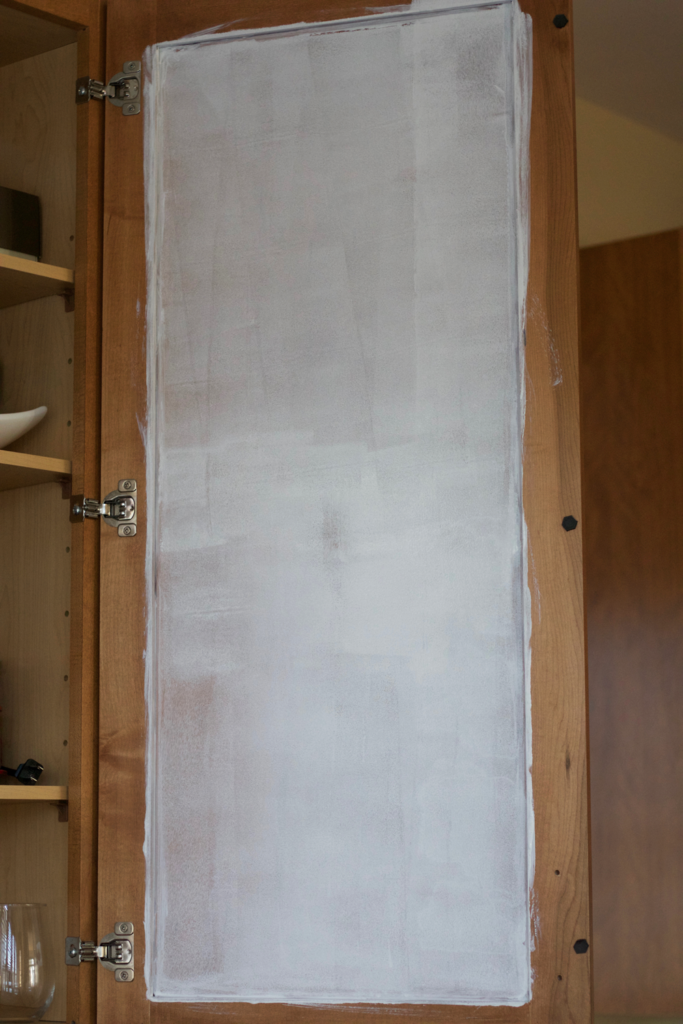
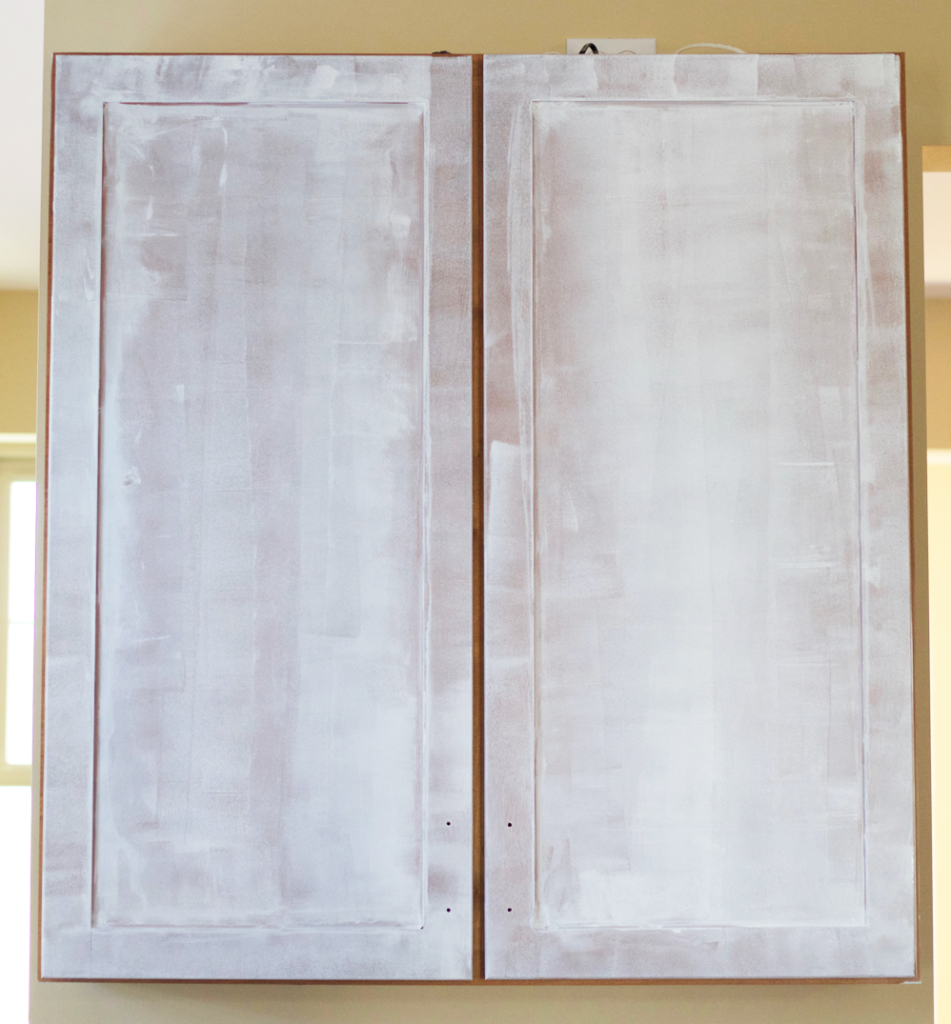
I learned somewhere that more thin coats are better than one gloopy, heavy coat. So although I was feeling nervous after what looked like a terrible mistake (the first coat, haha) I kept going. I continued the priming process by edging first with a brush then going in with a roller.
& here’s the part where professional painters everywhere are questioning my DIY abilities, lol.
I did 2 coats of primer before going in with the paint. We decided on Stone Isle by Sherwin Williams for our walls, and went with Valspar Semigloss Cabinet Paint in the shade “Du Jour” for the cabinets– which I learned already has a primer component mixed in. But I’m still glad we primed, especially considering we were painting over wood with white. I initially didn’t want semi-gloss, but Tom & the paint guy at Lowe’s both convinced me it would be much easier to keep clean with kiddos. Sold.
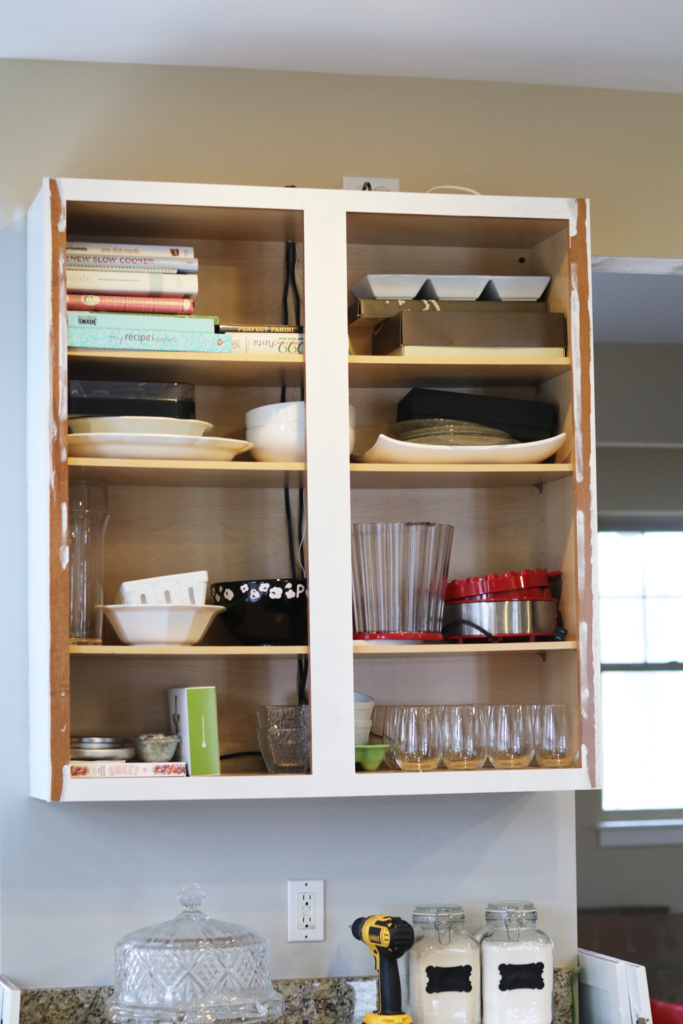
Once the doors were painted, I took them all off so I could paint the parts of the inner cabinet that were covered by the door and hinges. I just painted the face, not the entire inner cabinet. I’m getting a headache just thinking about how long and tedious that would be, ha! Here’s a look inside my messyish cabinet. You’re welcome.
When all the cabinets were painted, I taped off the floor & did the baseboards and the island last, which actually didn’t take long, maybe 30 minutes. I didn’t prime, just did 2 coats of paint on the baseboards & 3 on the island.
When everything was dry, I went ahead and put the doors back on followed by all the handles. I couldn’t believe how good it looked! Everything came together at the very end when the hardware went back on. It’s so bright in here & I love it!
You could do this project in a weekend, especially if you had 2 people working/a spray gun. It took me over the course of a week doing 15 minutes here, 30 minutes there, and a couple hours after bedtime. If you had a nice block of time you could knock this project out!
I hope this was helpful, please feel free to leave me questions down below if I missed anything. Thanks so much for stopping by– good luck!
Be sure to check out some of my other DIY projects:





4 Comments
Alex Paul
Thanks for sharing this amazing content, it’s helpful and informative.
Andrew
Great article, thanks!
Painting Contractor
Looks awesome and you did a great job here. Nice instructions, this is the one I’m using for my cabinet redo Thanks.
Pingback: