DIY NO SEW TEEPEE!
Over the years I’ve seen DIY Teepees on Pinterest & I knew if we ever had space for a playroom I was definitely making one. I like the idea of having a cute little place to read books or just chill out. When we finally decided to turn our spare room into a playroom, this was first on my list :) & for under $15, I love how it turned out!!
Initially, I built the frame as I saw on other tutorials… enforcing only the top. Gio decided he liked to climb on it/play hide & seek behind it, so the legs were constantly shifting. Even though I don’t think it would have ever toppled over, it drove me crazy that the fabric would be all droopy lol.
I realized I needed some reinforcement to make sure it would stay put & be sturdy. If I would have known this, I would’ve done a few things a bit differently, but I’ll explain that as I go. Adding the supports did make my teepee look a little bit lopsided by the time I was finished, but I am willing to overlook it because 1. I’m not a professional, haha. & 2. This thing is strong, sturdy & not budging now.
Here’s what I used:
- 5 pieces of Top Choice #2 Pressure Treated Lumber 1″x2″x8′, $1.87 each @ Lowe’s. Get 6 if you want to add the supports between the legs!
- Saw & Miter box — only if you want to add the supports between the legs
- Pro Crafter 6×2-1/2″ wood screws. I had these leftover from my DIY sensory table project.
- Drill
- Hot glue gun & glue
- String or twine
- Fabric– I already had a few yards of muslin that we used as table cloths at our engagement party, then our wedding, then Gio’s birthday. You can get creative for this part… I’ve seen people use up their scrap fabric by gluing different colored strips & it came out so cute!
- Paint– optional
What I did:
Arrange the wood how you want it & secure the heck out of it with twine/string about a foot from the top of the wood pieces. If you’re smart, you’ll have someone help you with that part. Apparently, I’m not smart… I’m just impatient, haha. Hubby wasn’t around & I didn’t want to wait, so I figured it out on my own (I used the corner of the room as a guide, you’ll see in the second picture below.) Don’t worry about the twine looking “messy,” you’re going to cover it with fabric later.
I added some hot glue along with the twine for added security– then went back at the very end & drilled screws into the wood. I probably should’ve screwed them together from the beginning, that might have been sufficient enough for me not to need the added supports. But going back & looking at other tutorials, I somehow overlooked the fact that they all drilled holes & strung the twine through the wood to keep it together, instead of just wrapping the heck out of it like I did. So… even though mine seemed strong, that’s probably why things eventually shifted.
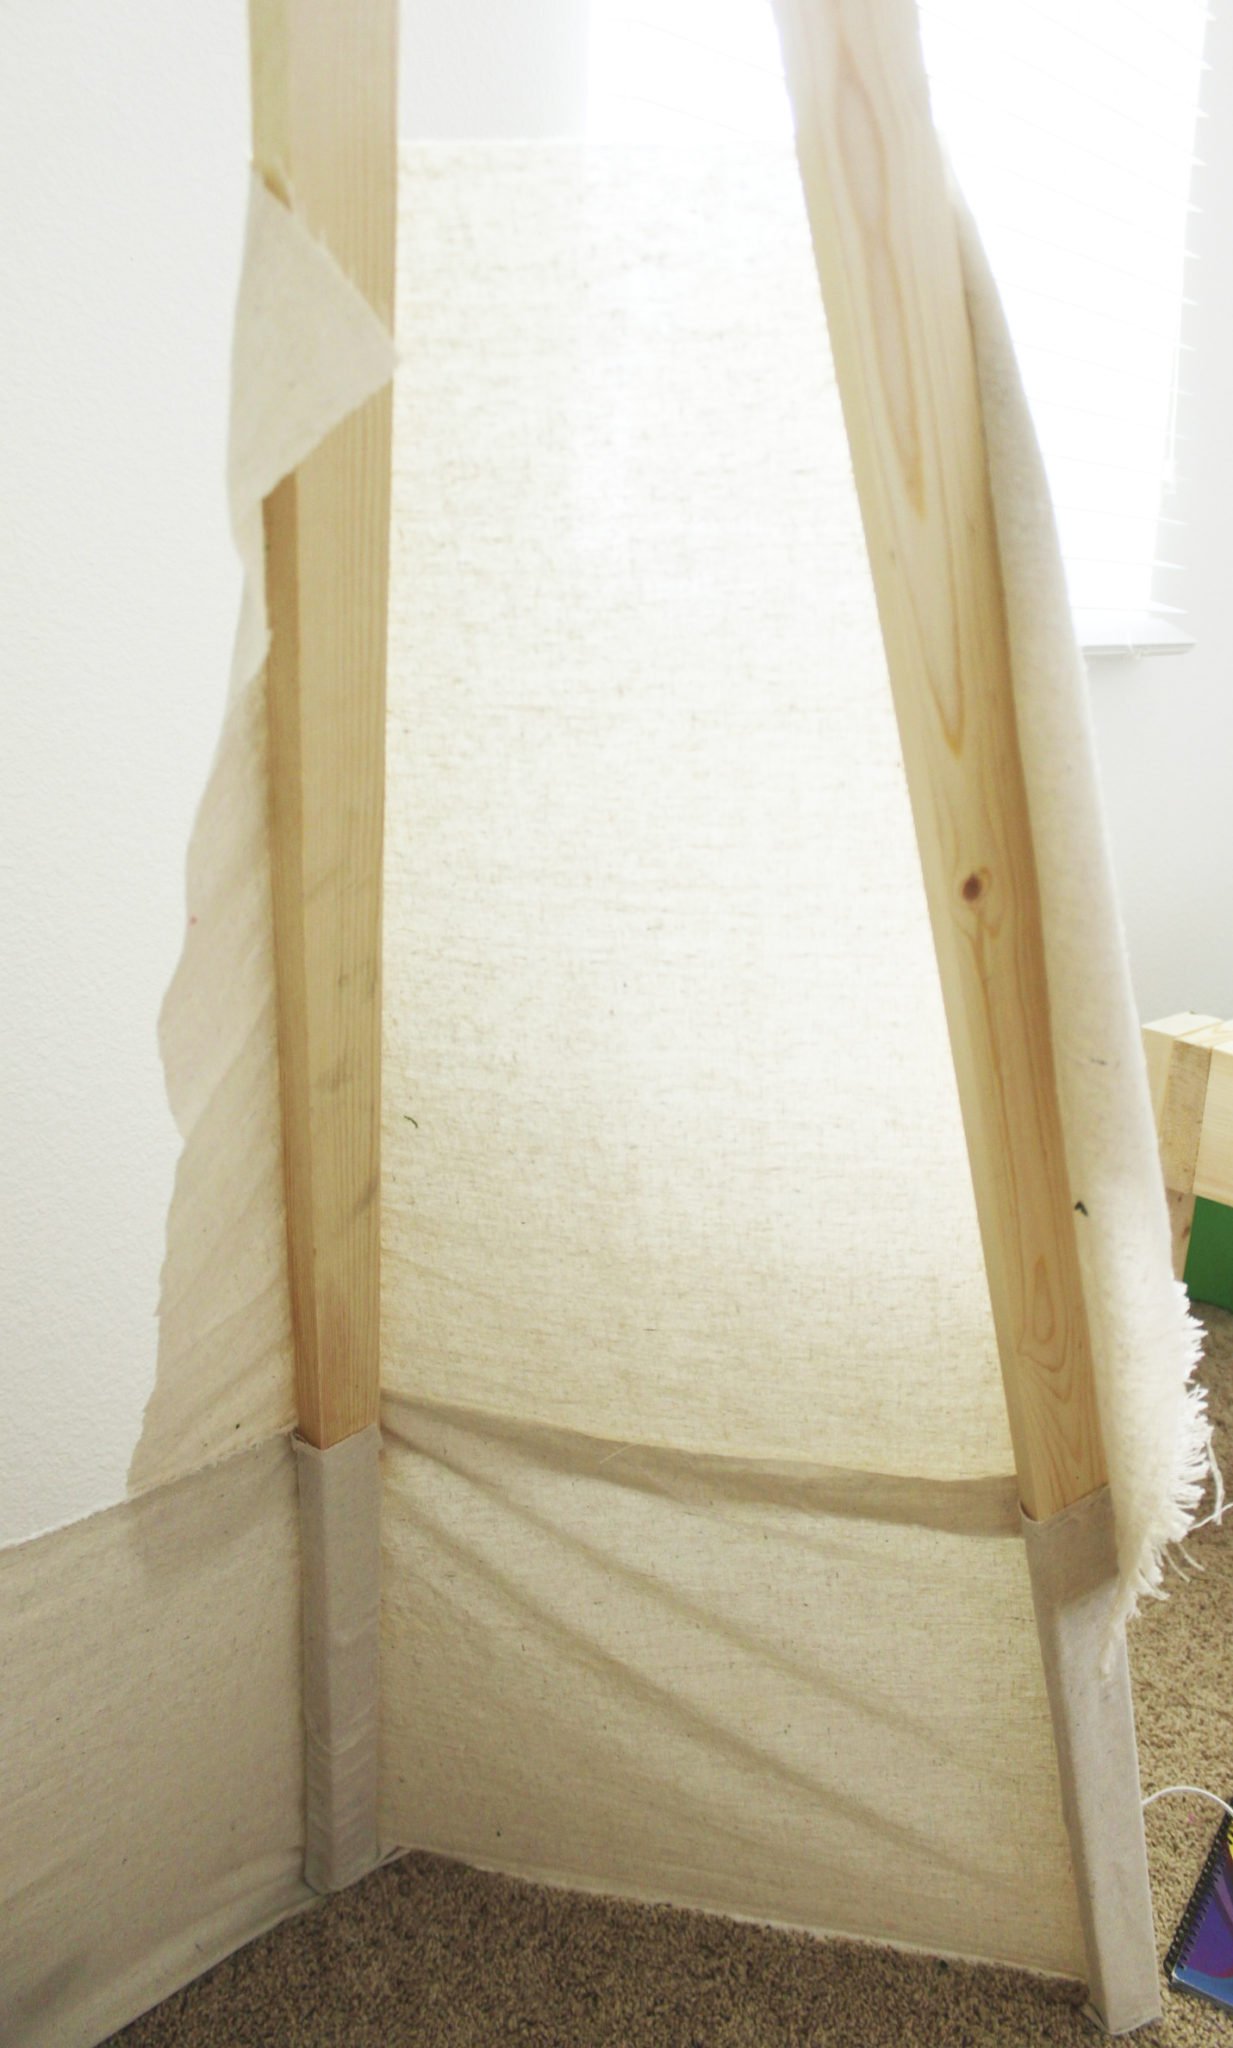
See how I arranged the legs? 1 in the corner, 2 along the walls equally distant from the corner, then 2 in front of that. This photo shows a panel already glued, but if you’re adding supports, do that before you start adding fabric!
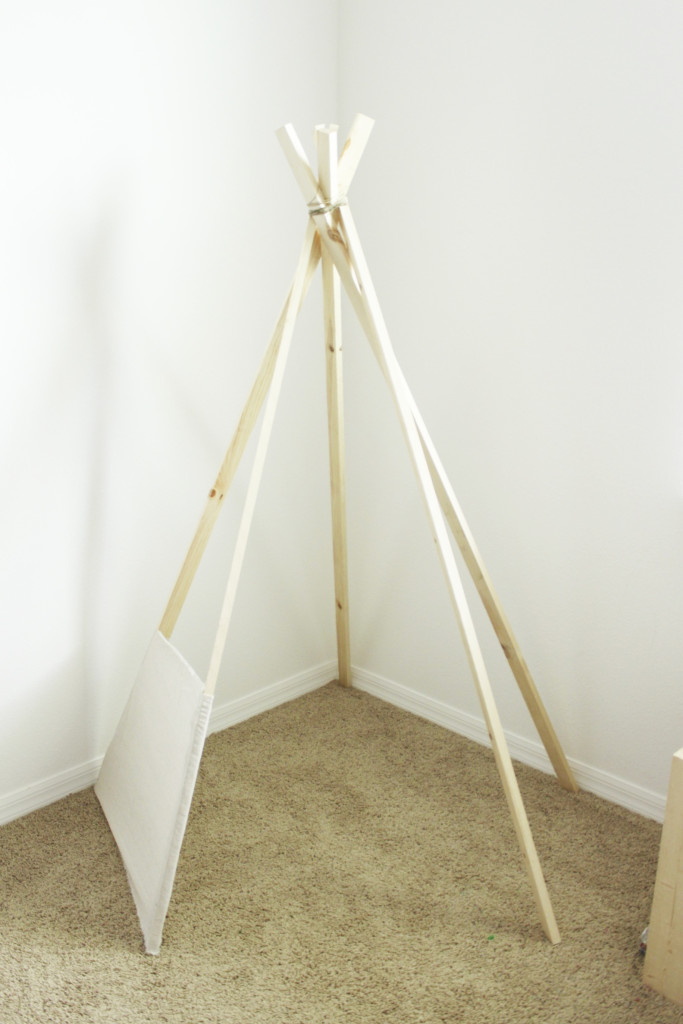
*If you’re not adding supports, you can skip this part*
A little lower than 1/2 way up, I measured between 1 section to see how long my support needed to be. The legs shifted a bit as I screwed in each support,so just measure as you go. I had to saw the ends of the supports on an angle to fit between the triangle shape of the legs. This part was kind of a pain since I had to saw by hand & I have no arm strength, haha. Screw in all your supports & you can continue with the next part- gluing the fabric.
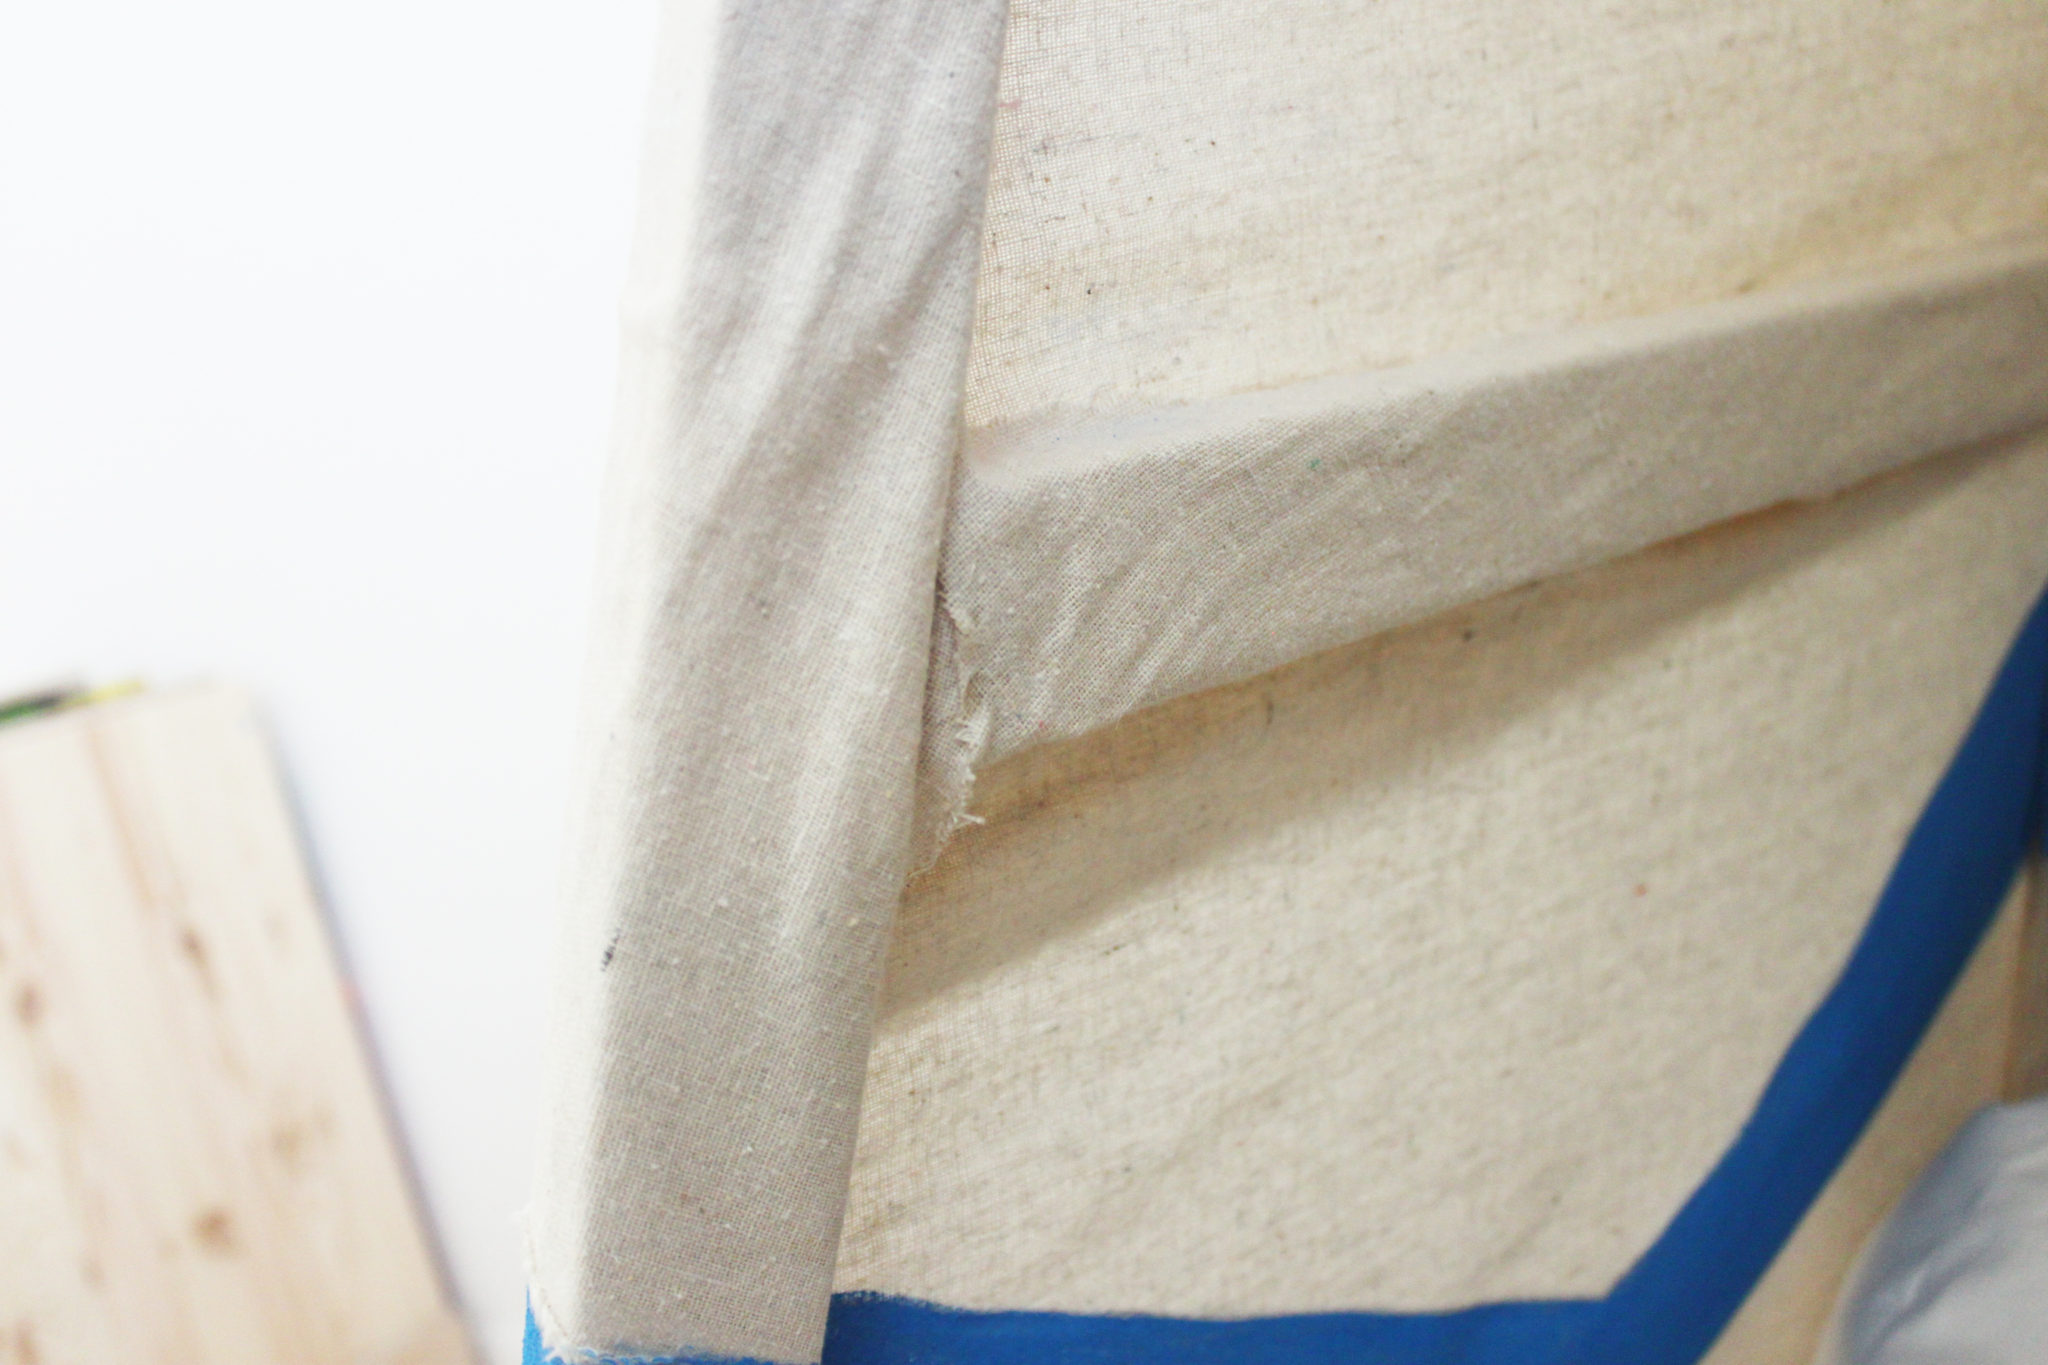
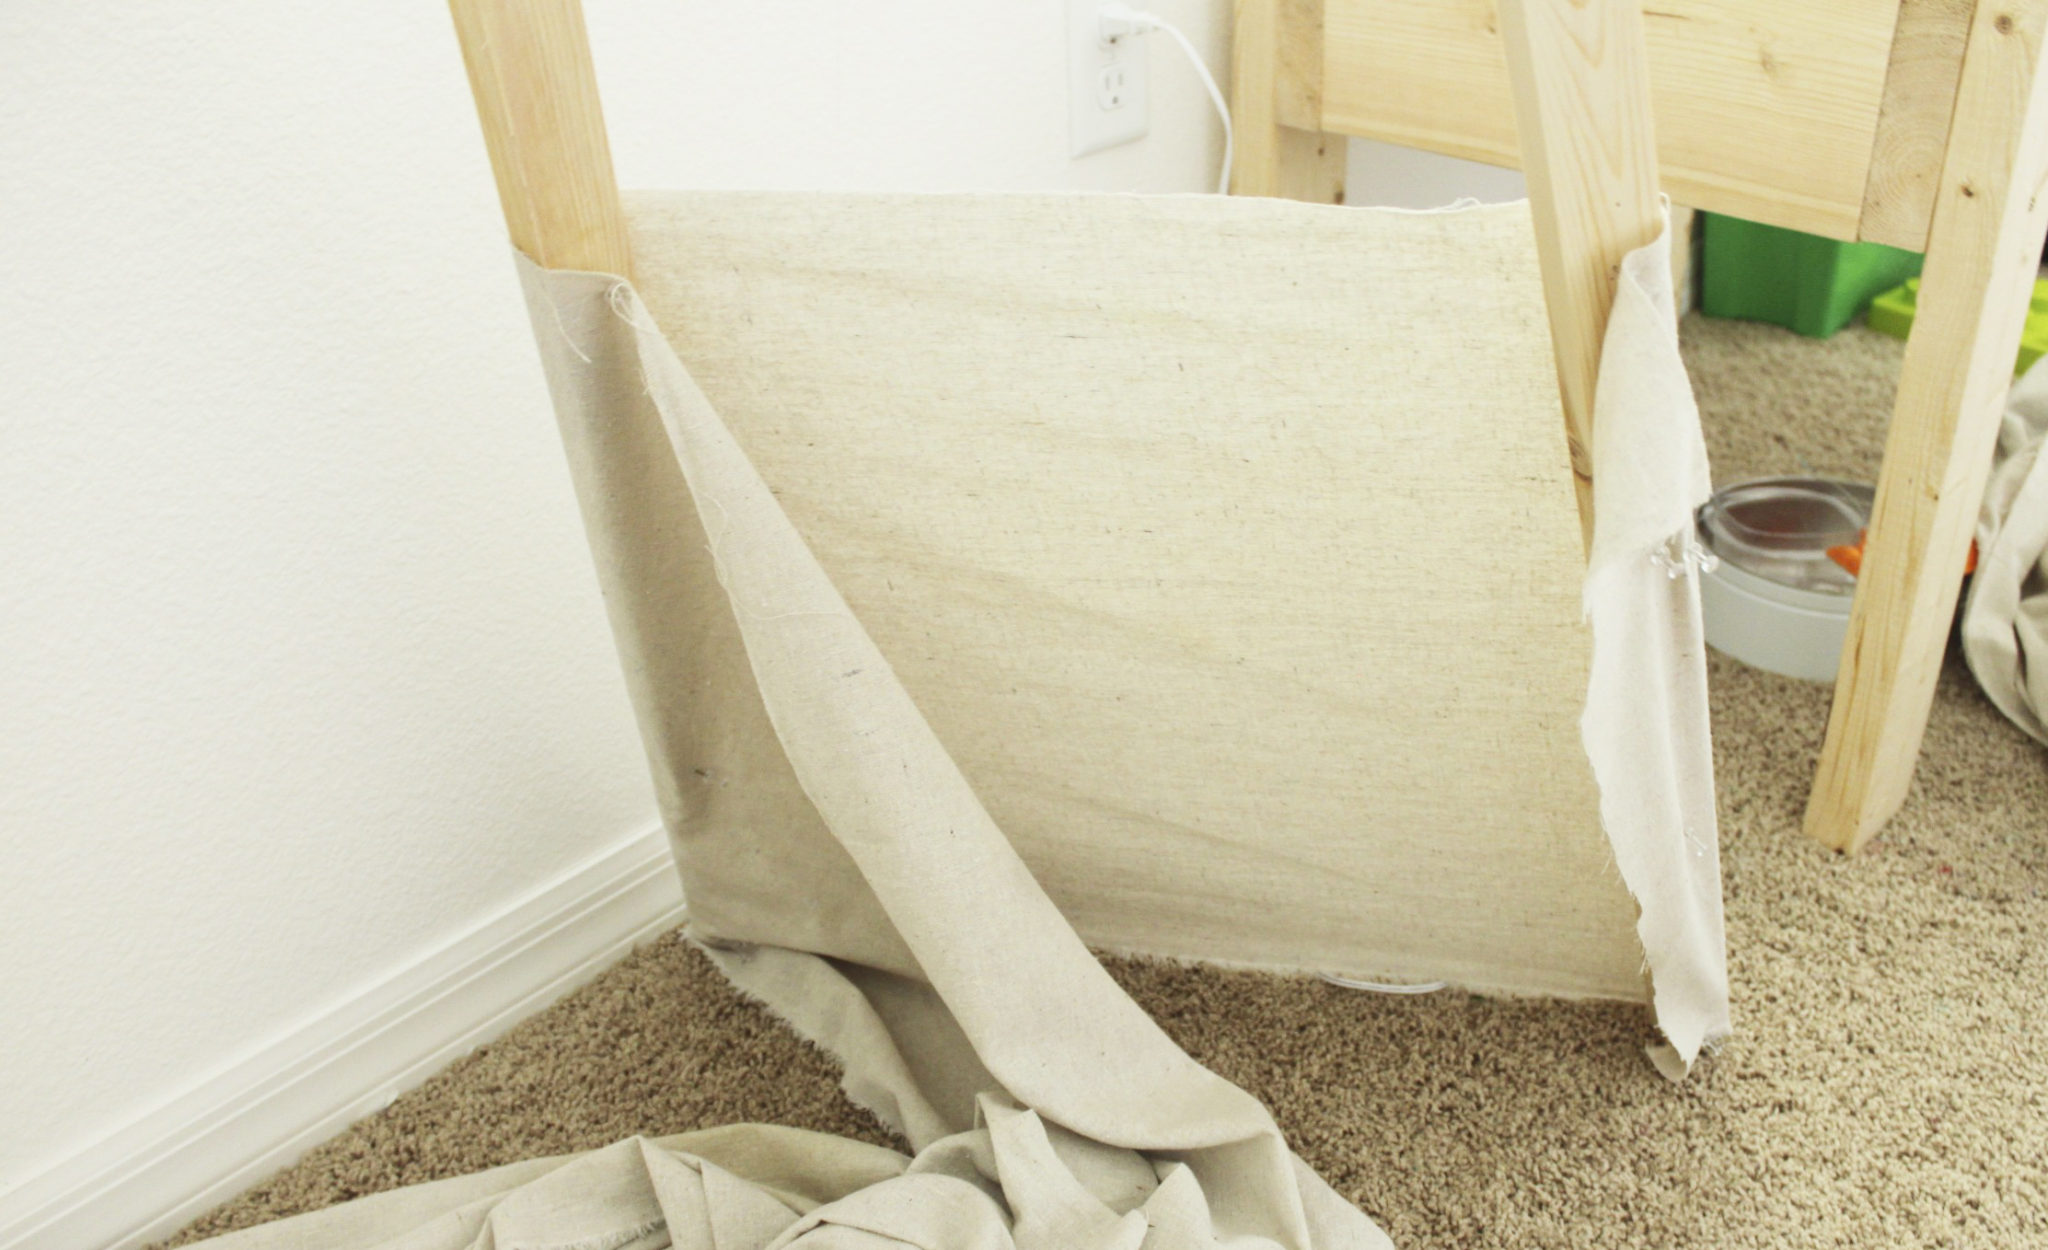
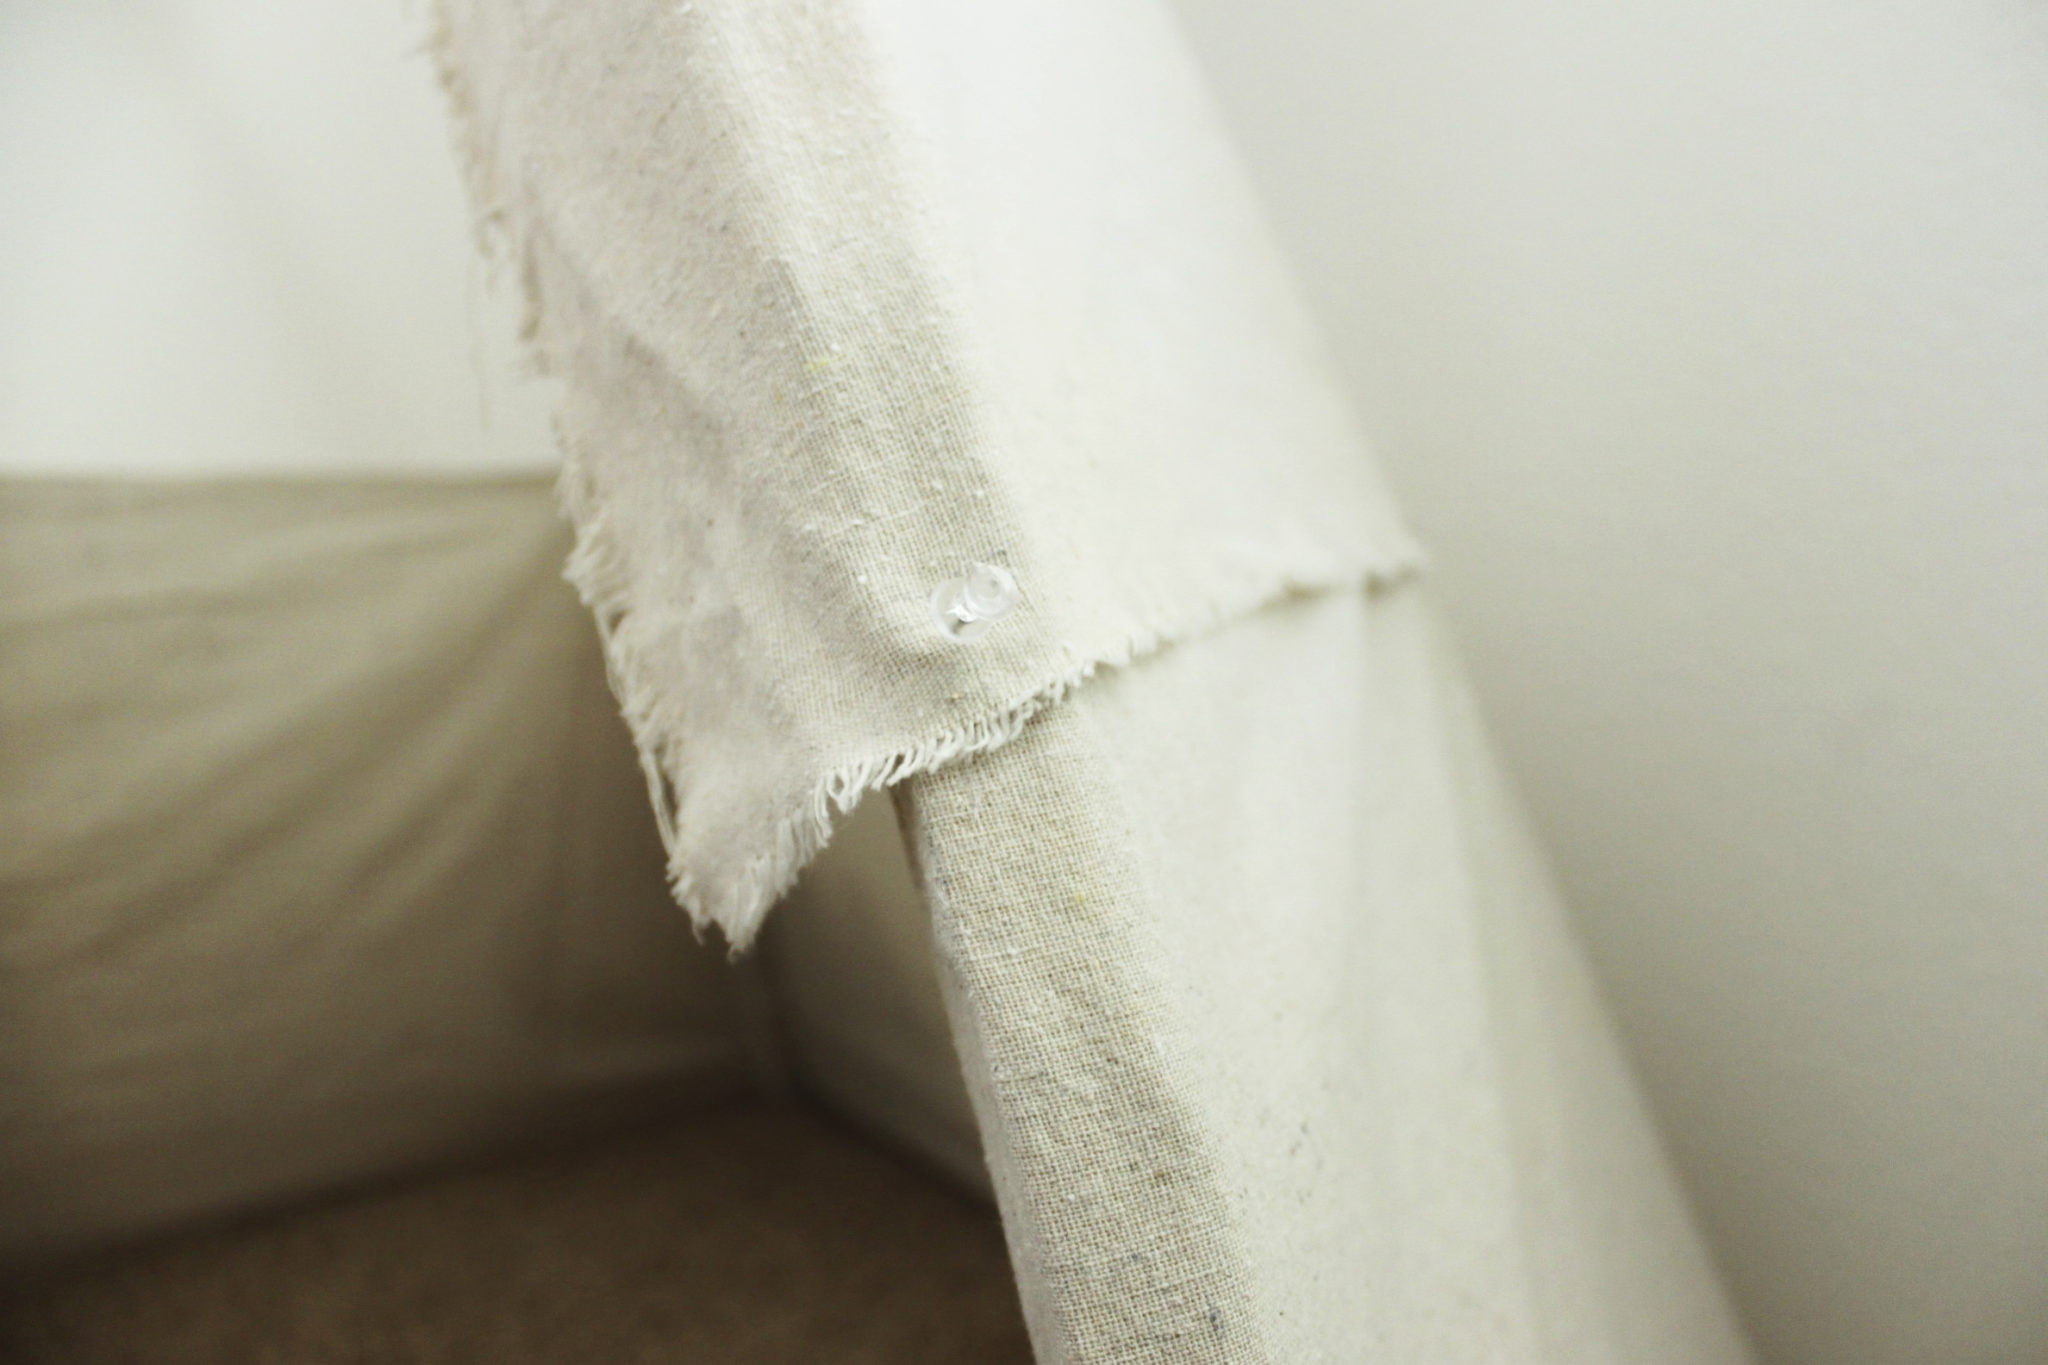
Glue on your fabric between each of the legs, starting at the bottom. If I had enough fabric, it would’ve been easier to glue top-to-bottom instead of side-to-side. I wouldn’t have needed to worry about straight lines & it would’ve taken less time… But the way my fabric was cut, I had to do it that way. I left a little overhang when cutting the fabric so I could wrap it completely around the wood since I didn’t want any to show. It’s up to you how you want yours to look.
After doing a couple panels, I realized it was much easier to hold the fabric in place with push pins before gluing. I could pin up the fabric & cut it how I needed it.
I glued all the bottom pieces first, then started on the second tier. I covered the top inch or two of the bottom panel & I made sure to glue the panels together so there was no gap.Continue around the rest of the teepee & onto the top tier, making sure everything is glued down. 
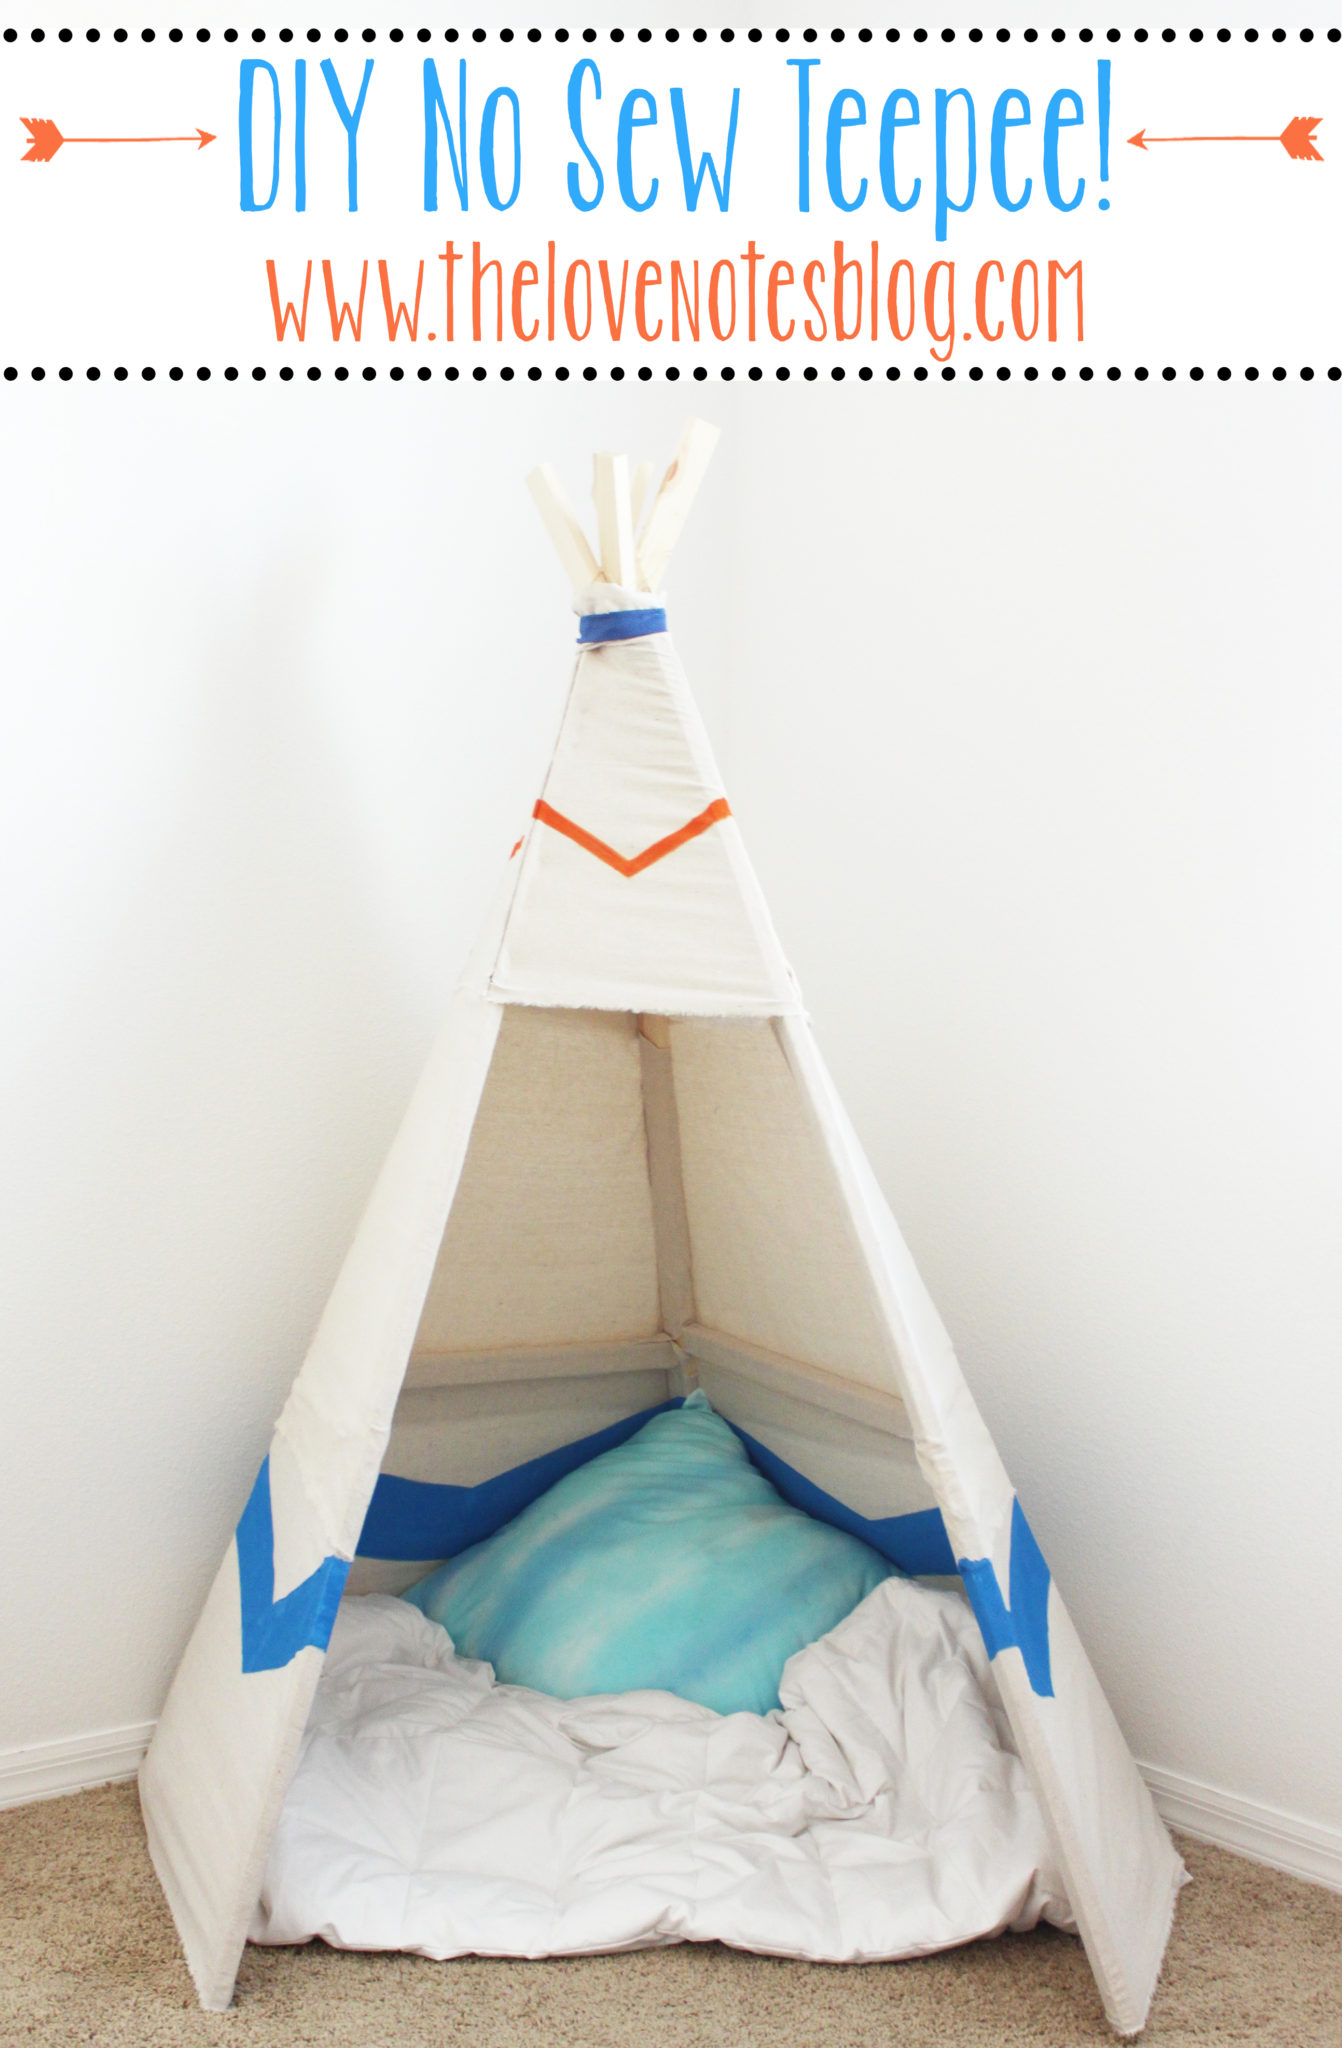
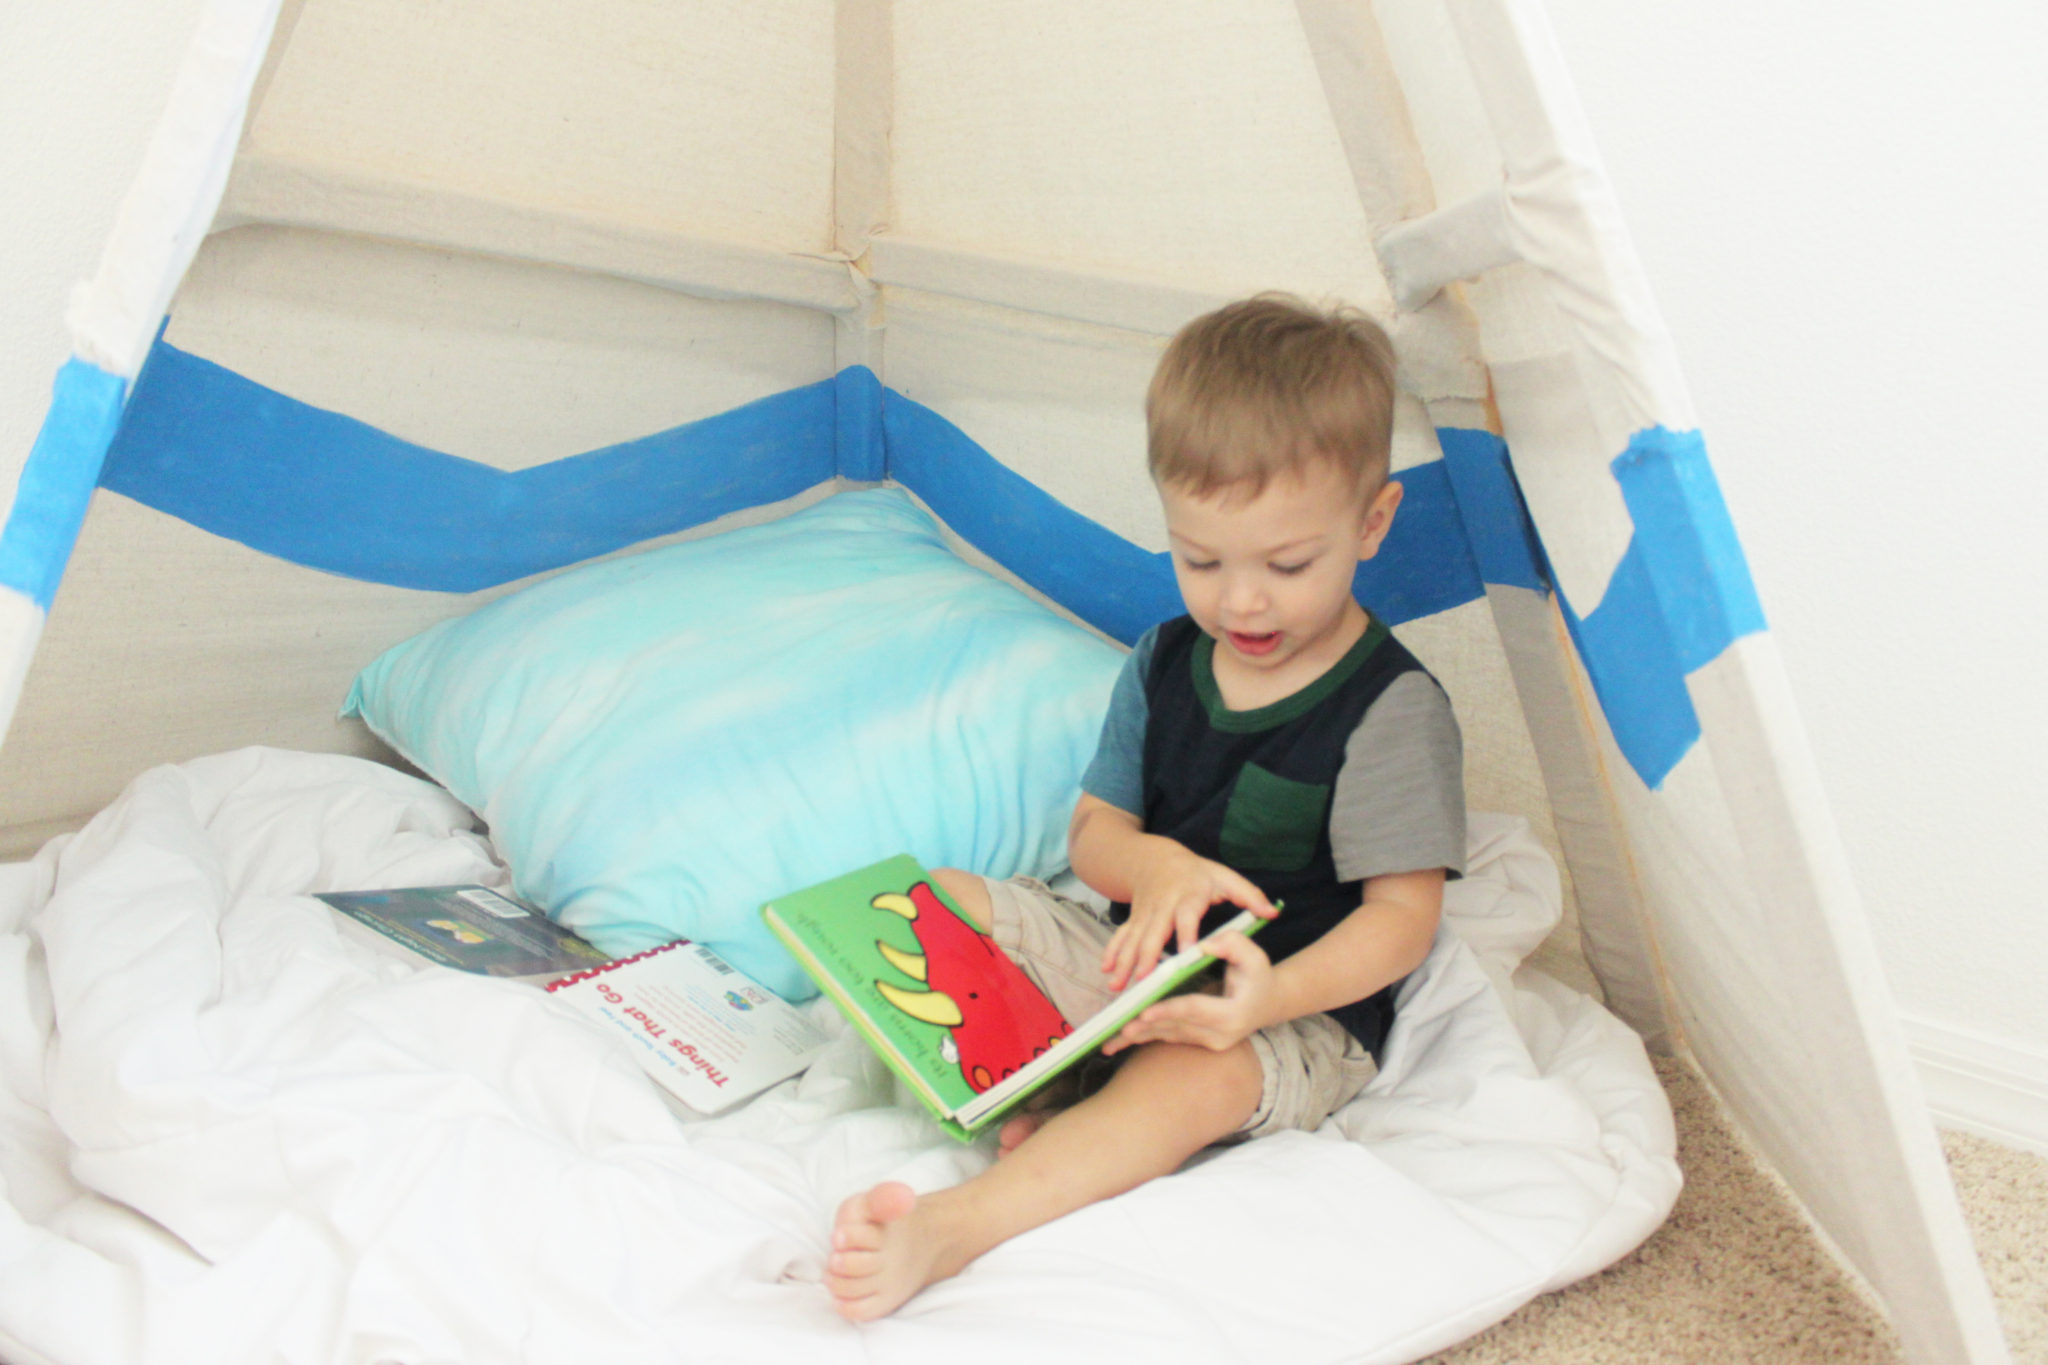
Once my teepee was all covered, I went back and re-glued parts of the fabric that looked a little loose to me…things tended to shift on me a bit as I was working. I drilled screws into the wood where they came together at the top to make sure nothing was going anywhere. I made sure it was all covered up with fabric & added a blue strip of fabric for detail at the top.
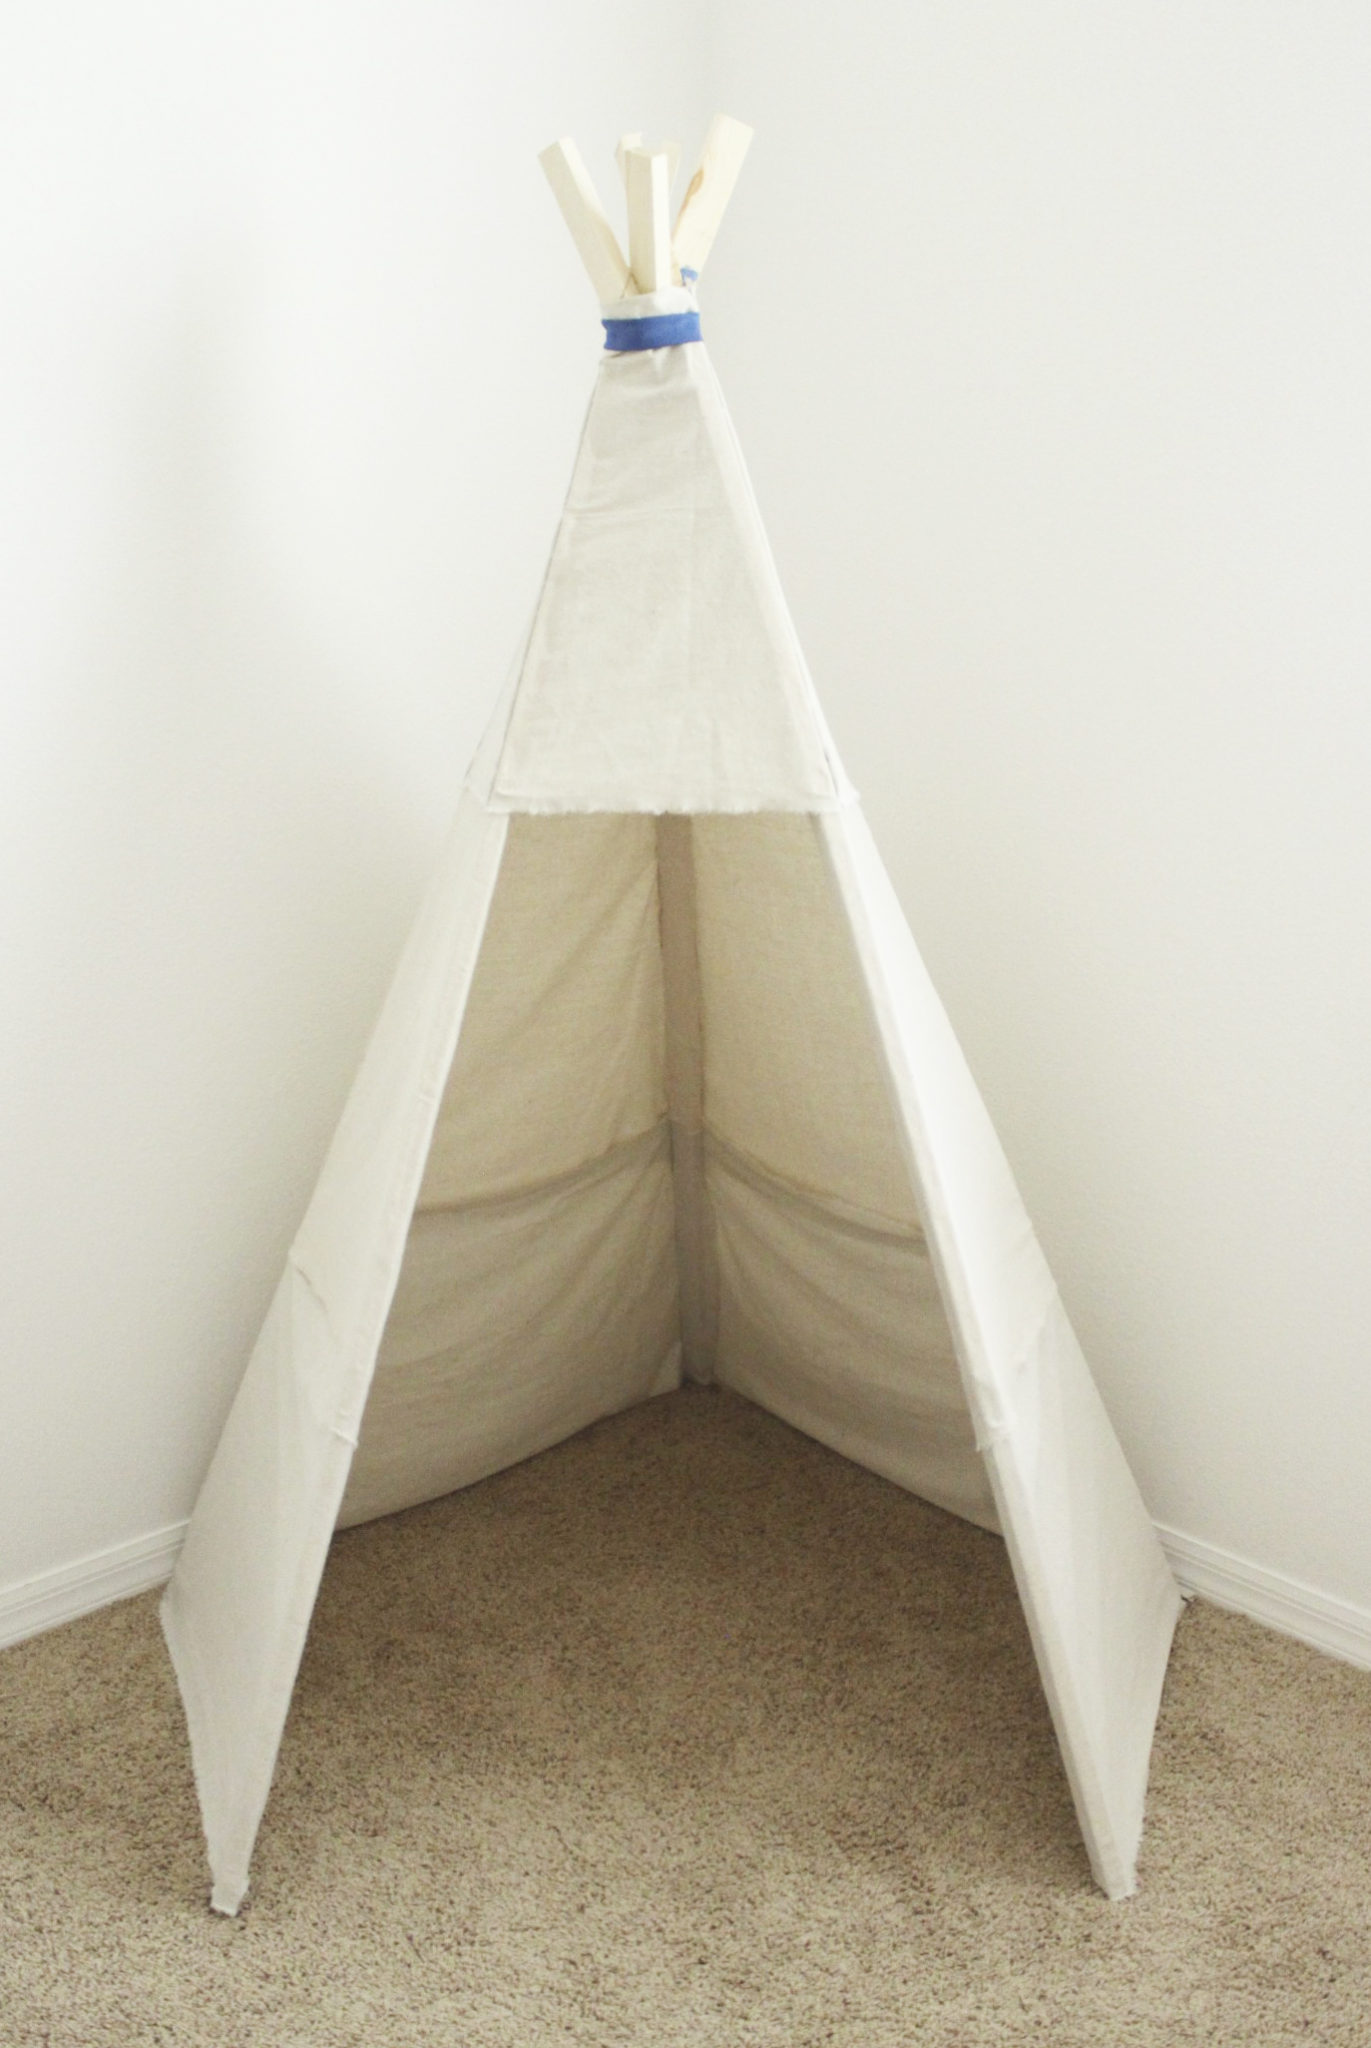
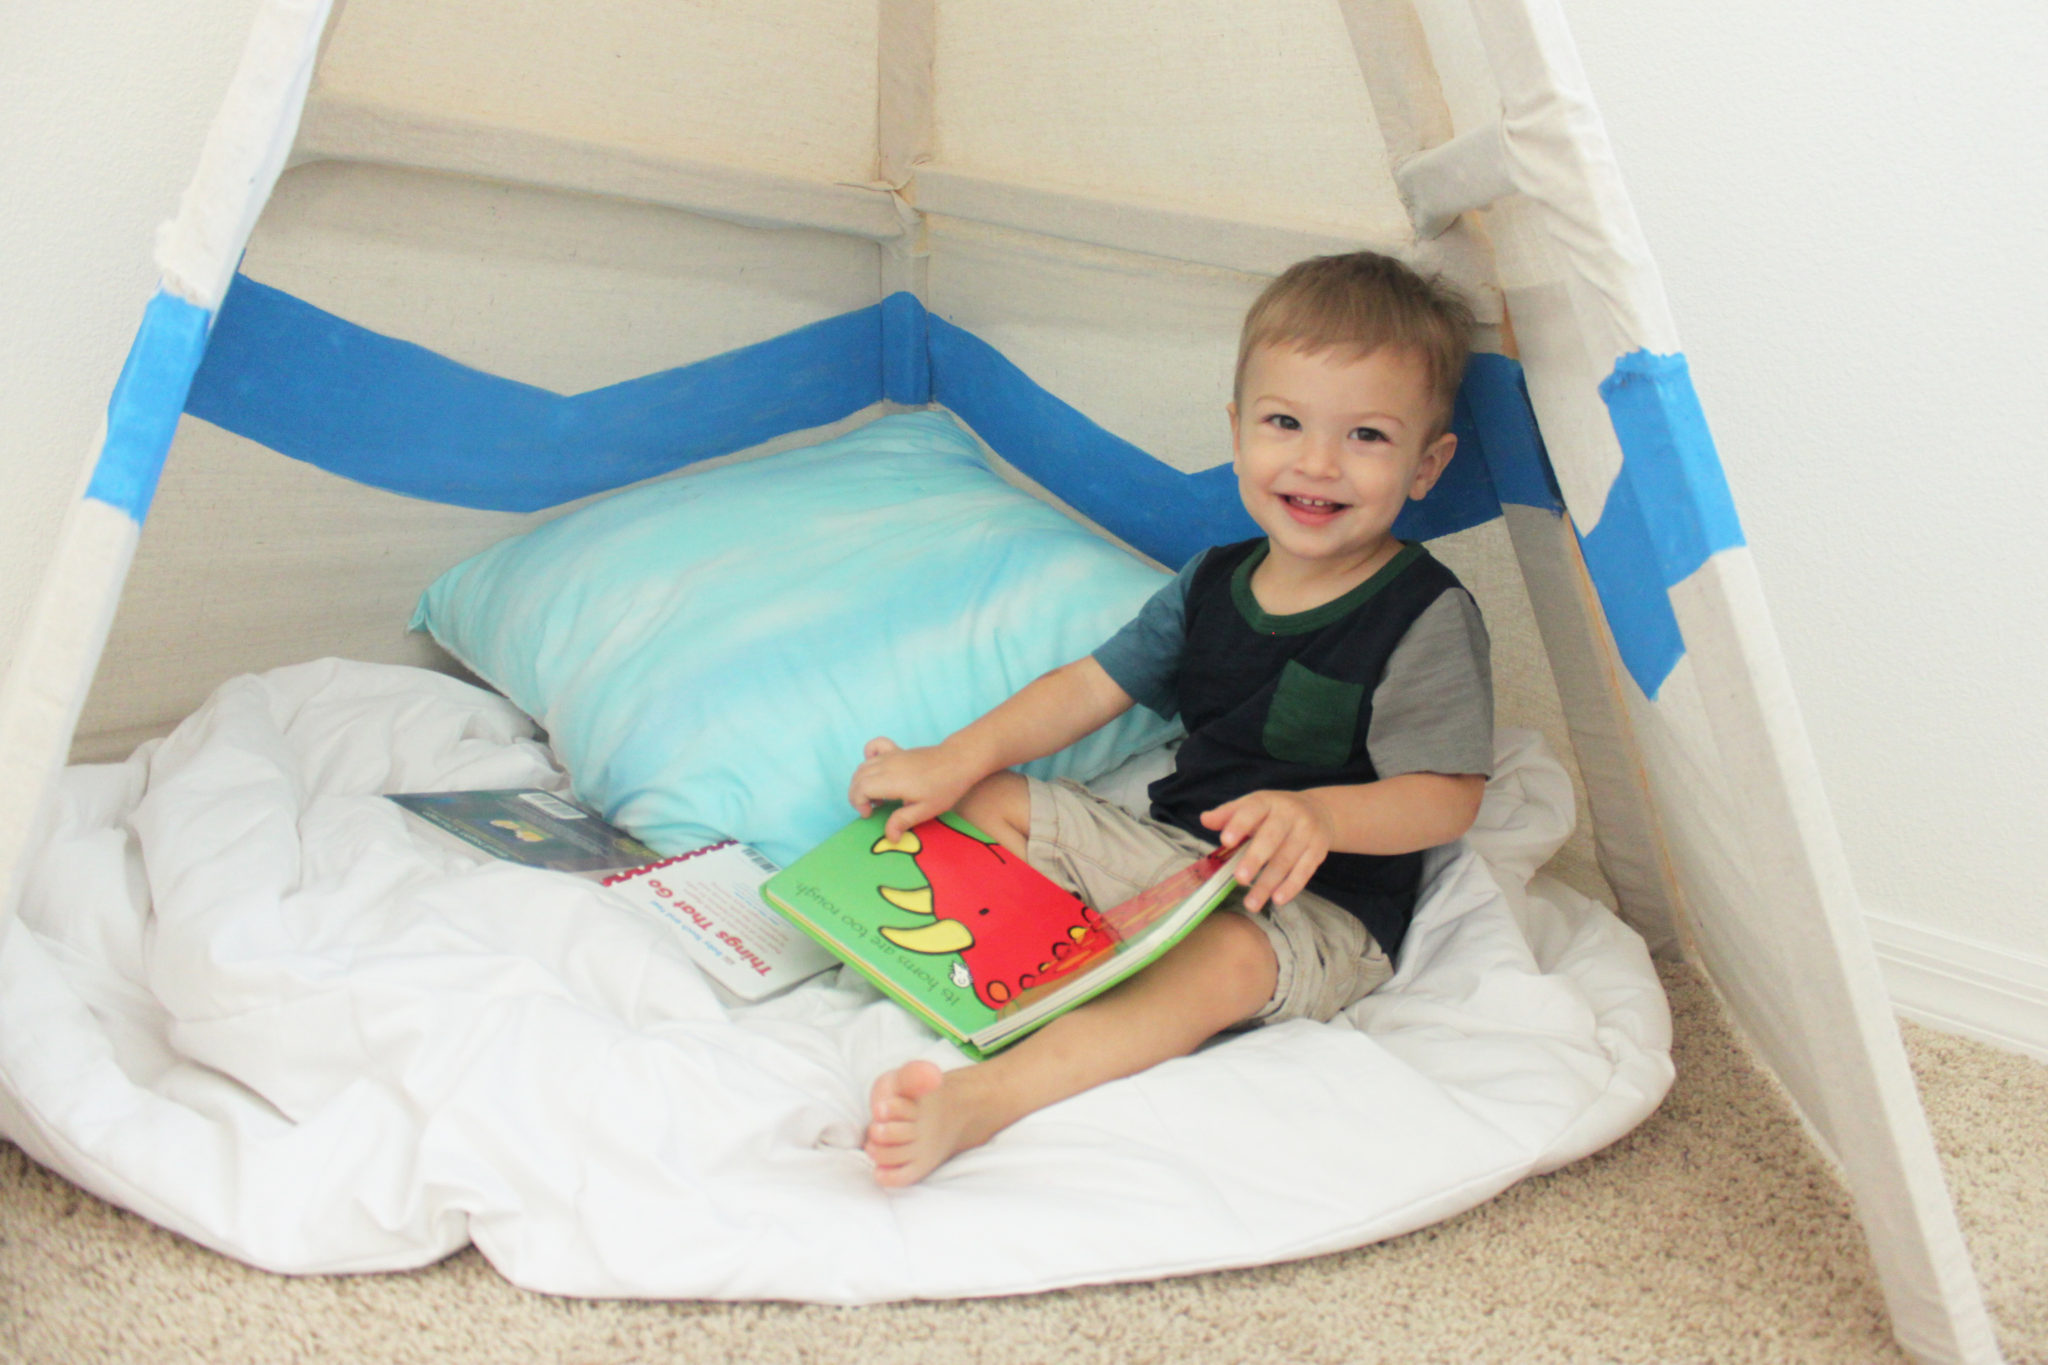
I played with the idea of having flaps on the front, but I figured Giovanni is a little young to understand we aren’t supposed to pull or hang on them, haha. So I just left it open & figured I could always add flaps later. I painted a zig-zag pattern with bright blue & orange. & this is the final product!
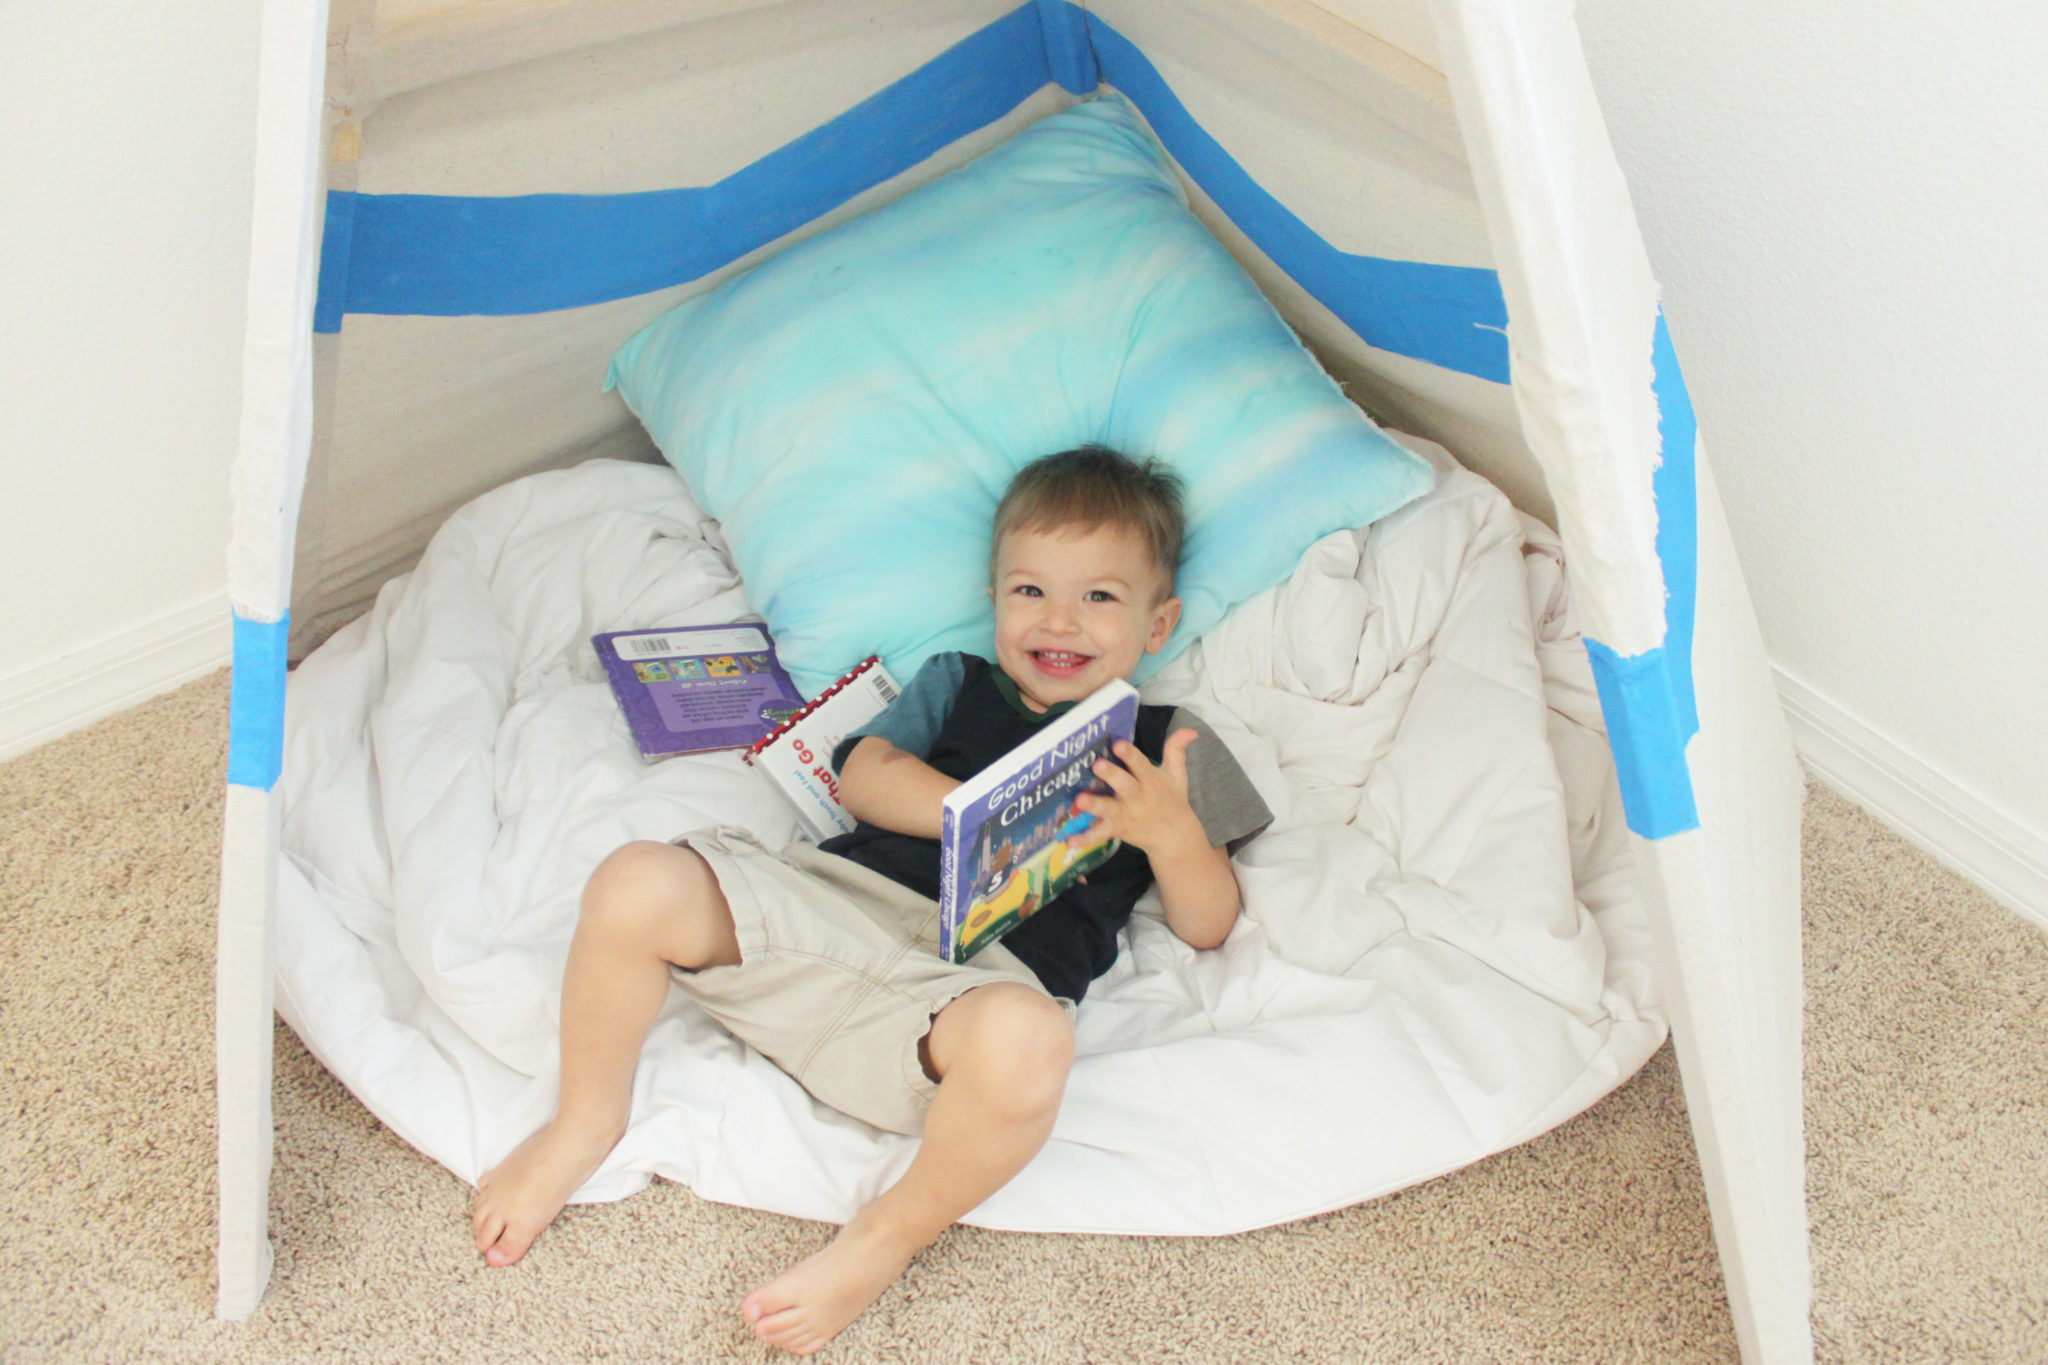
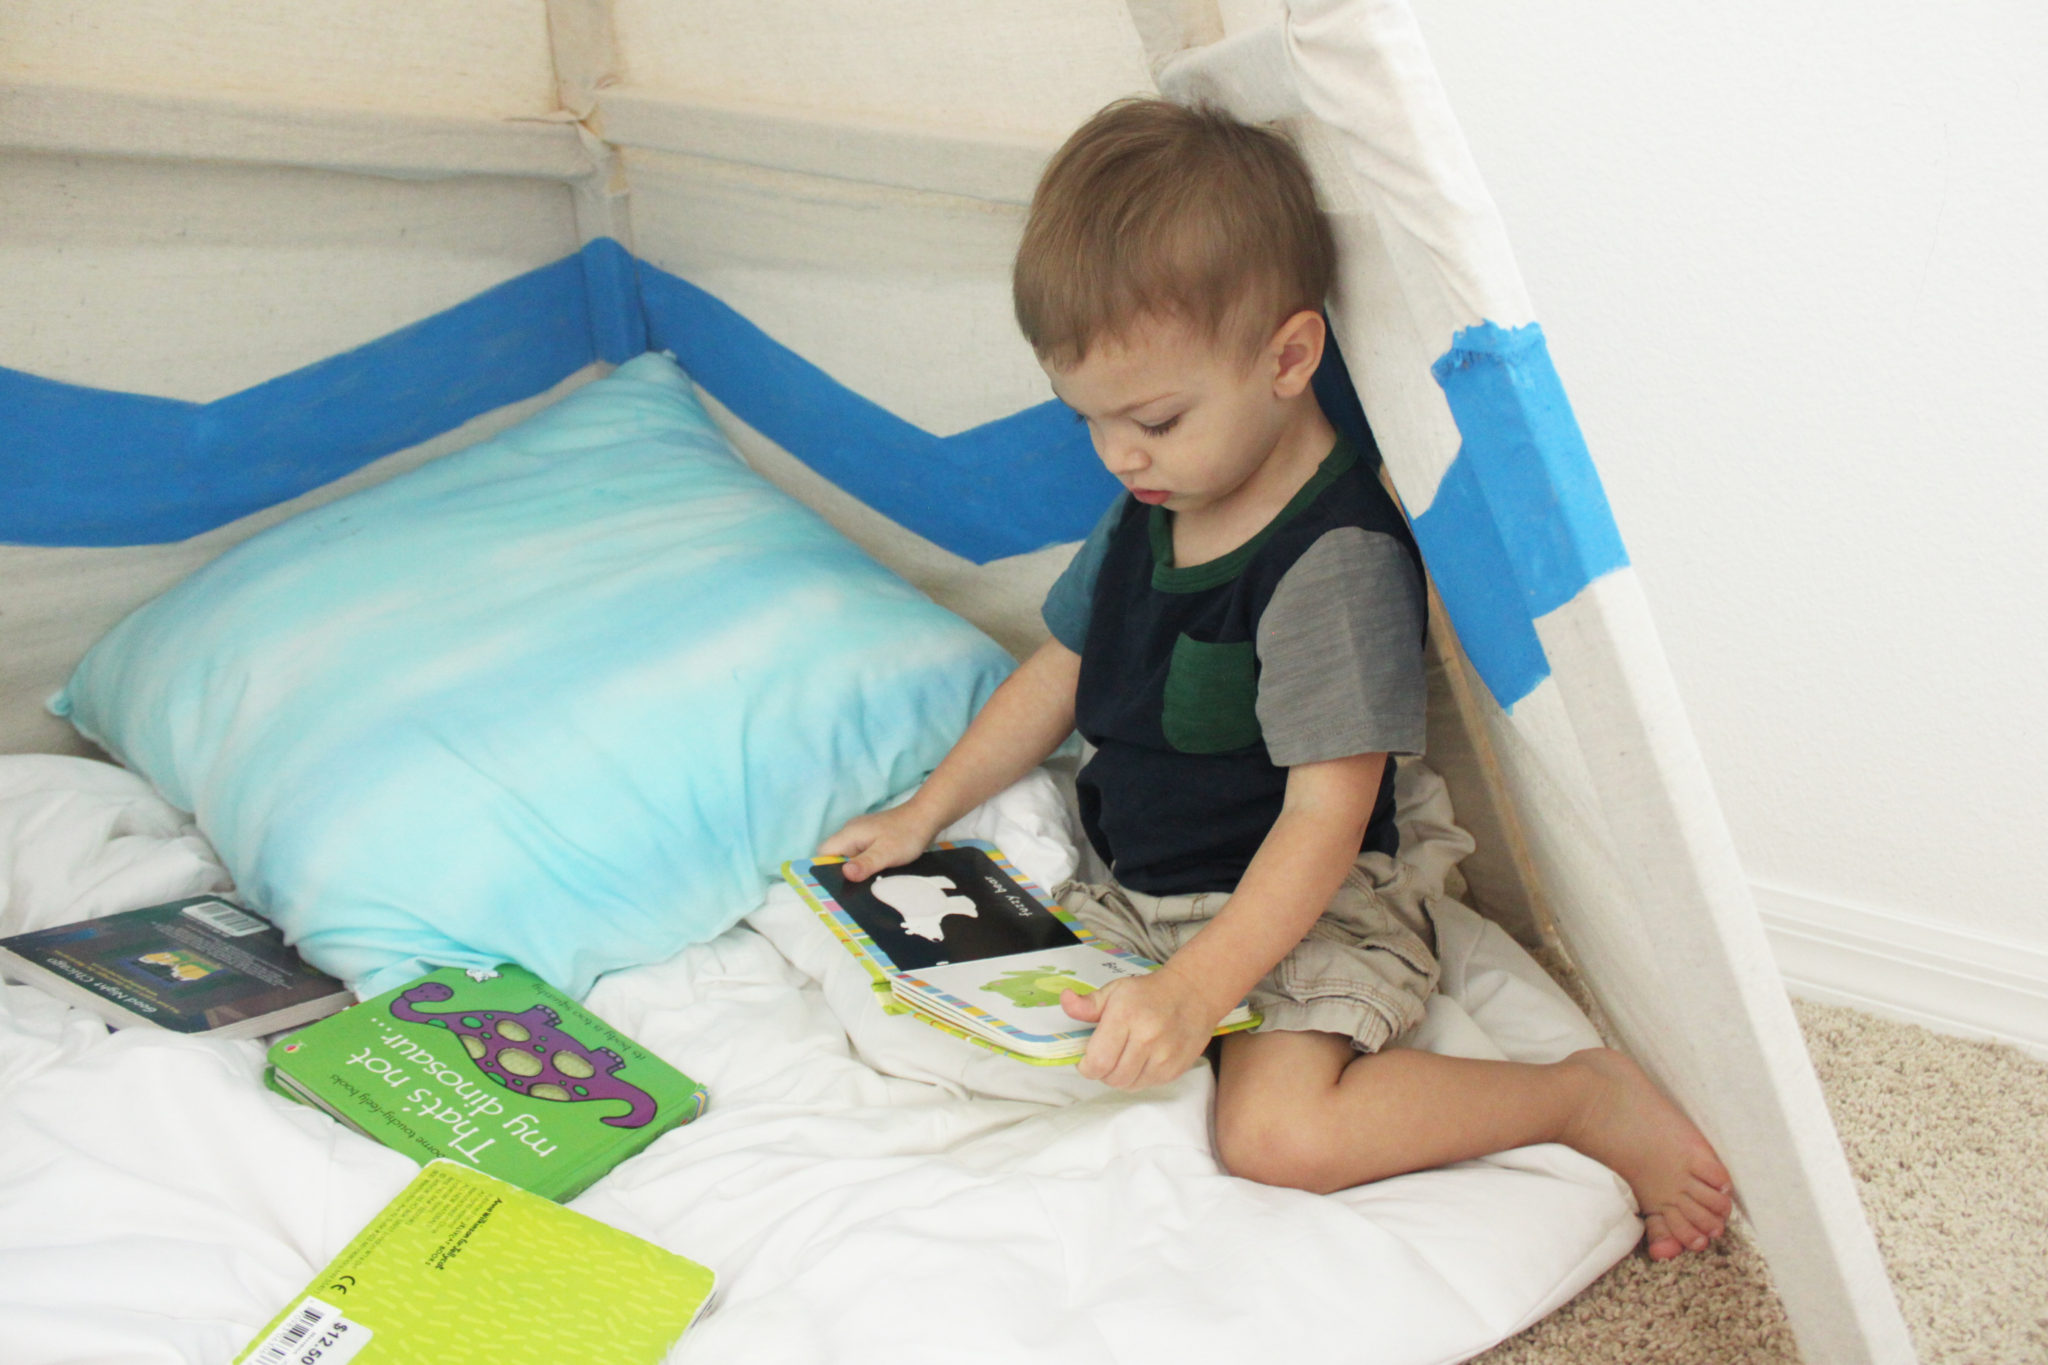
We like to read books in there so I put a pillow & down comforter so it’s nice & cozy :) We just love it!
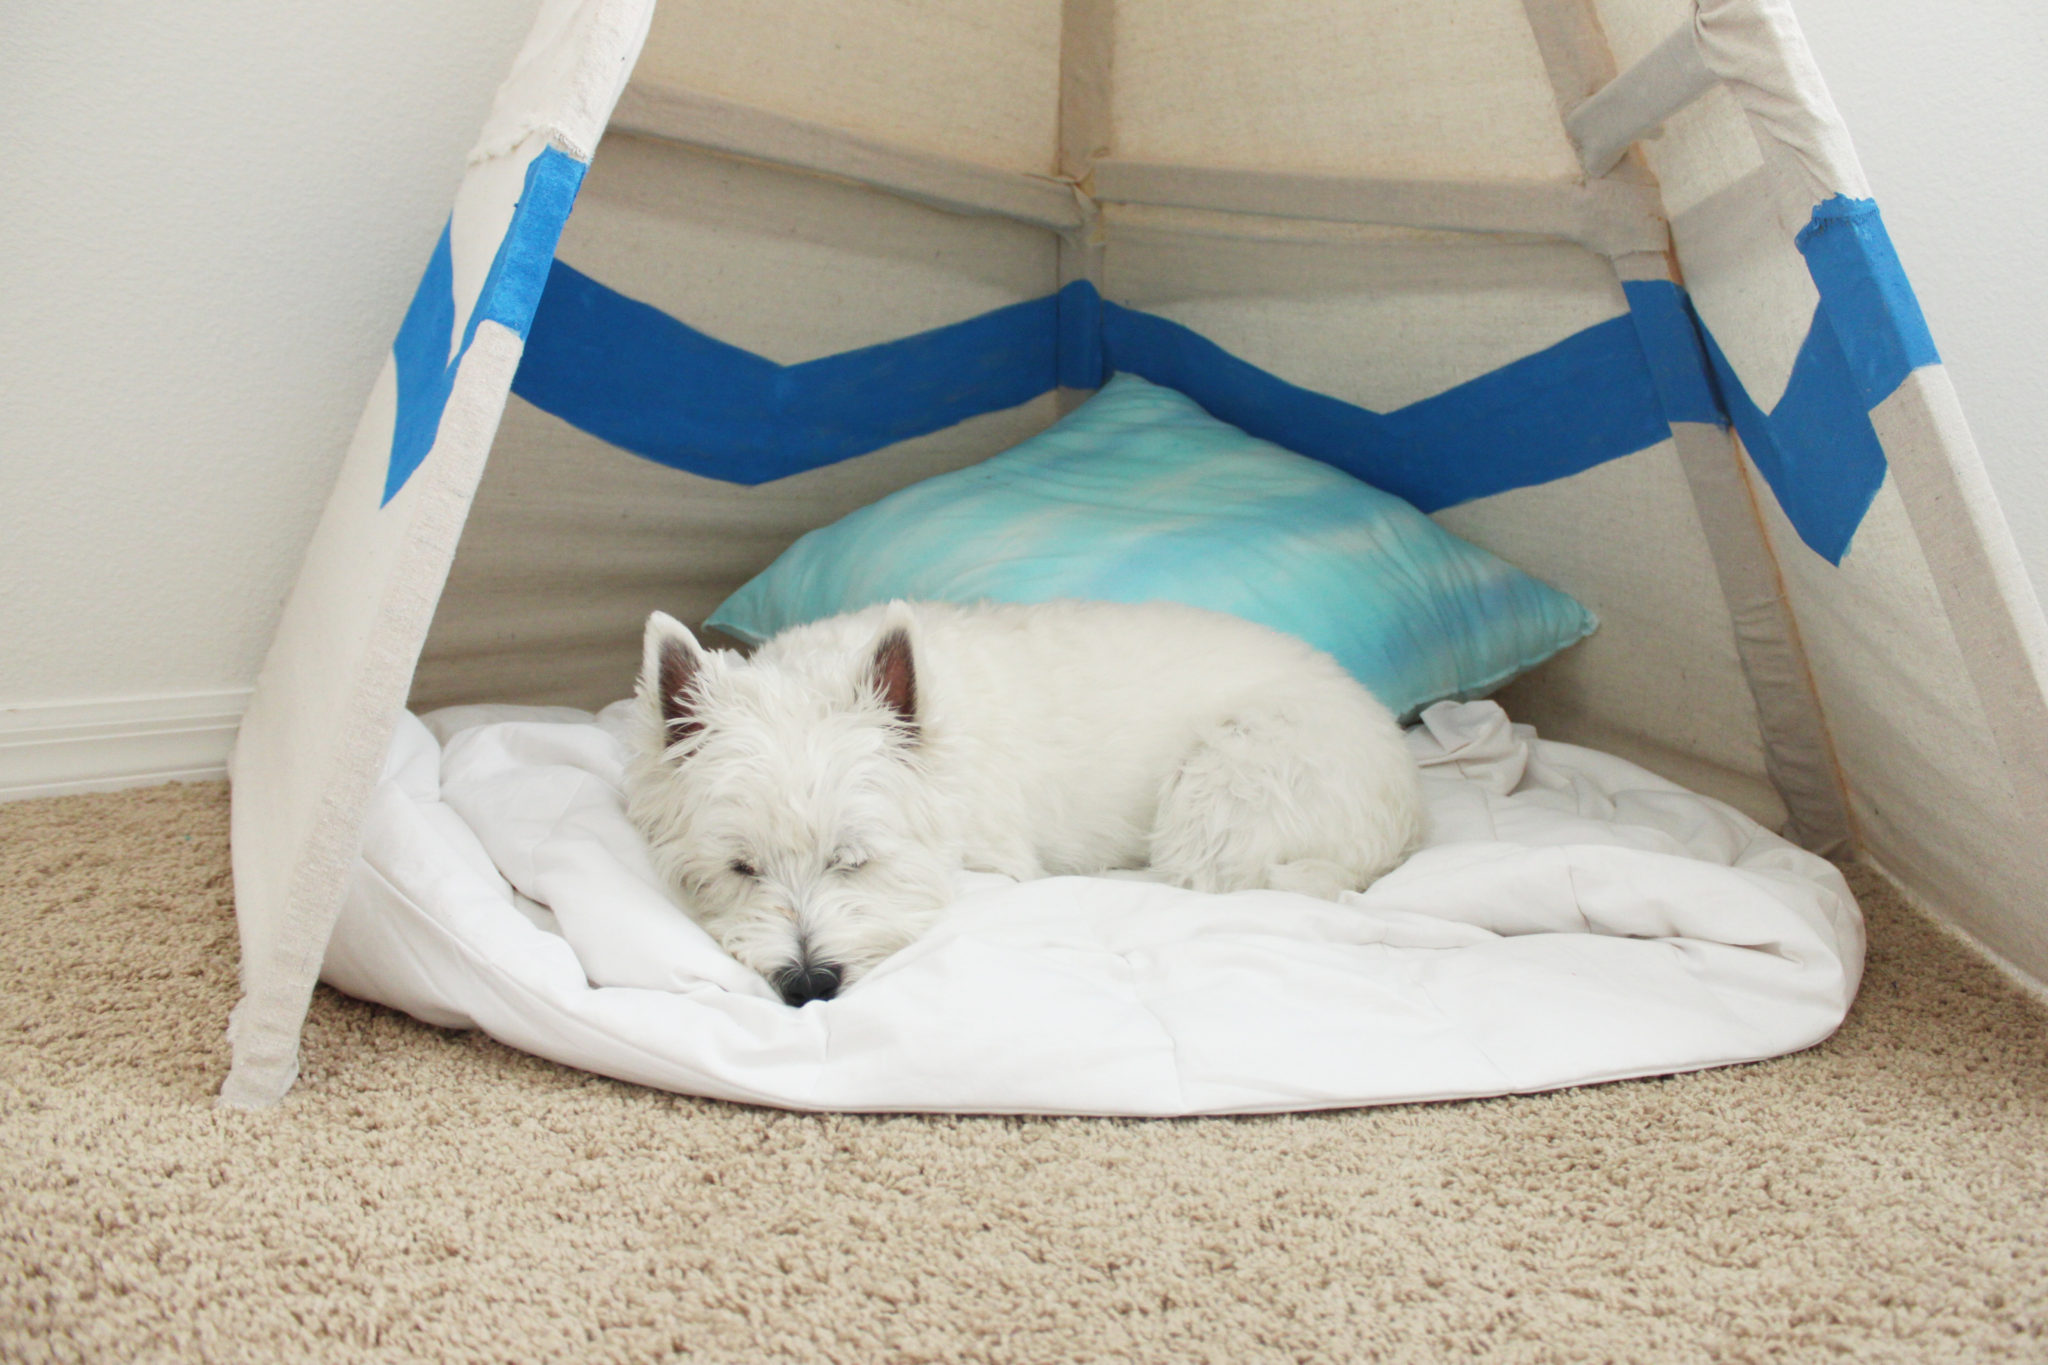
Or, if you’re Macklin you take naps in there… :)
I might add twinkle lights when we get our Christmas stuff down from the attic, but this is how it’ll stay for now. & now onto the rest of the playroom! That post is coming soon, so stay tuned :) Thanks for stopping by, let me know if you have any questions!


One Comment
Hillary
Did you finish the playroom? I’d be excited to see how it turned out. My little one is about to crawl, so the playroom set up will need to be tackled pretty soon and I’m needing some inspiration!