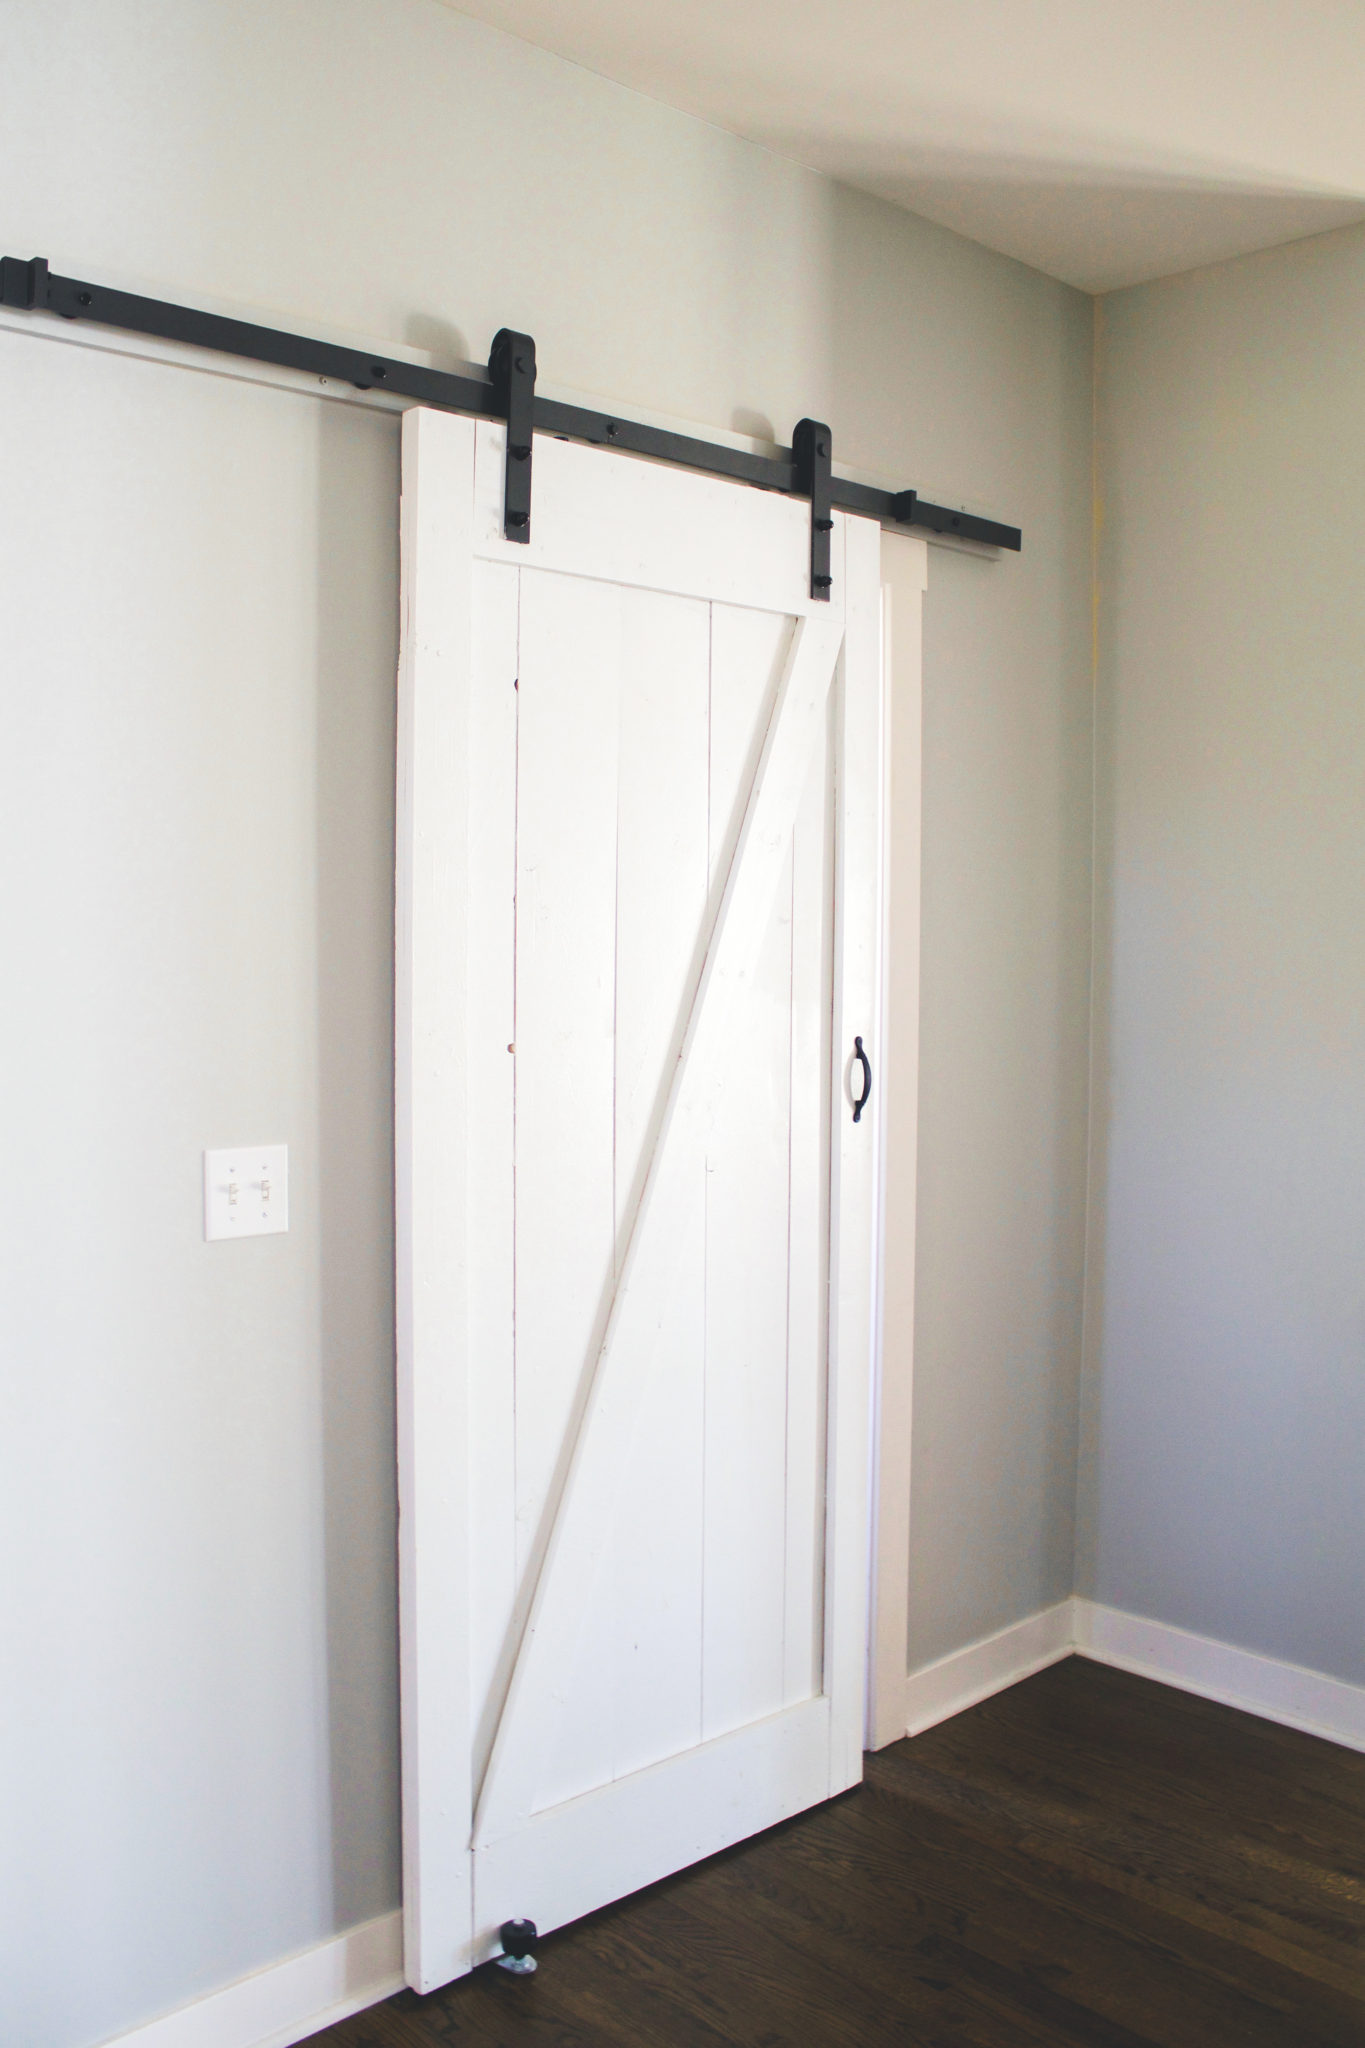
DIY Sliding Barn Door
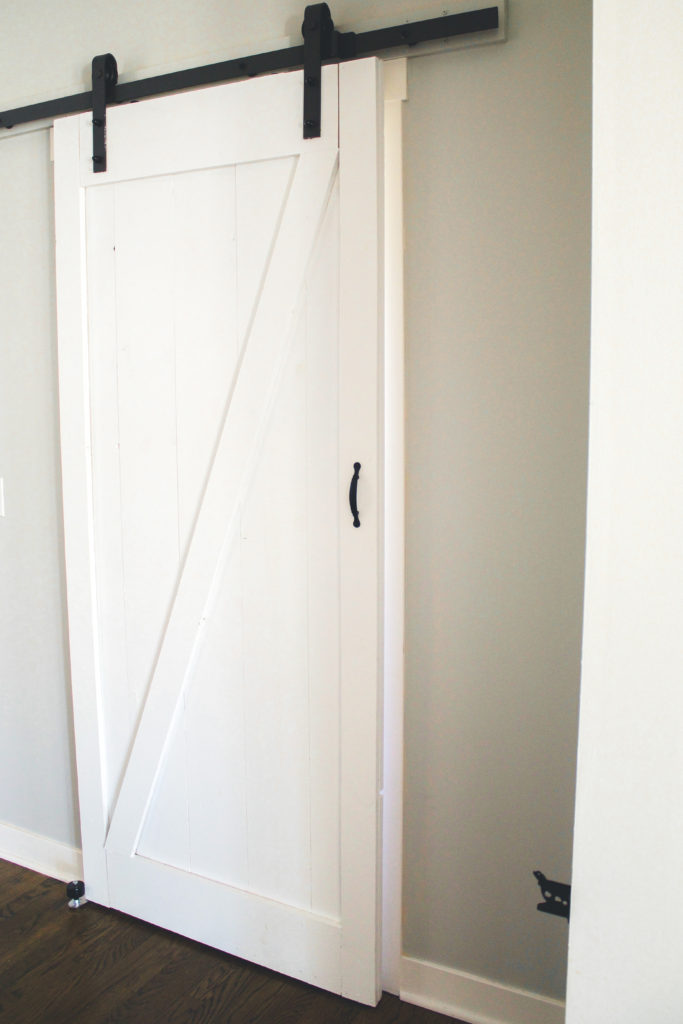
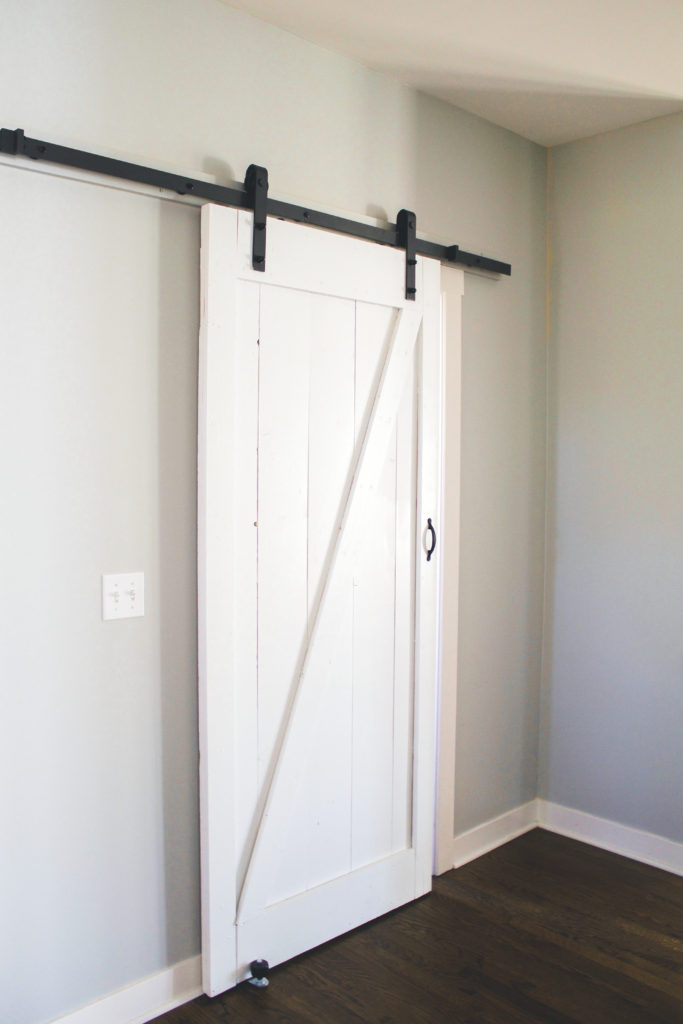
This DIY Sliding Barn Door is the biggest project I’ve ever done myself & I love how it turned out! It not only adds a fun/rustic element to our house, but it frees up space in our laundry room from the swinging door. When I used to carry in Gabi’s car seat from the garage, I’d have to close the door so I had space to walk through the tiny “hall,” then open it again when I got to the doorway. We keep it open most of the time since there’s a window that brings in natural light, but I love having the option to close it off if we want to. You know, to hide all the piles of laundry from our guests, haha.
I designed & created the sliding barn door myself, start to finish, (& I’m no professional!) so I learned a lot as I went along this process. I’ll be sharing all the details, so you can do what worked & avoid the mistakes I made. I suggest looking over this post/reading it through before starting your own project.
Btw, if you follow me on IG (@thelovenotes) you’ll see all the behind the scenes stories like this one of me explaining to Gio what we’re about to build :)
General Rules of Thumb
- Measure twice, cut once
- Get the straightest wood pieces you can find
- Always ask for help when you need it
Measuring for your Sliding Barn door
The measurements I’ll be sharing are based on my sliding barn door. You’ll have to measure your doorway to find your exact measurements, but here’s how you do it:
- Measure the height of your doorway, including trim/molding. Mine is 7 ft. Keep in mind that your door will need to hang about 1/4″ above the floor.
- Measure the width of your doorway + add a few inches. My doorway is 32″, our door is just over 36″
Cut List
- 5- 1x8x8’s @ 7′
- 3- 1x4x8’s, 2 of them @ 7′ (the side frame), 1 of them (the cross piece) cut on an angle at about 74″
- 1- 1x8x8′ @ 2 cuts of 29″
Supply List
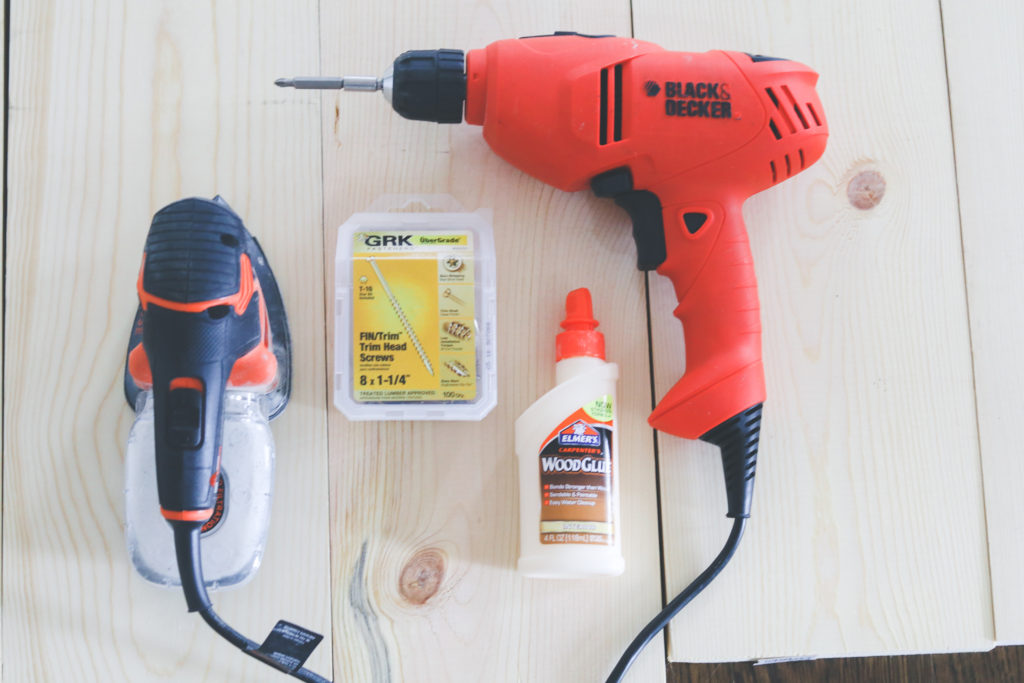
- Drill
- 1 1/4″ Trim Head Screws
- Hand Sander
- Wood Glue
- Paint or Stain
- Clamps
- Wood putty
- Sliding door kit
- Wood Screws to drill into studs
- Drywall anchor to hold heavy door
- Door handle
- Door guide
Mistakes to avoid
I wanted a huge door that would completely cover the trim around my door. I also knew I wanted to use 1×8’s & not 1×6’s. Instead of using four 1×8’s, which covered the door & about 1/2 of the trim, I tried using FIVE 1×8’s to cover everything. Tom kept insisting that the door was massive, but I loved/wanted the look of a huge door. It would have worked EXCEPT–
- I didn’t buy a big enough track for the door to slide open all the way
- Even if I wanted a longer track, the bathroom door was too close so I couldn’t have used it anyway
I literally had the entire (massive/HEAVY) door put together, sanded, painted, & hardware attached (including 4 massive holes to hold the hardware) ready to be hung, & the door wouldn’t open all the way– it blocked probably a foot of the doorway because the track wasn’t long enough for it to open all the way. *facepalm* Had I taken this into consideration, I would not have had to take it apart, remove a board & put it back together (& sand/paint/attach hardware) again. I essentially did this diy sliding barn door project twice, haha. So just make sure you use your brain (like I didn’t, haha) & also, listen to your husband.
how to build the barn door
First things first, cut your 1×4 boards to the height you need. Do your best to get exact measurements since they’re going to be lined up next to each other & a slight difference might be noticeable. When you’re done cutting, line up your boards to “build” your door on the floor. Keep in mind, sometimes boards fit better next to others, so try lining them up in different orders to see what works best.
Once you have your door laid out, it’s time to frame it. Start by putting wood glue on your 1×4 and applying it flush to the outer board. Do this for both sides of the door.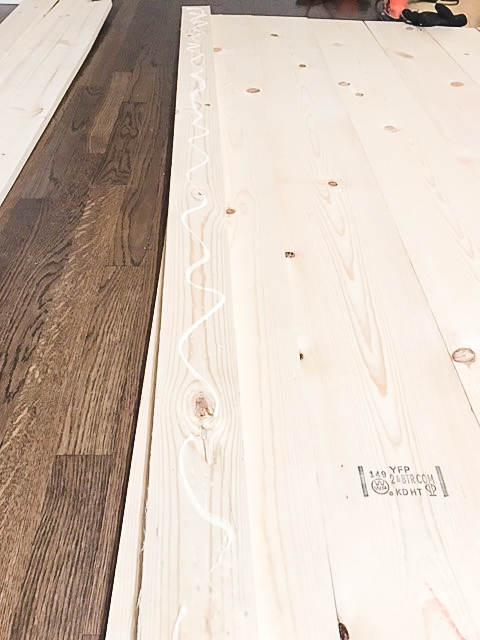
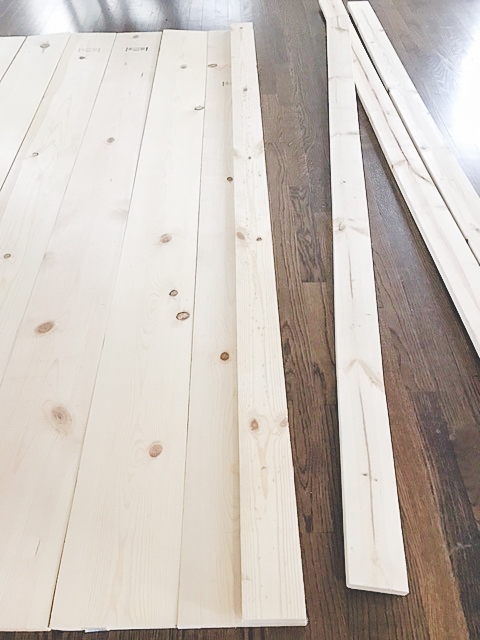
Some of my boards weren’t perfectly straight, so I used clamps on the stubborn parts to force them together. I used an extra piece of wood so my clamp didn’t leave impression marks in the wood.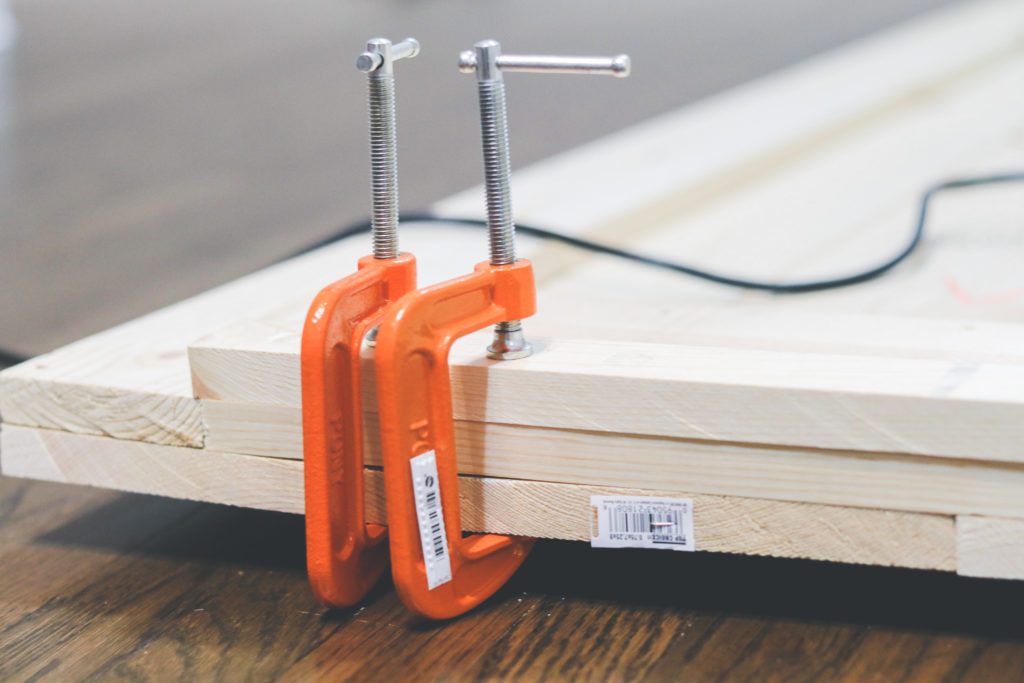
After the glue is dried, you can go in with trim head screws & further secure the pieces. I did rows of 2 screws, every foot or so.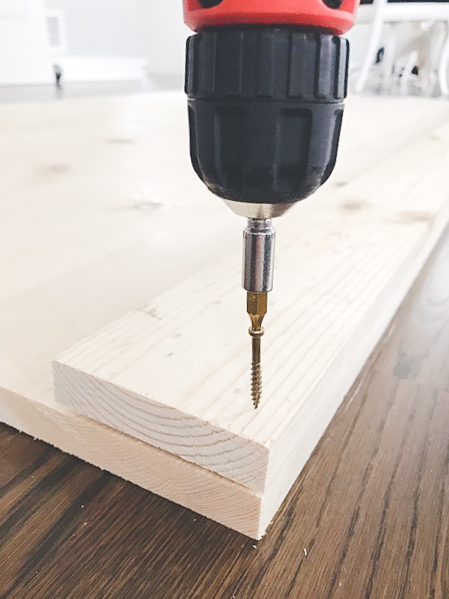
When you have the two sides of your door framed, go ahead and measure the space between the two (1×4’s) at both the top & bottom of your door. Ideally, these numbers will be the same, but since not every board is perfectly straight, they may not be. With those measurements, cut your 1×8’s to fit.
These pieces will be securing all 5 of your 1×8 boards together, so you’ll want to use wood glue before you screw it down, just like we did with the 1×4’s on the door sides. Make sure you add 4 screws per board– one in each “corner.”
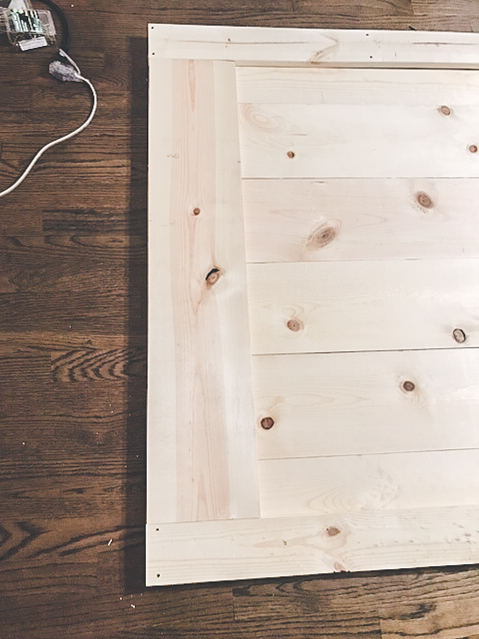 Now that your barn door is completely framed, you’ll need to add your 1×4″ cross board, which will fit inside the frame. Lay the wood piece so that the right side of it meets the top right corner of the frame, and the left side of it meets the left bottom corner of the frame. Make a straight line where you need to make the cuts on the board. I actually cut one end, then laid the board down & remeasured just to verify.
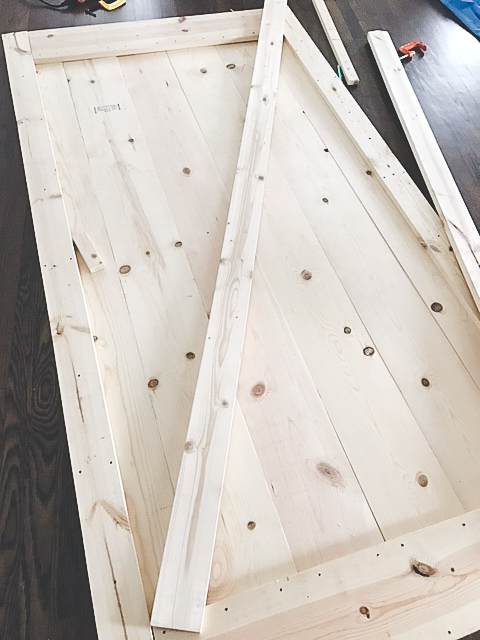 I missed photos of this step, but you’re going to add wood glue & screw down, just as you did the frame. Again, make sure there are 4 screws per wood plank.
And congrats, your door is built! Now, you need to fill the screw holes with wood putty for a seamless look. Allow that to dry, then sand everything down so it’s nice & smooth. Go in with paint or stain, depending on what look you want your door to have. I love a bright house, so I chose to paint mine white :)
how to hang the door
In order to hang your massively heavy barn door on the track, you’ll need to add support with a mounting board. Basically, you’re going to mount the support board to the studs, then hang your track to that board. I used a 1×4 that was the same length (& a little bit wider than the track) & it worked perfectly.
I used a stud finder & made marks on the wall where they were. I also made marks where the ends of the board/track was supposed to go. I screwed the board to 2 studs & used a drywall anchor on the end, since it didn’t land on a stud.
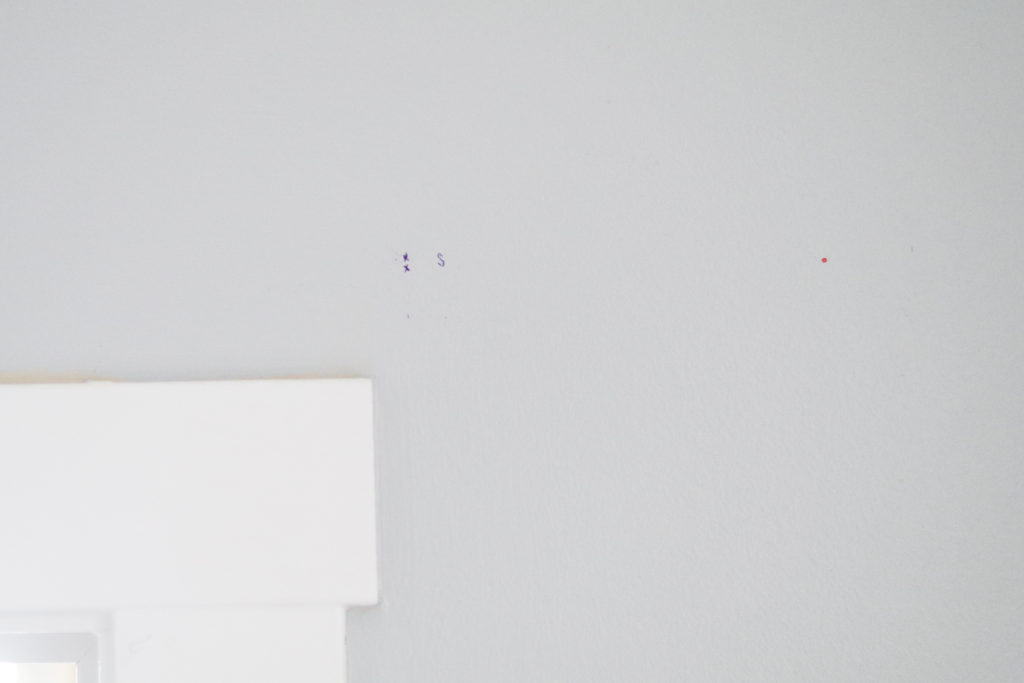
This is how it should be positioned above the door. Be sure you paint the wood before you hang it– we were in the process of painting the room anyway, so I just painted it along with the wall. 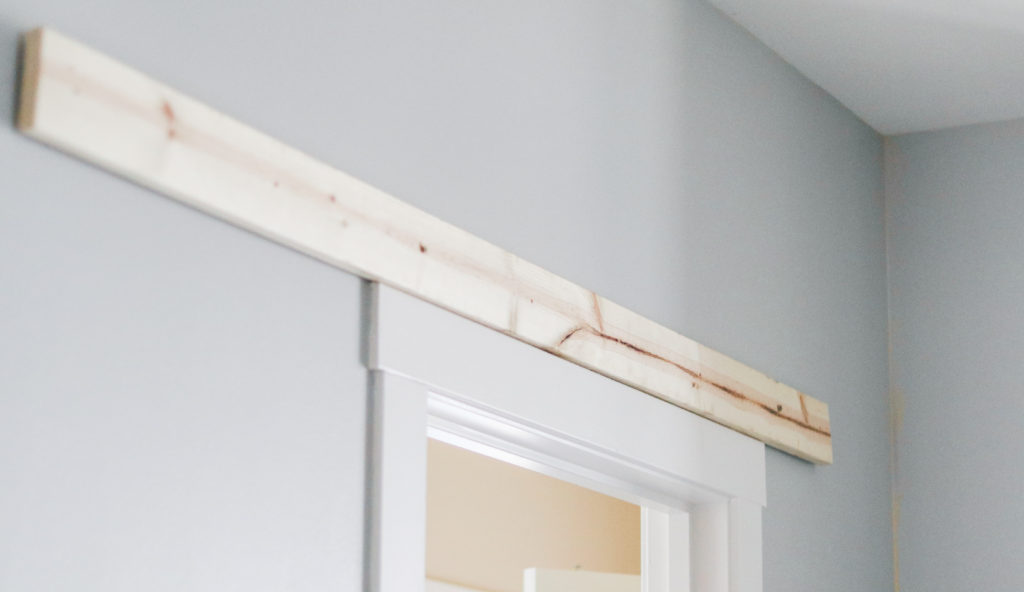
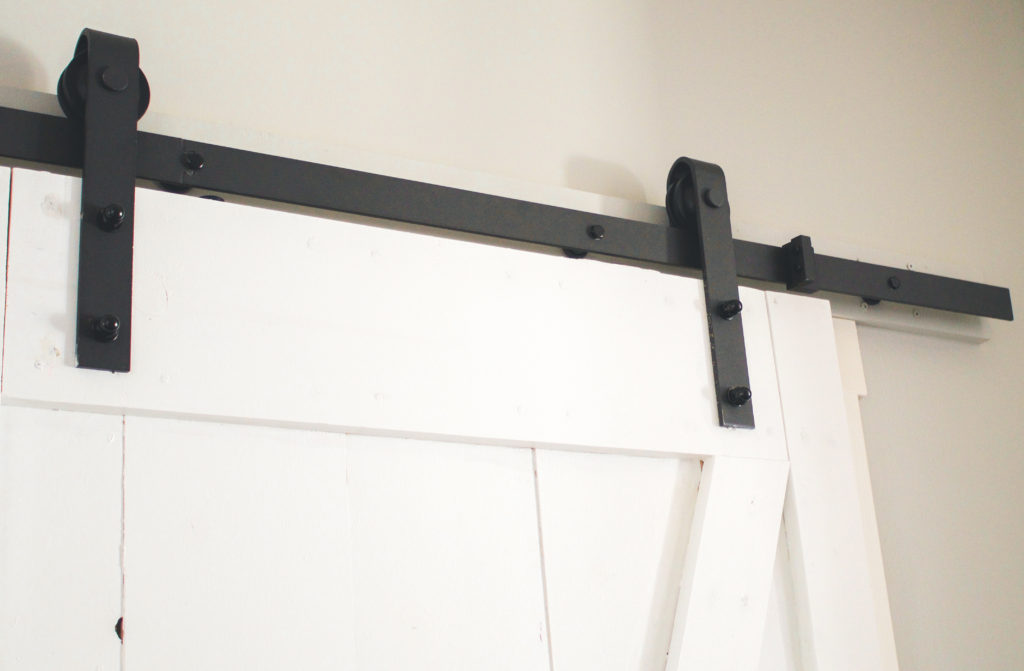
I used this sliding barn door hardware kit from Amazon & it was actually really easy to set up. Follow the instructions that come with whatever kit you use. Generally, you’ll have to put the track and spacers up, drill holes in the top of the door where the hardware goes, then put the wheels on. On the track, it comes with stoppers you’ll put on either end of the track so the door doesn’t roll off. Once the hardware is all set up, you can hang the door!
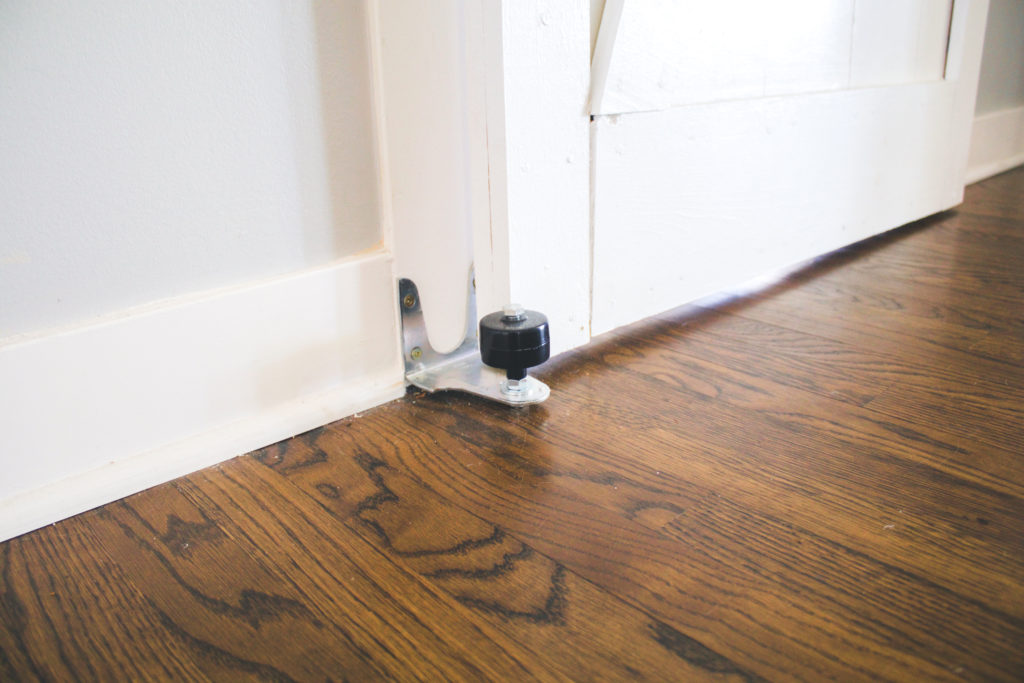
Don’t forget to get a door guide to keep the door from swinging or swaying on the track. I got this one, which is adjustable, so you can put it exactly where you need it before securing it to the wall.
And that is it! I love our sliding barn door & everyone always comments on it when they visit :)
If you’re looking for a barn door without the hassle of a DIY, be sure to check out these beautiful barn doors from White Shanty! They offer high-quality, handcrafted sliding barn doors that you can customize to fit your space. With so many options, there truly is something for everyone at White Shanty.
Some of my favorite designs include:
I hope you found this post helpful, let me know if you have any questions in the comments. Thanks for stopping by!



One Comment
Amy Weinberg
What type of drywall anchor did you use for the ends?