PAINTING WITH LEAVES & TIPS FOR THE ART TABLE
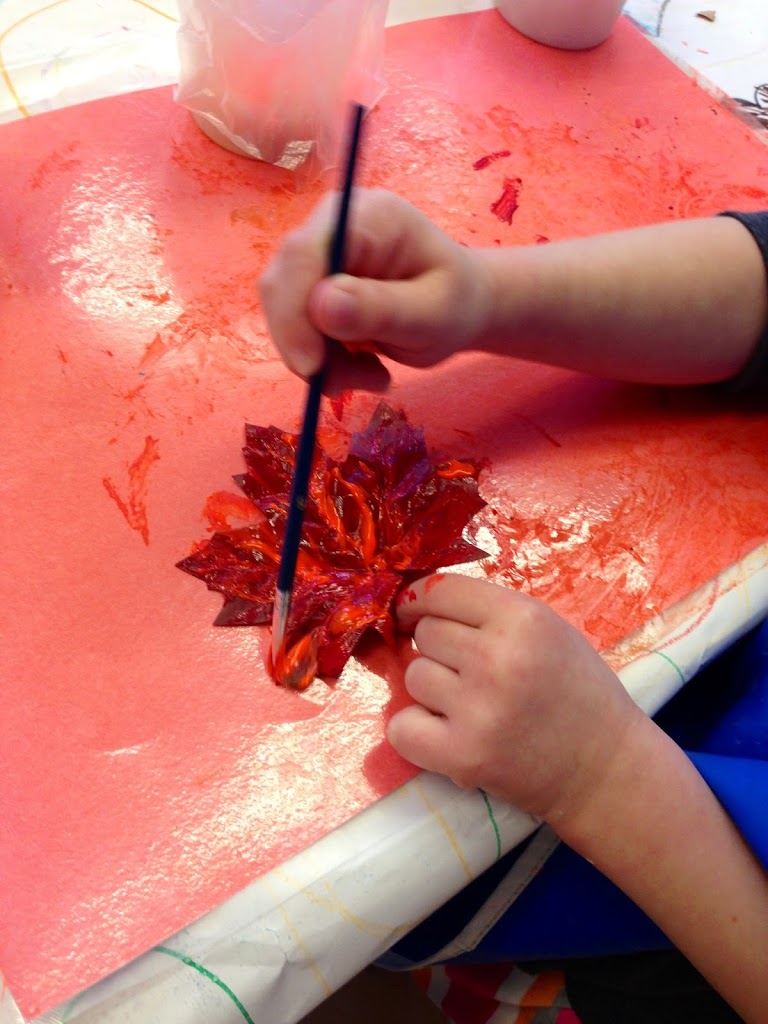
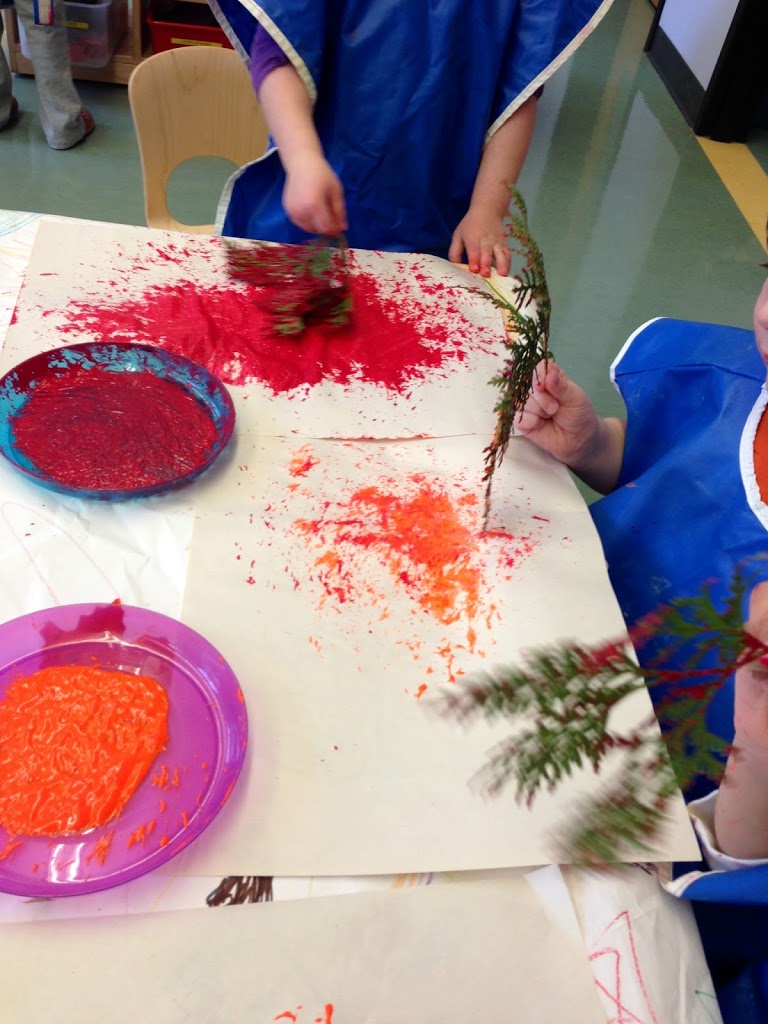
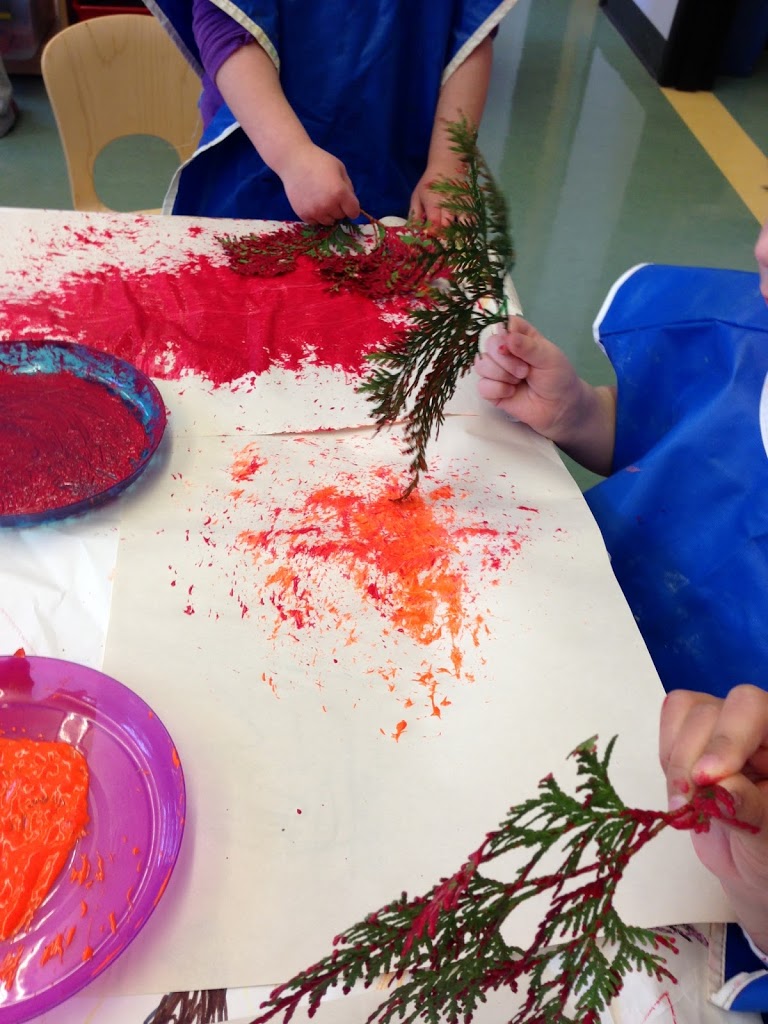
We love painting, especially when we can use something other than a paintbrush! This was our final week of Fall activities so we ended it with some leaf stamping & painting with leaves.
Each week, I cover the art table with butcher paper so I don’t have to scrub off
dried glue, crayon, glitter or whatever else happens to make it on the table. By the
end of the week we have made a masterpiece (:
I use large pieces of laminated construction paper as placemats while painting. Here’s why:
- They’re easy to wipe down
- They keep paint from getting on the table & onto someone else’s artwork
- They helps the kids move their artwork to the drying rack, especially if they went a little paint crazy & the paper is heavy
- Nothing sticks since it’s laminated. No more pictures/projects stuck to the drying rack!
- The number of placemats you put out that day shows the kids how many are allowed at the art table at one time
- They are sturdy & will last a few years at least!
I work at a drop-in center so I never know who is coming in that day & I always get
new kids, but you could have each student decorate their own placemat at the beginning
of the year before you laminate it. Then everyone always know which art belongs to
who. This also gives them a sense of ownership in the classroom (:


If you notice, I use plastic food gloves as a liner for our paint cups. Even though it’s
covered at the end of each day, we keep our paint out all day long.. & if you are
like me & hate wasting paint, you know how it can be to clean paint out of the
cup that’s slowly dried on throughout the week! I can just toss the gloves out &
replace them as needed. You could also use sandwich bags.
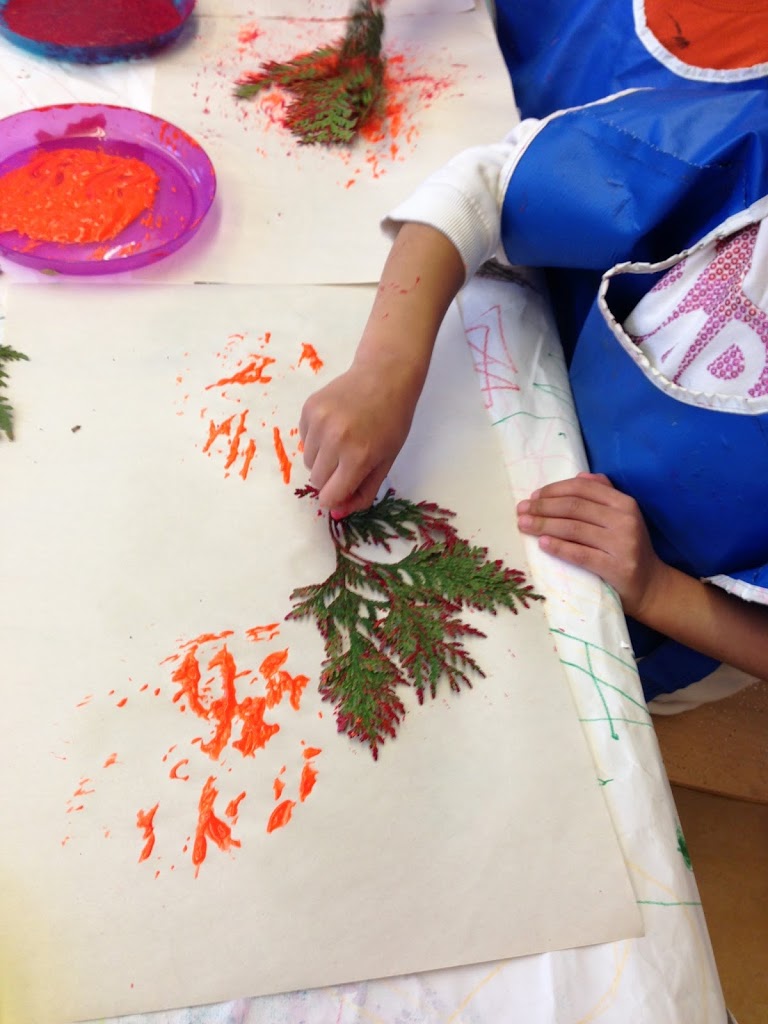

Happy leaf-painting! (:
Previous