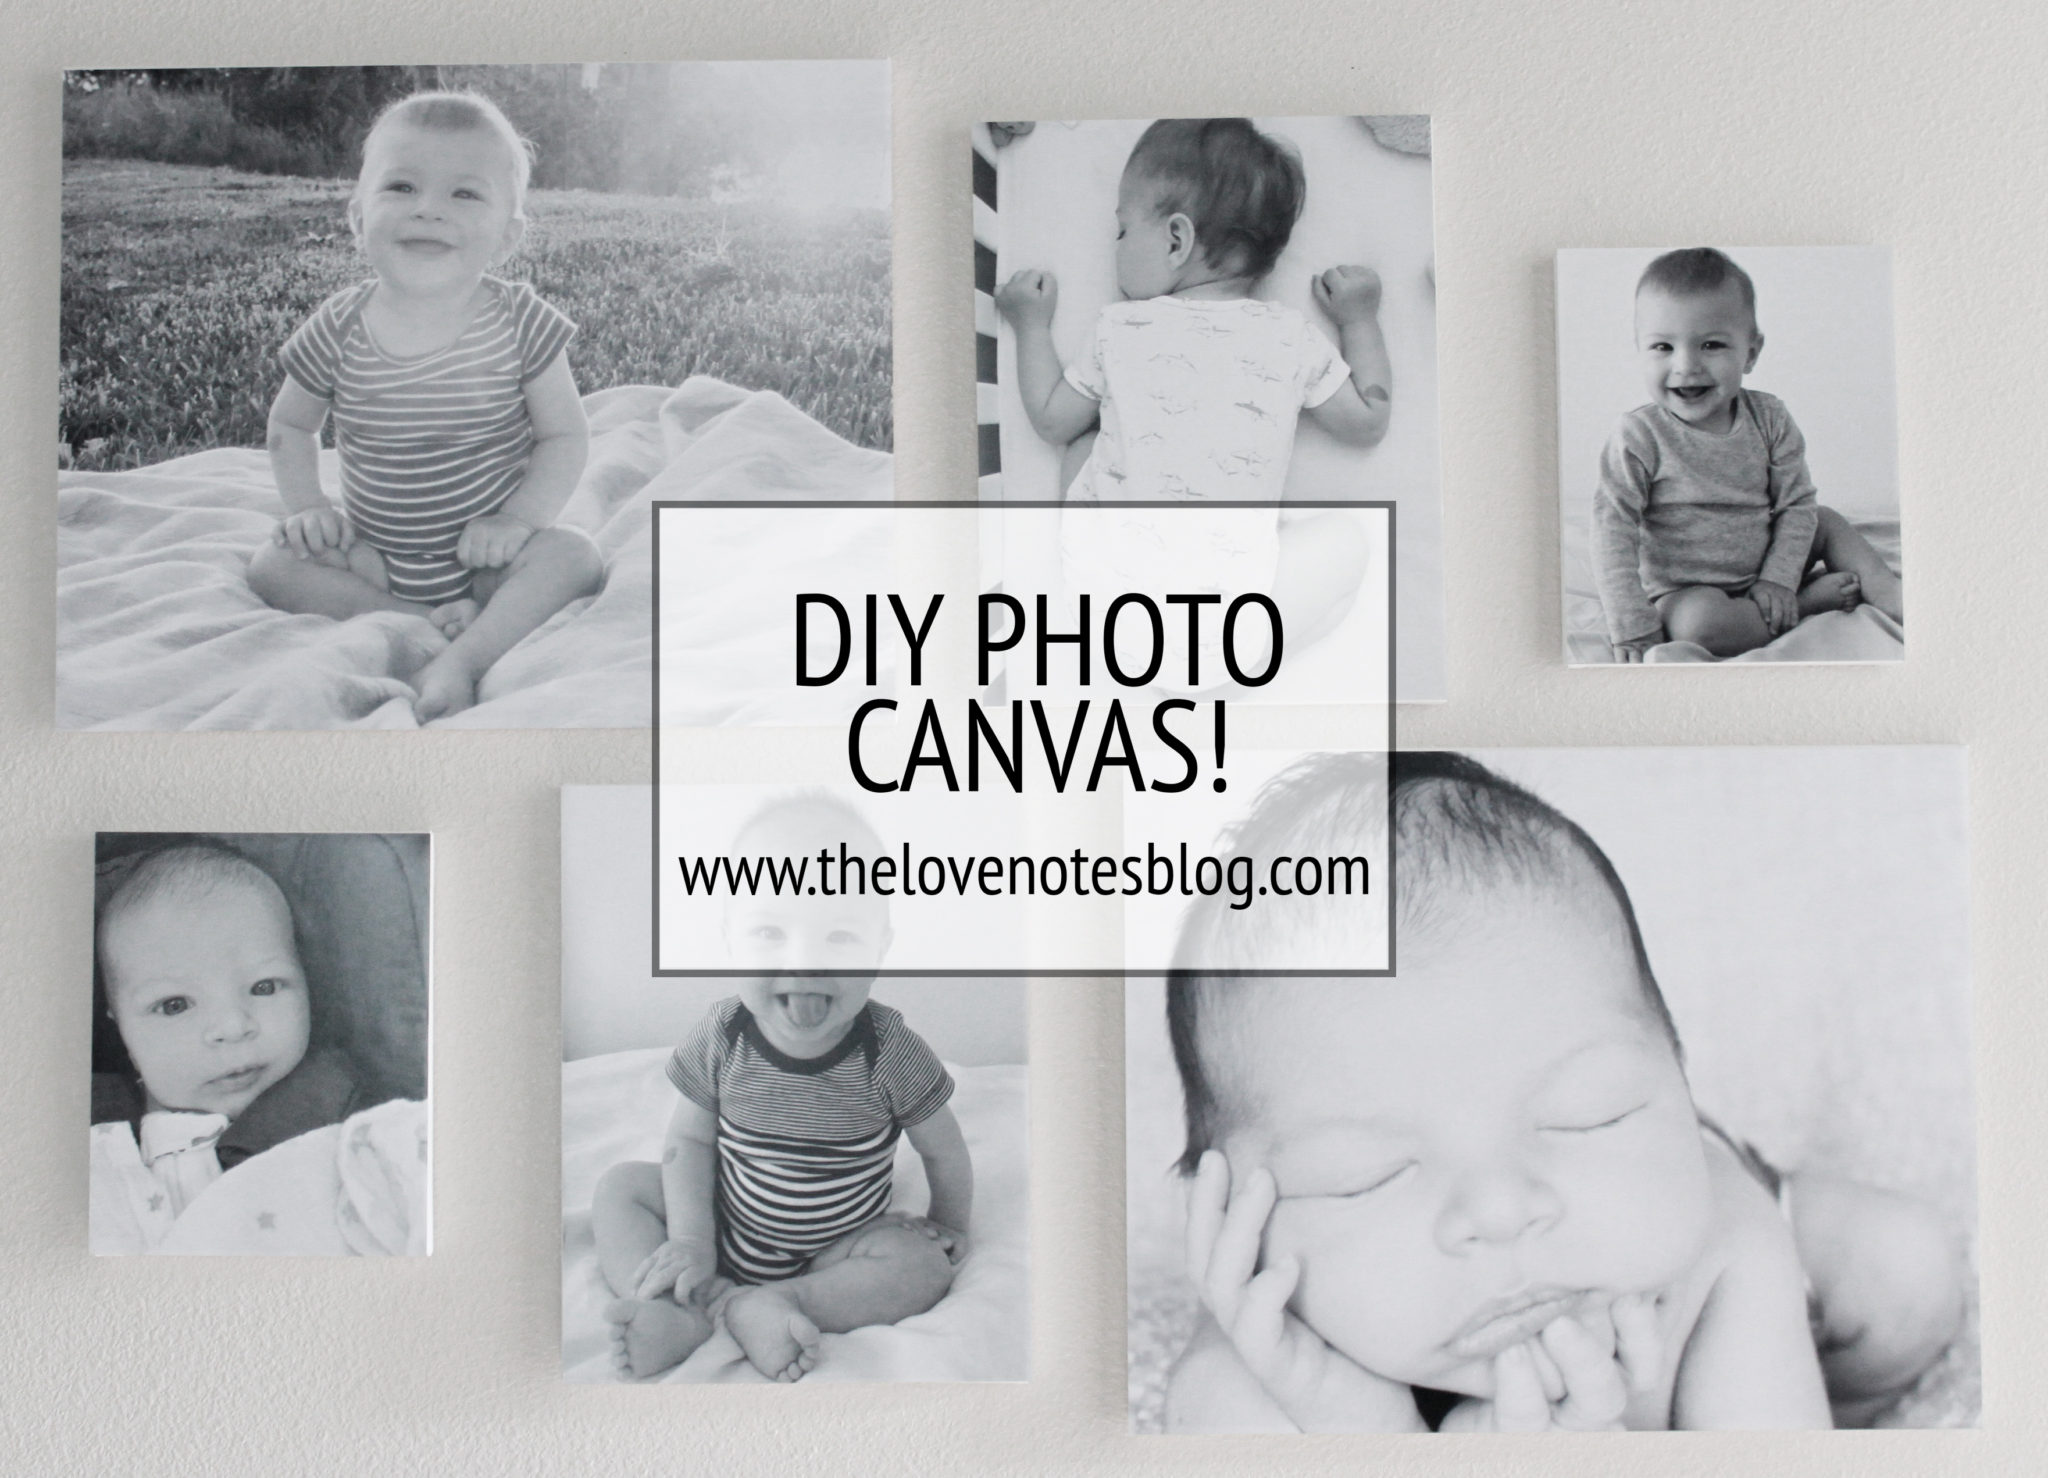
DIY PHOTO CANVAS
I wanted to make a gallery wall of photo canvases, but for the sizes I wanted it would cost close to $200… per canvas. Yikes! I did a little research & saw how easy it was to create your own with almost the same effect.
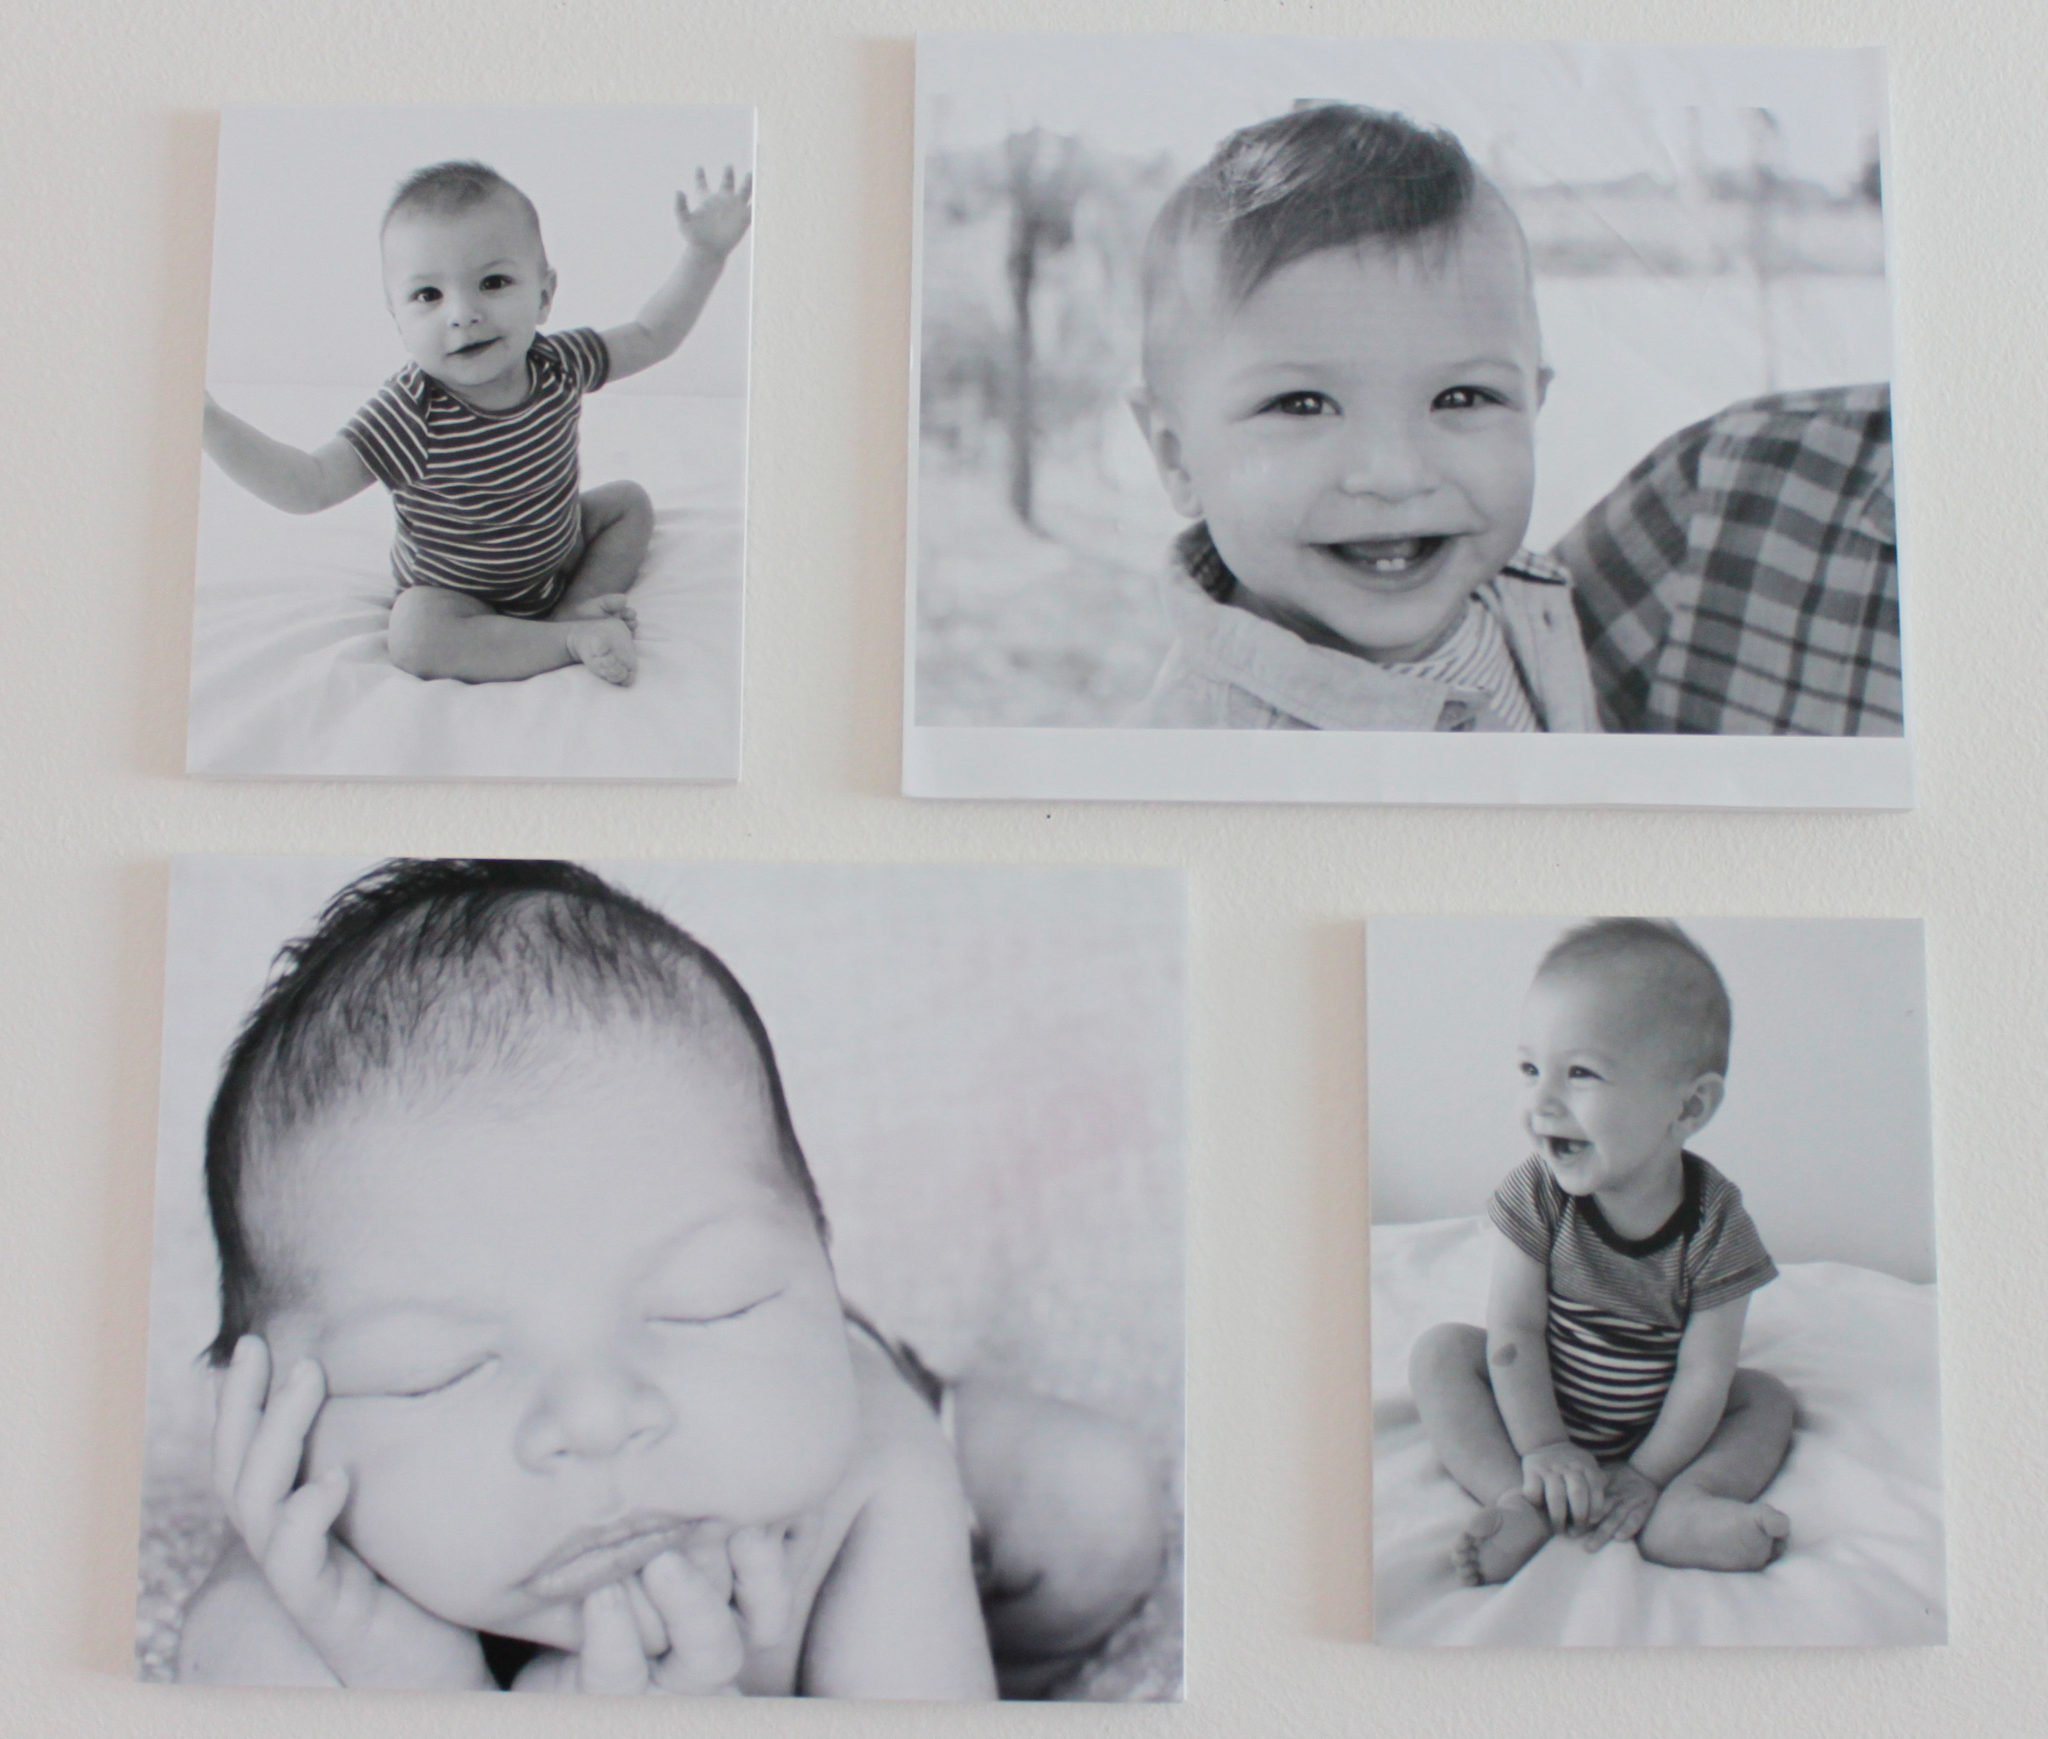
I spent about $50 on these, between the canvases (1/2 off at Michaels) & the photos (I ordered oversized photos on Shutterfly while they were 1/2 off + free shipping) & I already had the Mod Podge. This gallery is in Giovanni’s room, & I made another for the front entrance/kitchen area.
Read on to see how you can make your own, too!
What you need:
- Mod Podge
- Photo prints the size of your canvases (I got mine on Shutterfly when they were having a 50% off sale + free shipping)
- Canvases
- Paint brush or sponge
- Something hard & flat, like a credit card or book
The first thing you need to do is get your supplies. Obviously, haha. Order your prints & get your canvases– make sure they’re the same size!
Next, you’re going to pour Mod Podge all over your canvas. Or paint it on nicely. I’m just a little impatient, haha. If you paint it on, just make sure you work fast because Mod Podge dries pretty quickly.
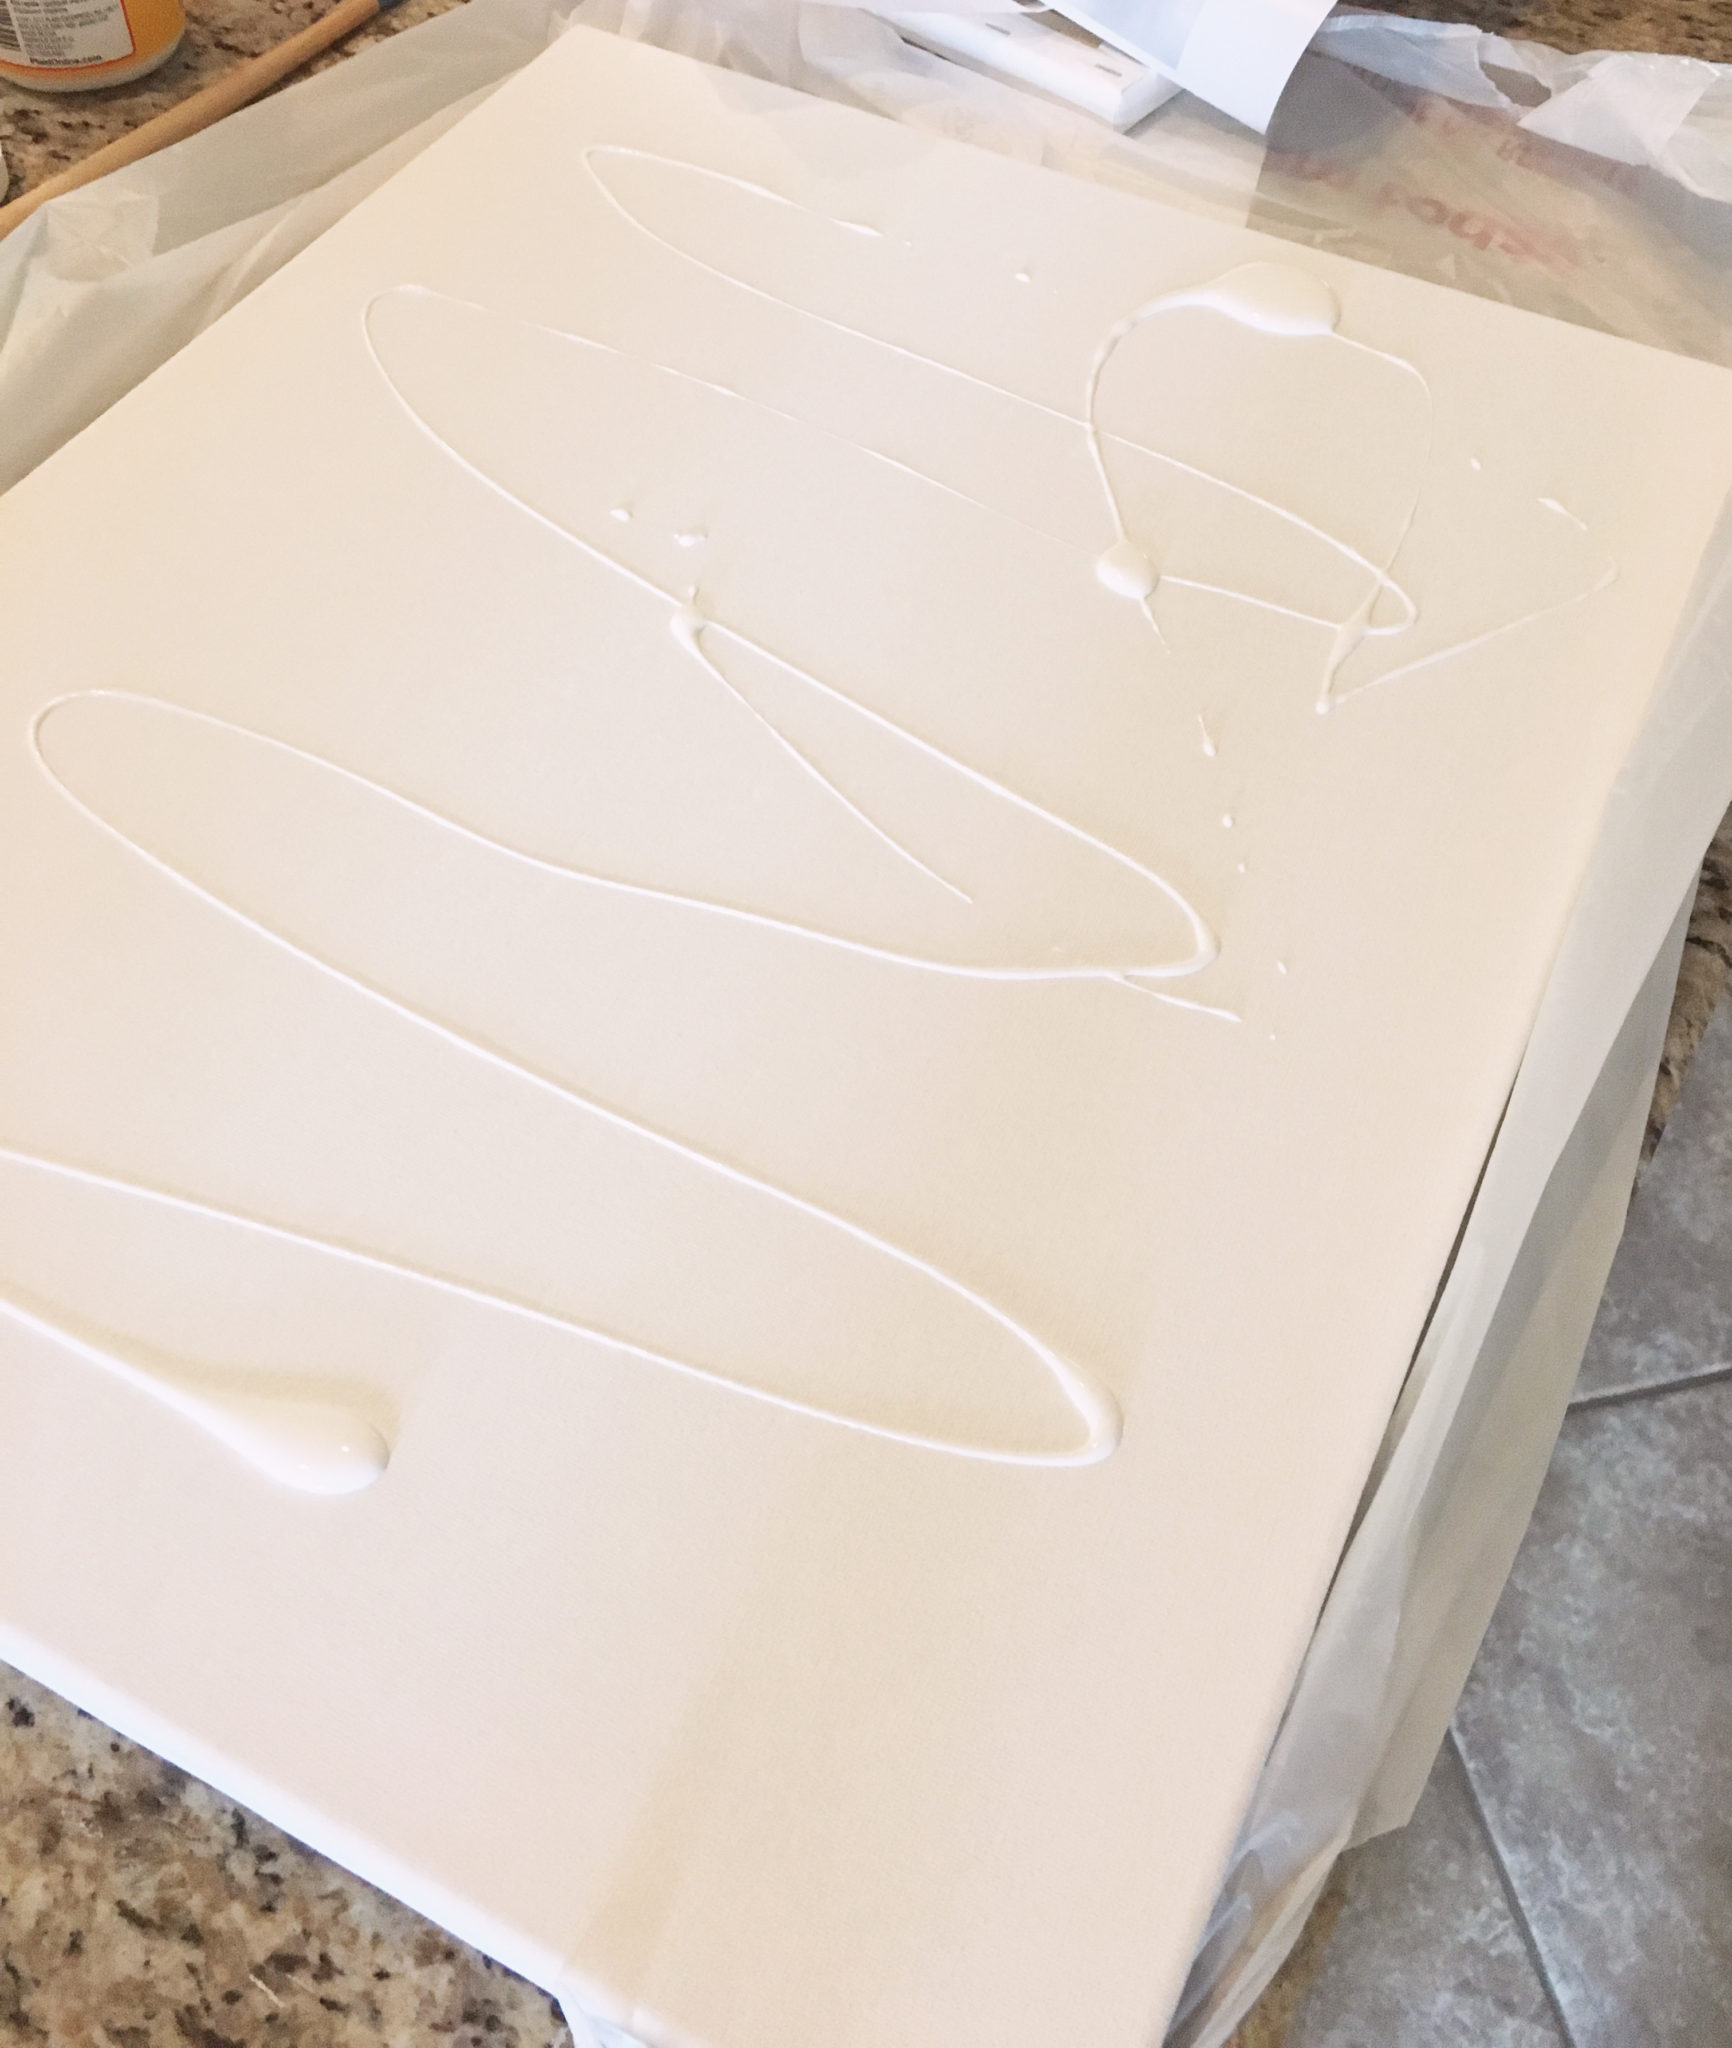
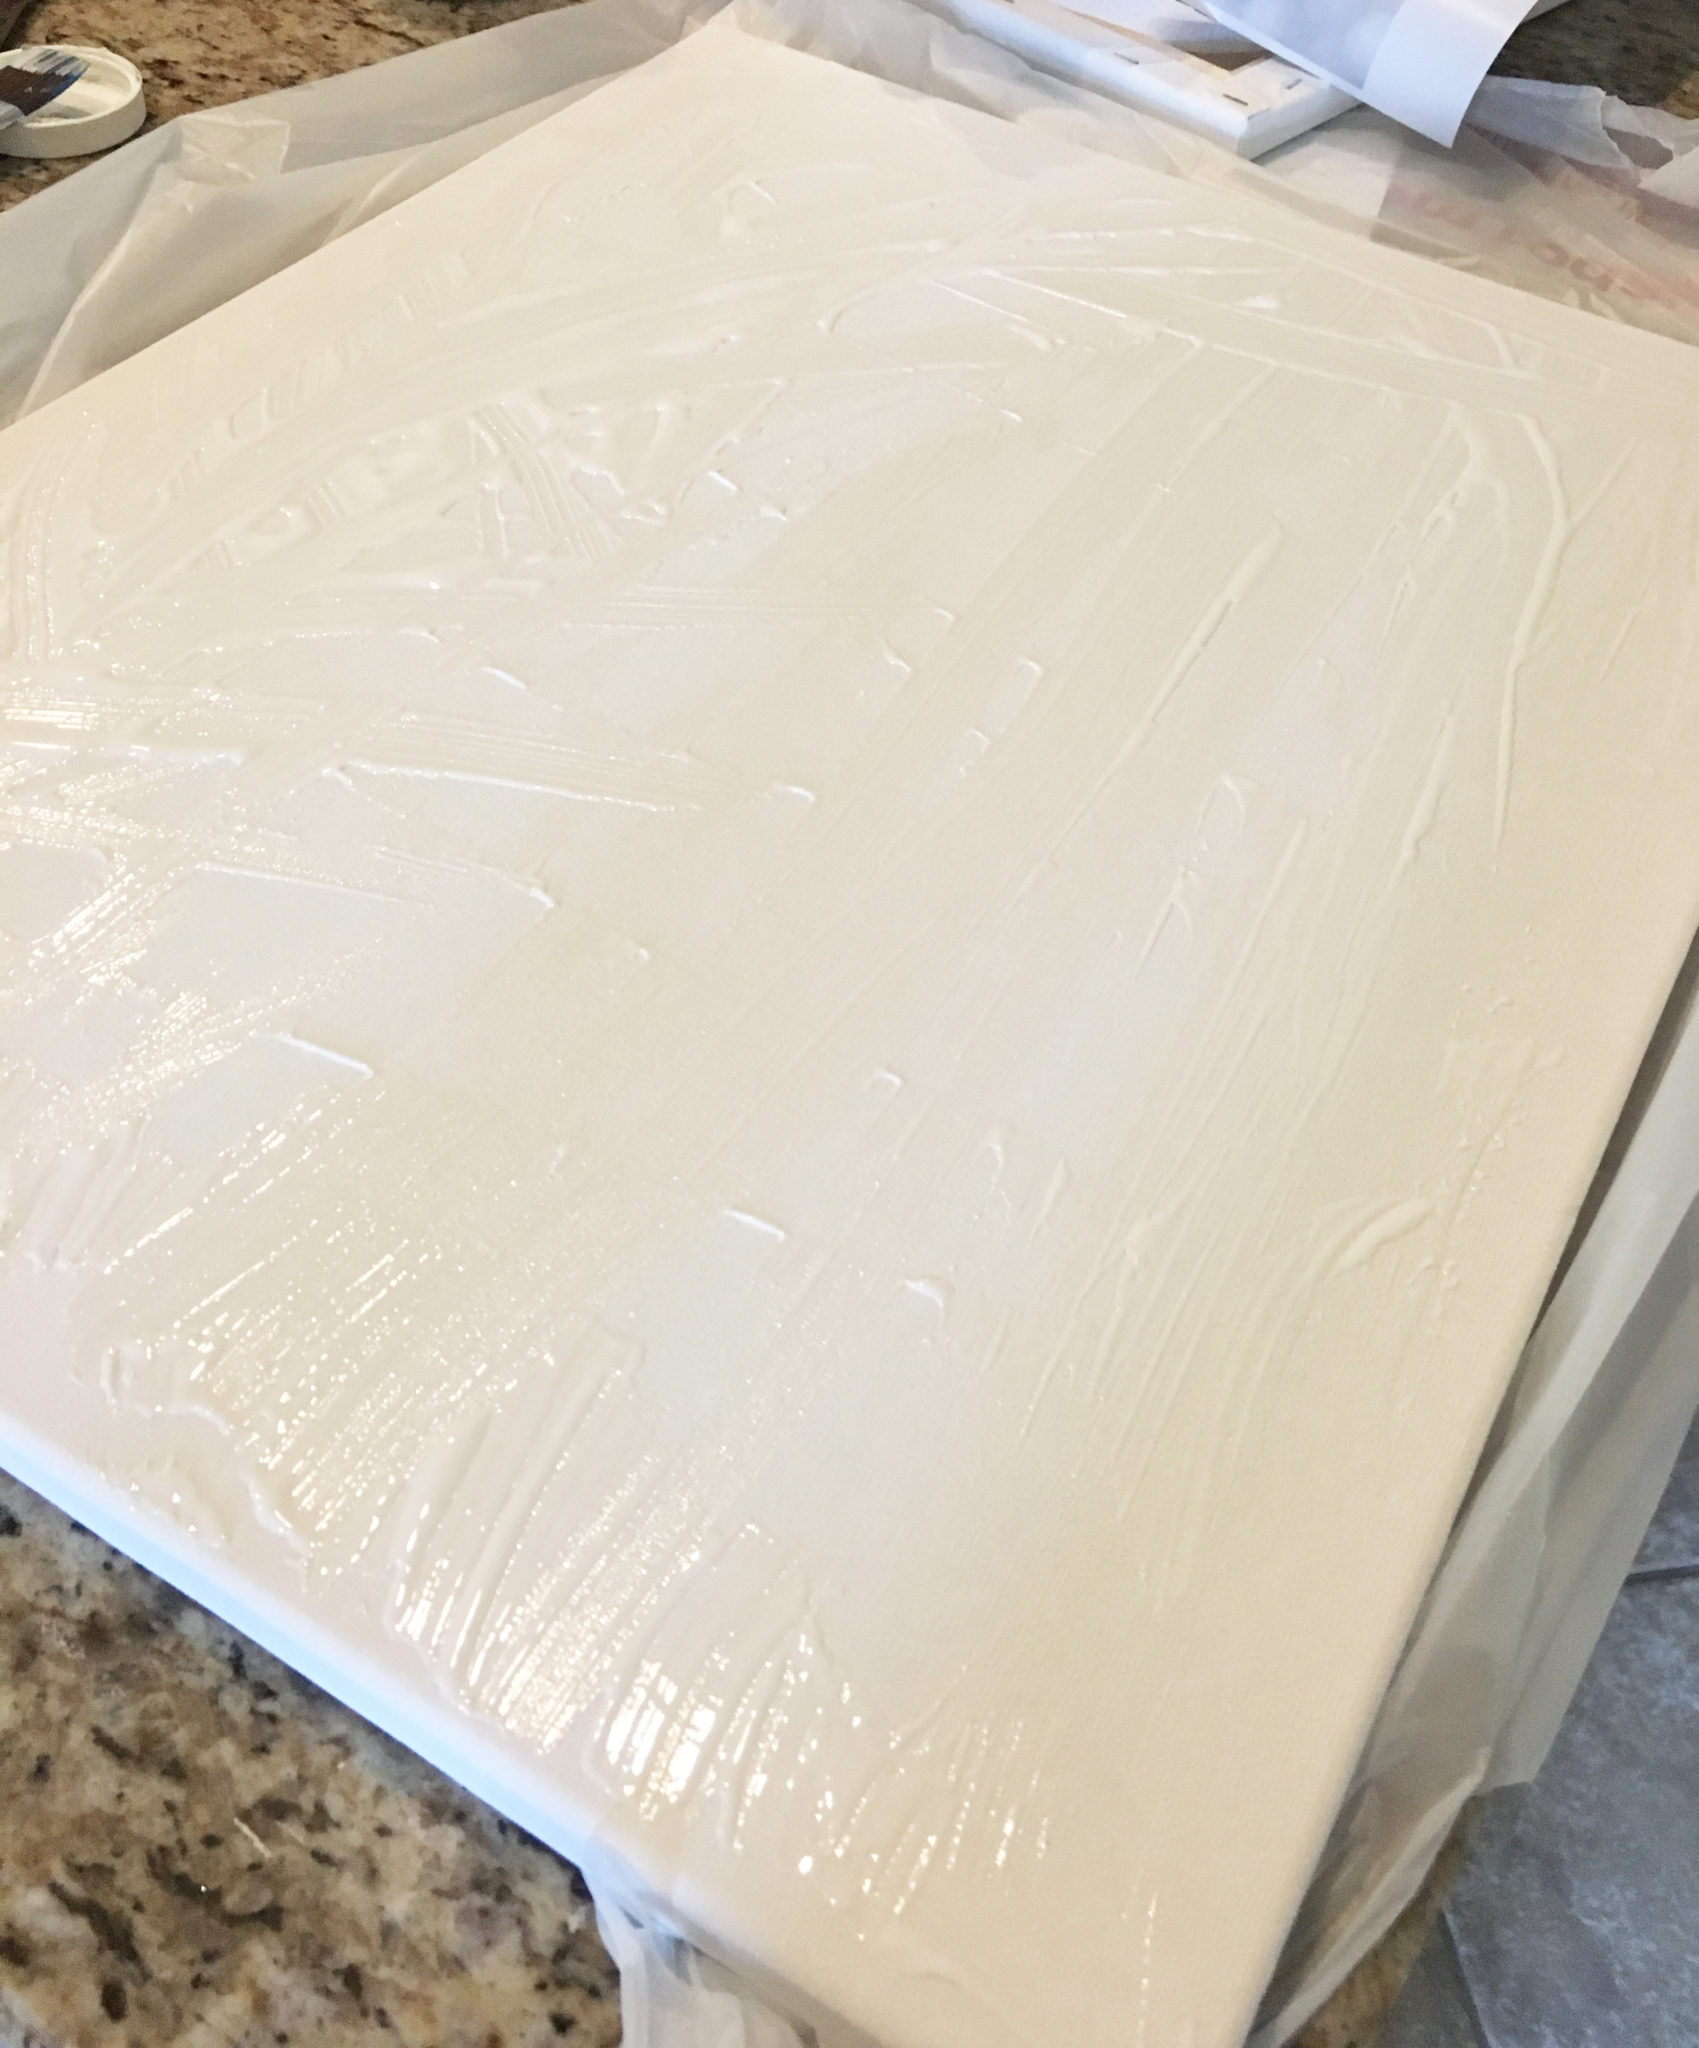
Disperse your Mod Podge all over the canvas with a brush or sponge, being sure to bring it all the way to the edges of the canvas. You don’t want your picture to peel up or curl on the edges so that’s probably the most important part to have covered.
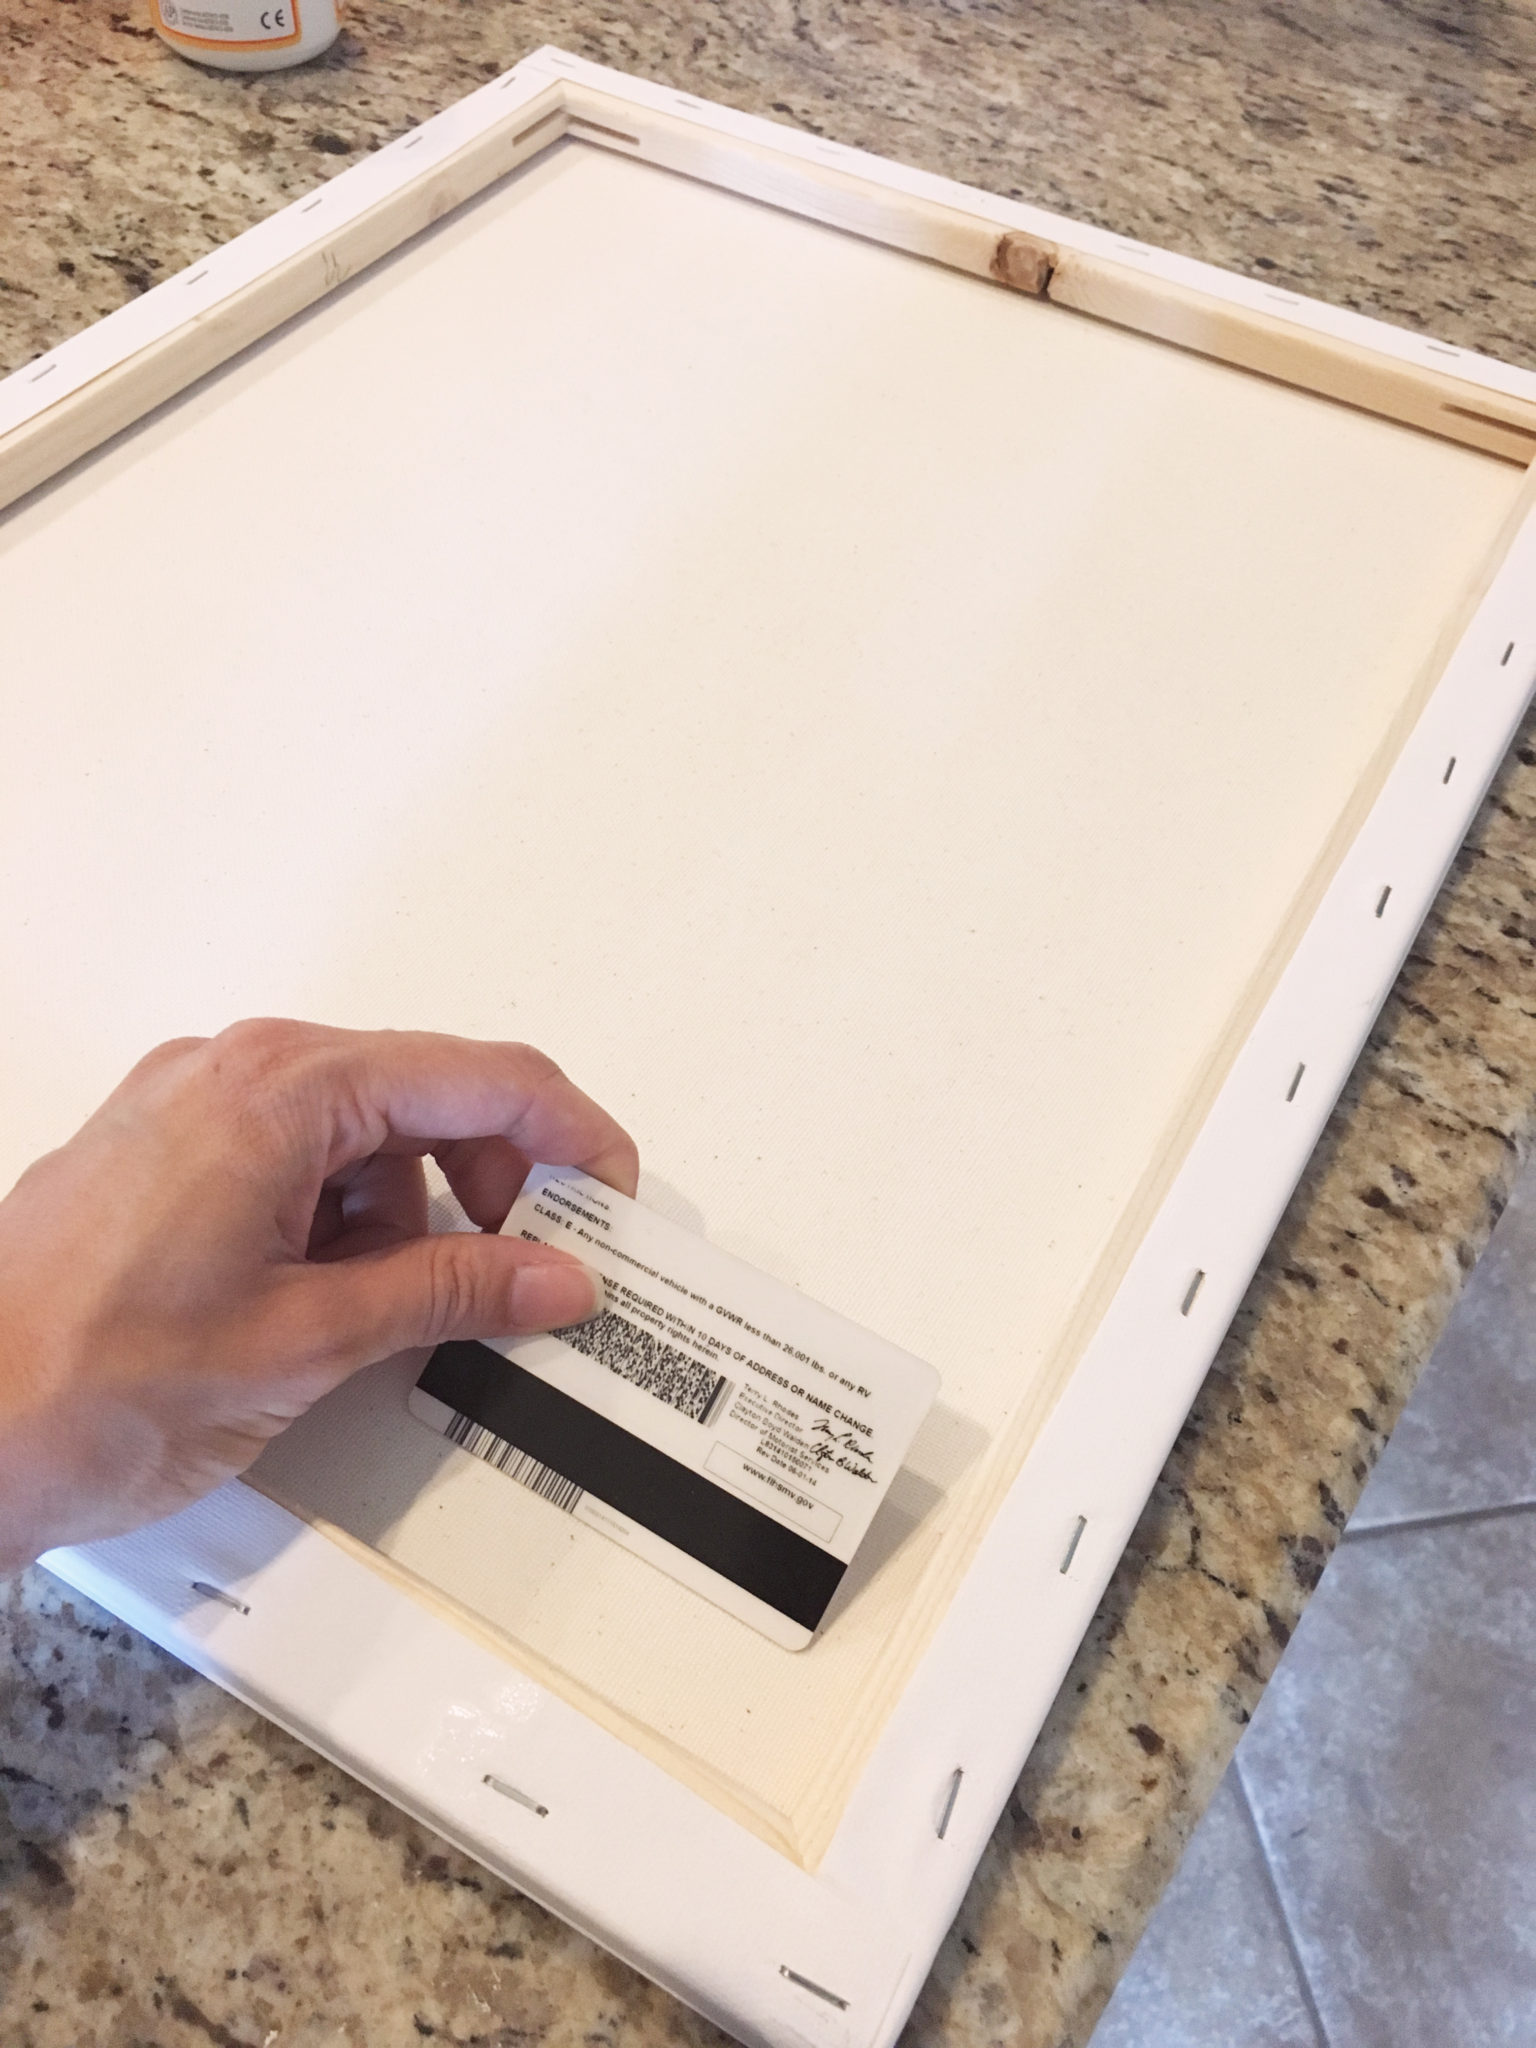
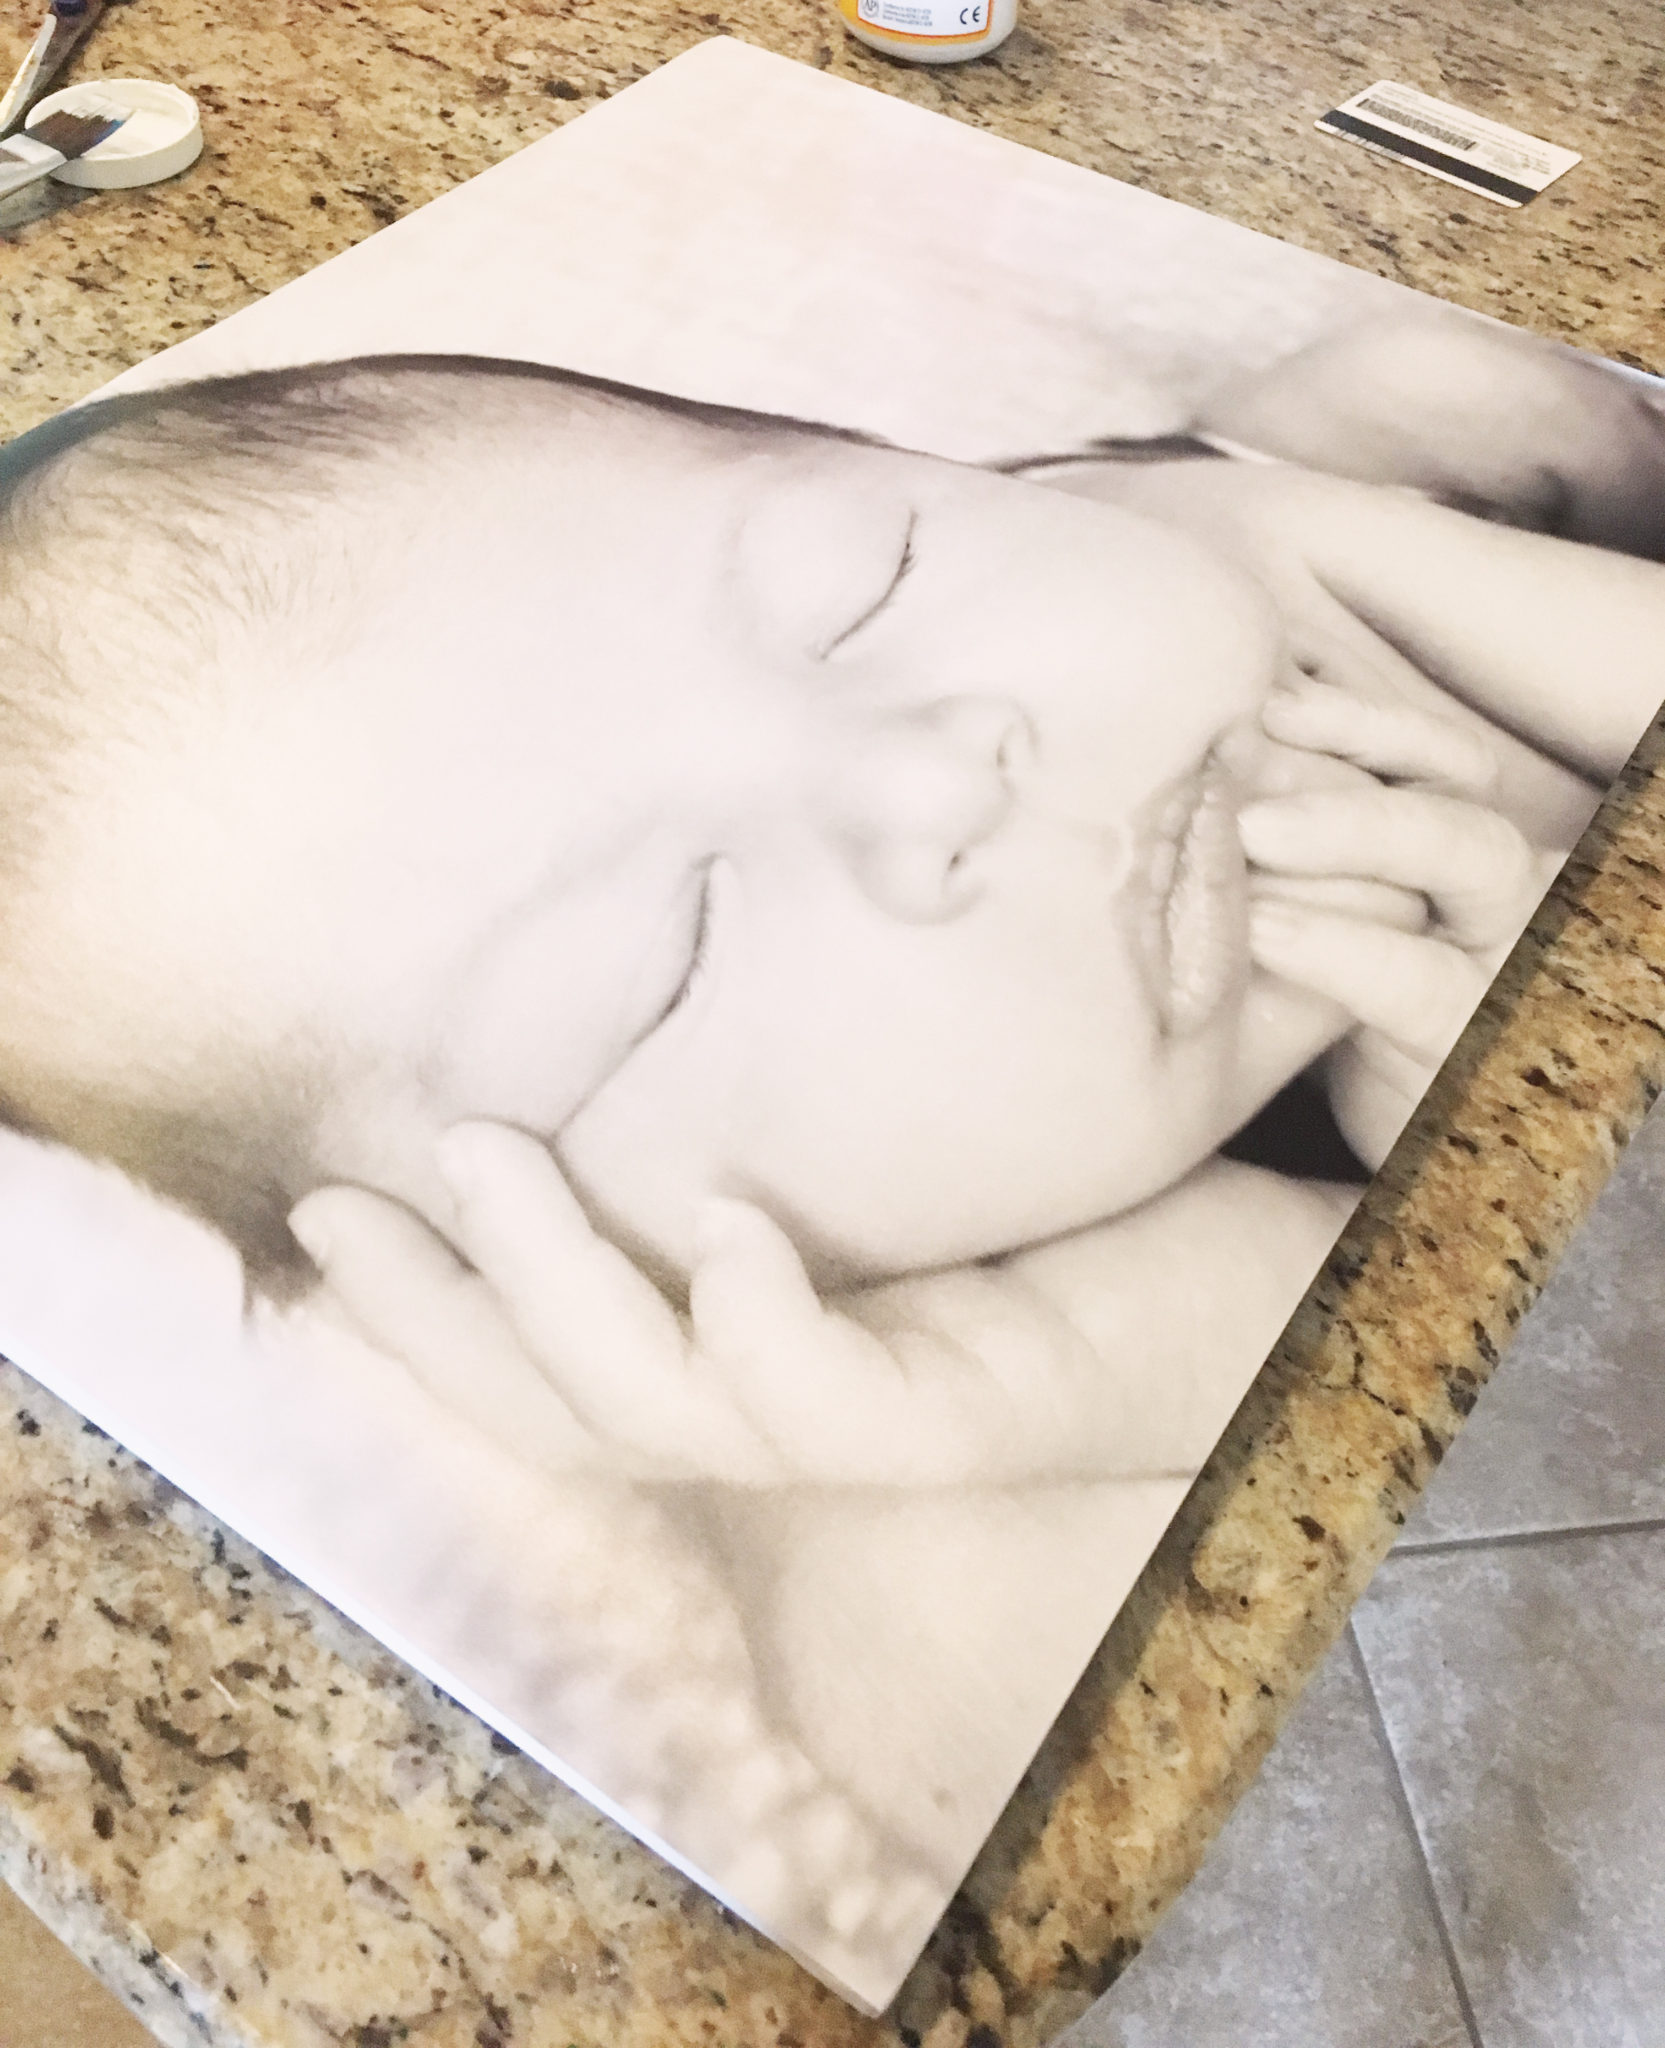
Carefully place your photo print on the canvas & flip the canvas over on a CLEAN, DRY & flat surface. You’re going to want to get all the bubbles out, so use a plastic card or book & swipe it all over on the back.
It only takes a few minutes to dry, but I give it 15-20 just to be sure.
*You can also Mod Podge the front of the canvas to give it a bit of texture, but I wanted to keep ours just like this. If you Mod Podge the front, I’d use a stiff brush & do strokes side to side, then up & down so it mimics the look of canvas. Mod Podge dries clear, so don’t be afraid you’ll mess up your photo.
Another option is to paint the sides of your canvas. I left ours white, but you could paint them black for a stark contrast*
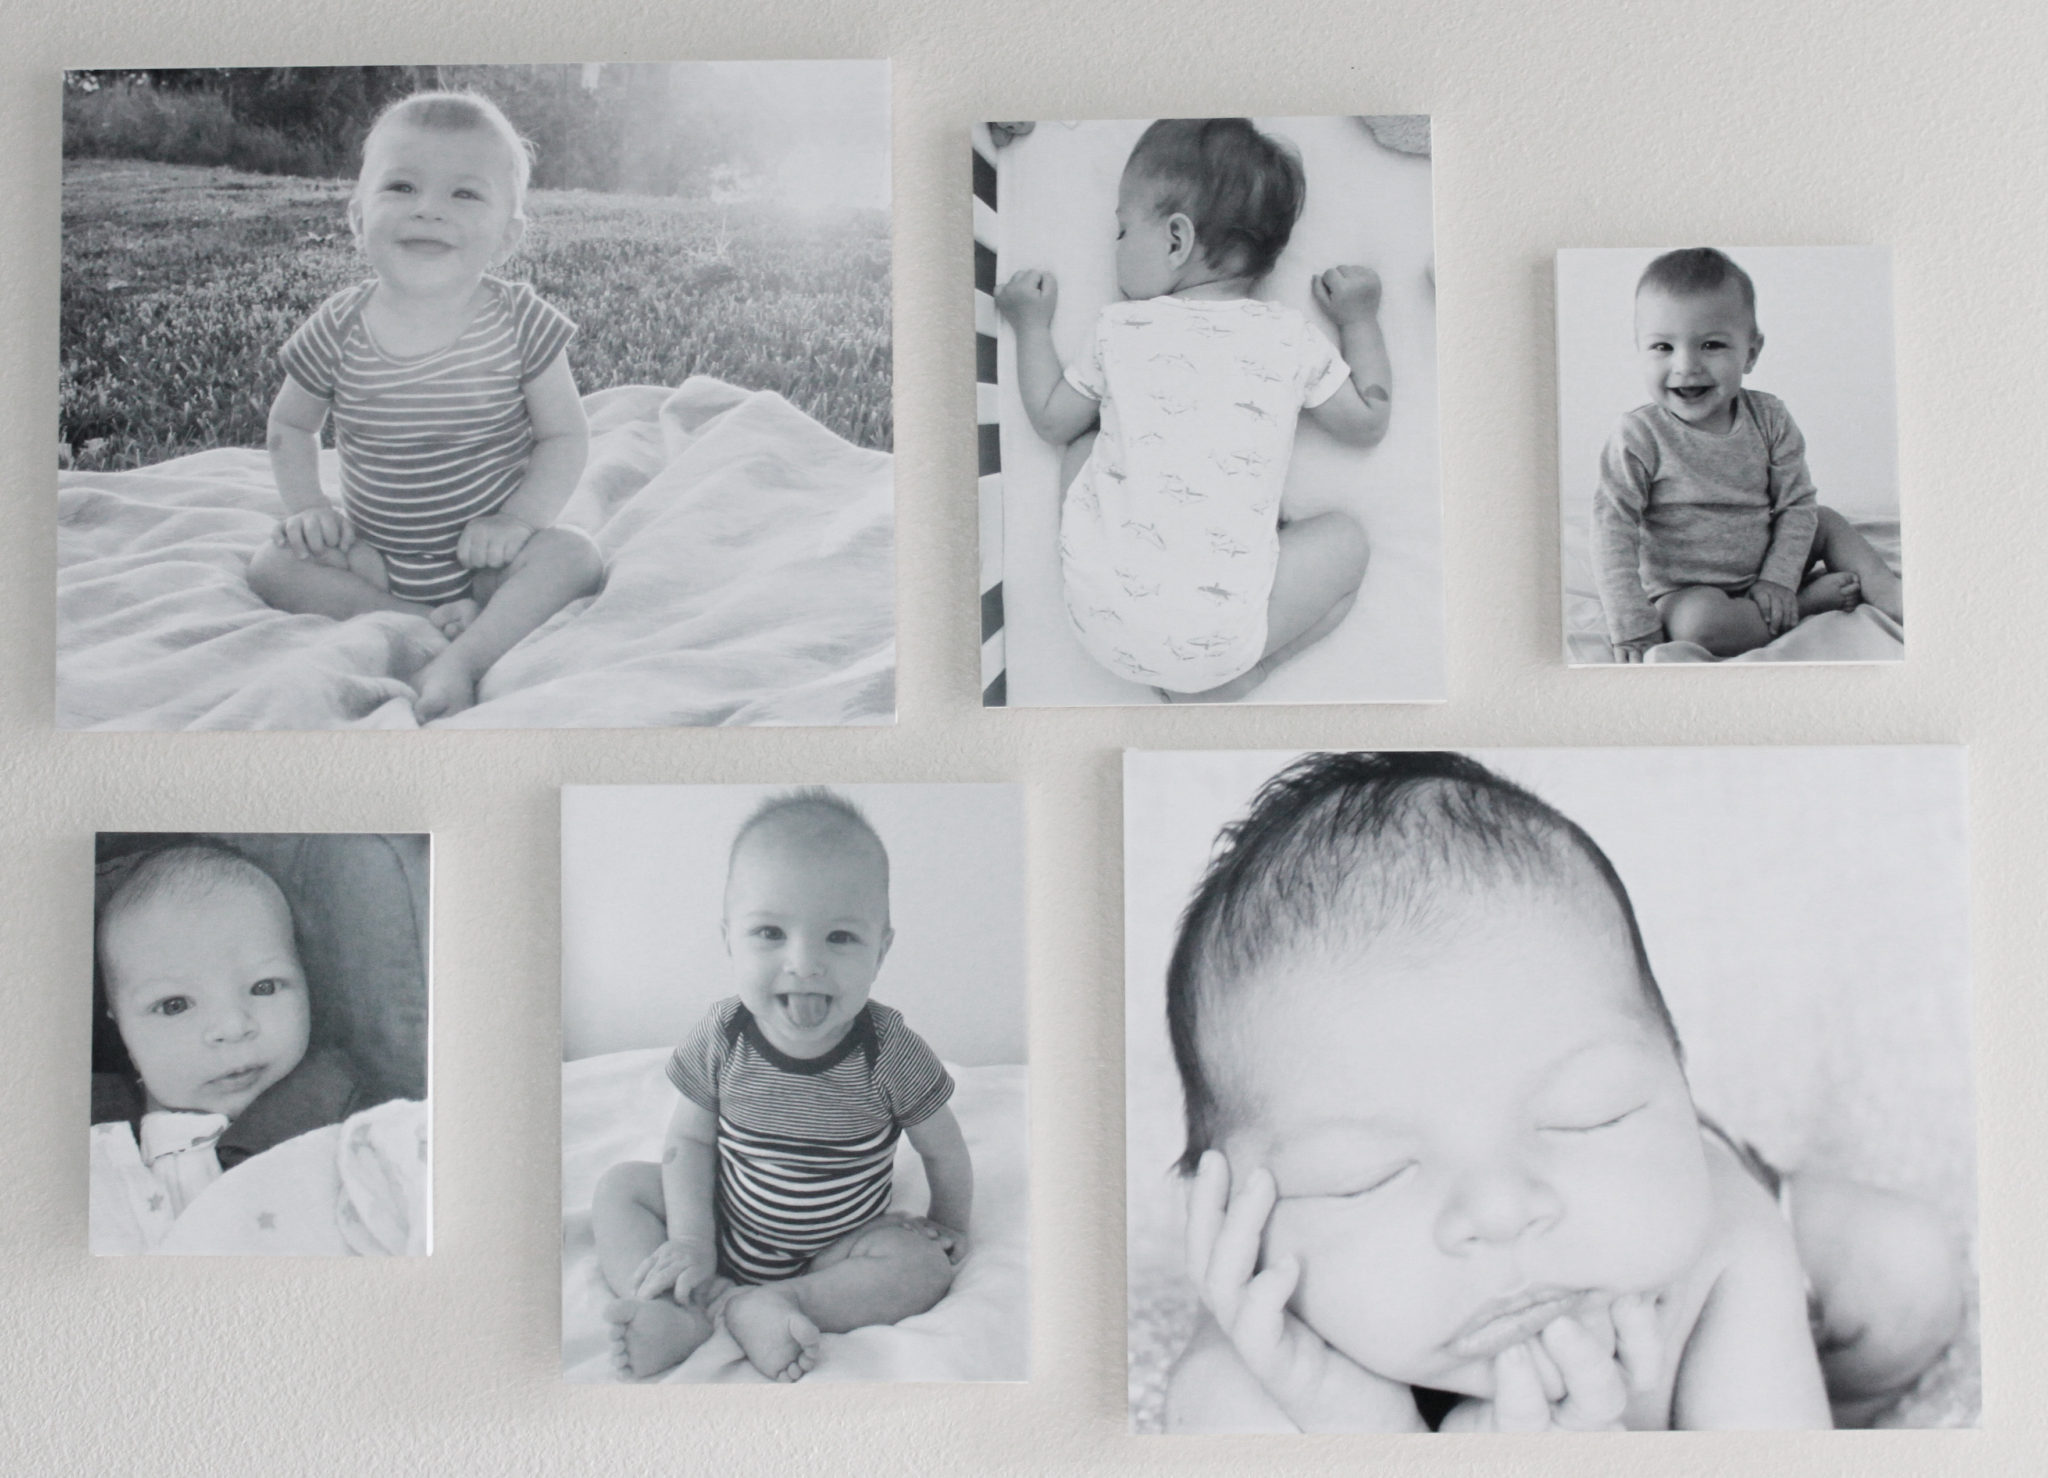
Flip it over & admire your masterpiece! I could admire this masterpiece all day *heart eyes emoji*
Now arrange them on your wall. We have this gallery at the entrance of our house, near the kitchen. This one cost closer to $80 since there are 2 more canvases than the one in Gio’s room. We get to see these photos all day long & every single person that comes in our house comments on them :) Pretty soon we’re going to be able to add pictures of Gabriella!!!
I hope this was helpful, you guys know I’m all about DIYs to save some money! :P
Thanks for stopping by!!