
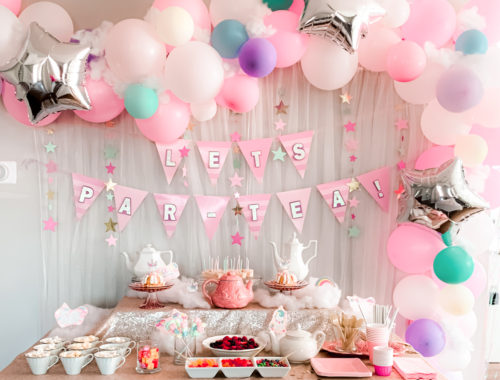
DIY CONFETTI WANDS– OUR GENDER REVEAL!
I’ve seen a lot of different ways people do baby gender reveals & I knew I wanted something were everyone could participate, even the kids.
I saw a Pinterest post where everyone threw up powdered paint– the pictures are AMAZING & it looked like so much fun! But.. I realized people would have to drive home all messy, I’d need a wide open space to do it & it was scheduled to storm on reveal day, & it also says to avoid getting it in your eyes– since we had a few kids coming, hubby convinced me it wasn’t a very practical idea. Boo!! Seriously, though, how awesome are these pictures???? {Original post on Greylikesbaby.com} I WILL find a reason to do this someday & hire a photographer to capture it!!!


We decided confetti would be a better alternative– we could do it right in our living room in case it rained, everyone could participate & no one would have to go home messy :)
I started researching confetti wands & found some online for $2 each + shipping. We invited about 25 people & since we didn’t know the gender, we needed 25 pink & 25 blue. I figured it wasn’t worth $100 since it was an easy & inexpensive DIY… I ended up making all 50 for $28 & it didn’t take me long at all!
Here’s what I used:
- 1 case (50) of 1 1/2″x12″ White gloss cardboard mailing tubes– $11.50 (Papermart.com)
- 1 bag (100) white plastic end caps– $7.60 (Papermart.com)
- Shipping was $9
- Pink, white & blue tissue paper- I already had plenty of this, but you could get it at the dollar store.
Here’s what I did:
Short explanation– put a cap on the tubes, cut your tissue paper into squares & fill. The end.
My detailed explanation for our reveal…. haha–
Put a white plastic cap on each of the tubes.
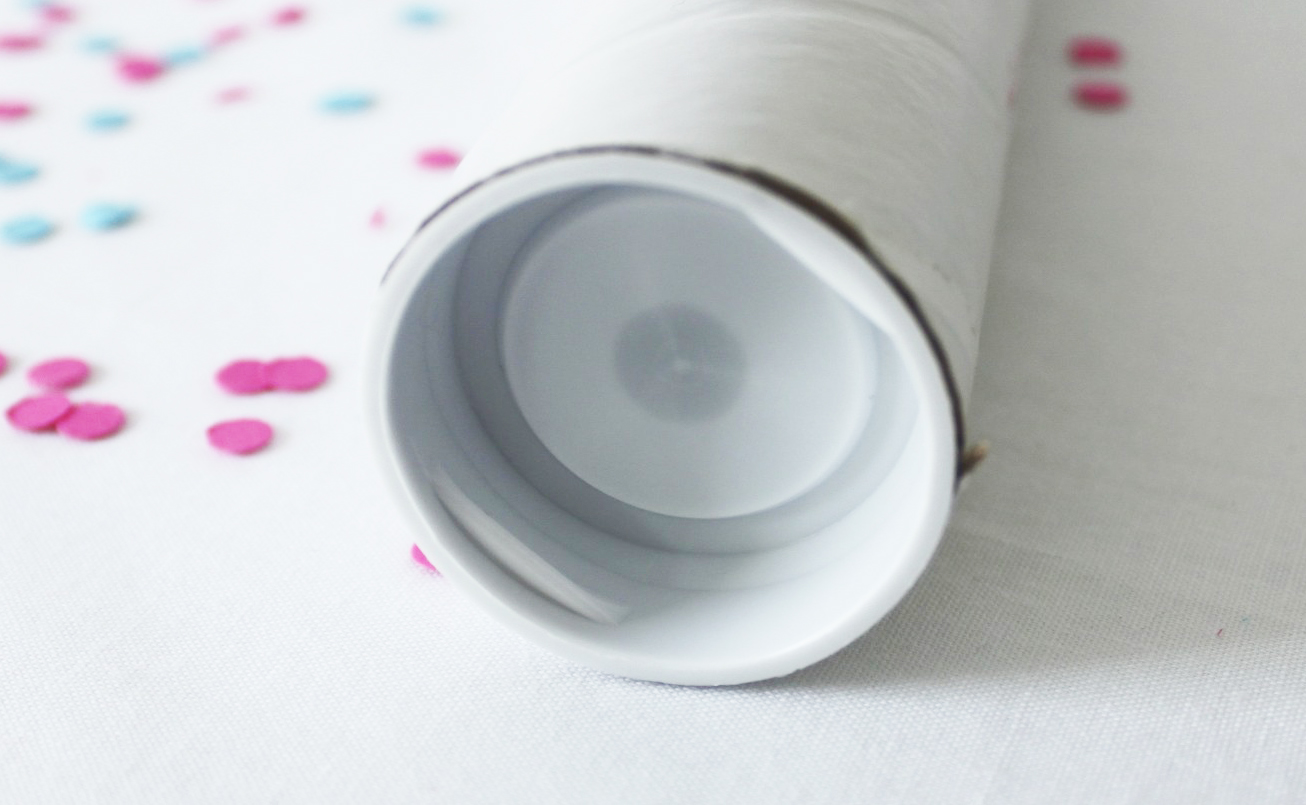
Btw… I lost the pictures I took while making them, so that’s the only picture I have for this tutorial, sorry!
Cut up the tissue paper into squares & fluff them up to get them mostly separated before you start filling the tubes.
First of all, let me just say… I tried having Gio “help” me… I knew he’d have so much fun & I figured he’d at least try to get some in the tubes… Nope. One look at the confetti & he just began throwing & screaming in excitement, haha. So I let him throw a couple handfuls & put it away until bedtime when I could finish in peace, haha.
I had 2 plastic bins labeled “girl” & “boy.” Starting with pink, I’d fill a tube about 1/2 way (I didn’t want them to be overstuffed & make it hard for the confetti to shoot out) & put it in the girl bin until there were 25. I finished the remaining 25 with the blue confetti.
I did them one at a time & transferred them since I was using clear bins– I wanted to be sure there were no pink or blue confetti pieces at the bottom that would give away the gender…. & then I still ended up obsessively checking the bin to make sure there was no visible evidence, haha.
Once all the wands were filled, I topped them off with white confetti in case I had any “peekers” trying to see what the gender was before the big shake off! I left the tubes capless because the caps were sooo hard to get off.
& that’s it! I finished them in no time.
For our reveal, I had the results from our ultrasound in an envelope. I gave the envelope to the neighbors so they could grab the right bin, remove the gender label & pass them out to everyone. After a quick countdown & much anticipation, we shook our hearts out! If you missed my original post, watch the video here:
I probably thought of every single thing that could go wrong. What if someone trips & spills their wand? What if one of the kids shakes it before we’re ready? What if I labeled the bins wrong? What if I missed a piece of confetti & someone sees it at the bottom of the bin? Haha. I guess I worry too much.
Luckily everything went great (although I do wish the camera was aimed just a little bit higher!) & everyone had so much fun finding out! I fought back happy tears & didn’t know what to do with myself! WE ARE SO EXCITED!!
Thank you all for your kind words & “congrats,” we so appreciate them! I’m so happy that I can share some of these special moments with people who live far away. So thanks for watching, thanks for commenting & thanks for caring about us!


2 Comments
Pingback:
Pingback: