DIY SIDEWALK CHALK | JUMBO SIZED!
I’m just going to jump right in with this recipe/tutorial, so here we go!
What you’ll need:
- Cardboard tubes (I used toilet paper & the roll from my wax paper)
- Wax Paper
- Tape
- Scissors
- 1 1/2 cup Plaster of Paris
- Paint
- Disposable cups/utensils (optional)
- 3/4 cup water
What I did:
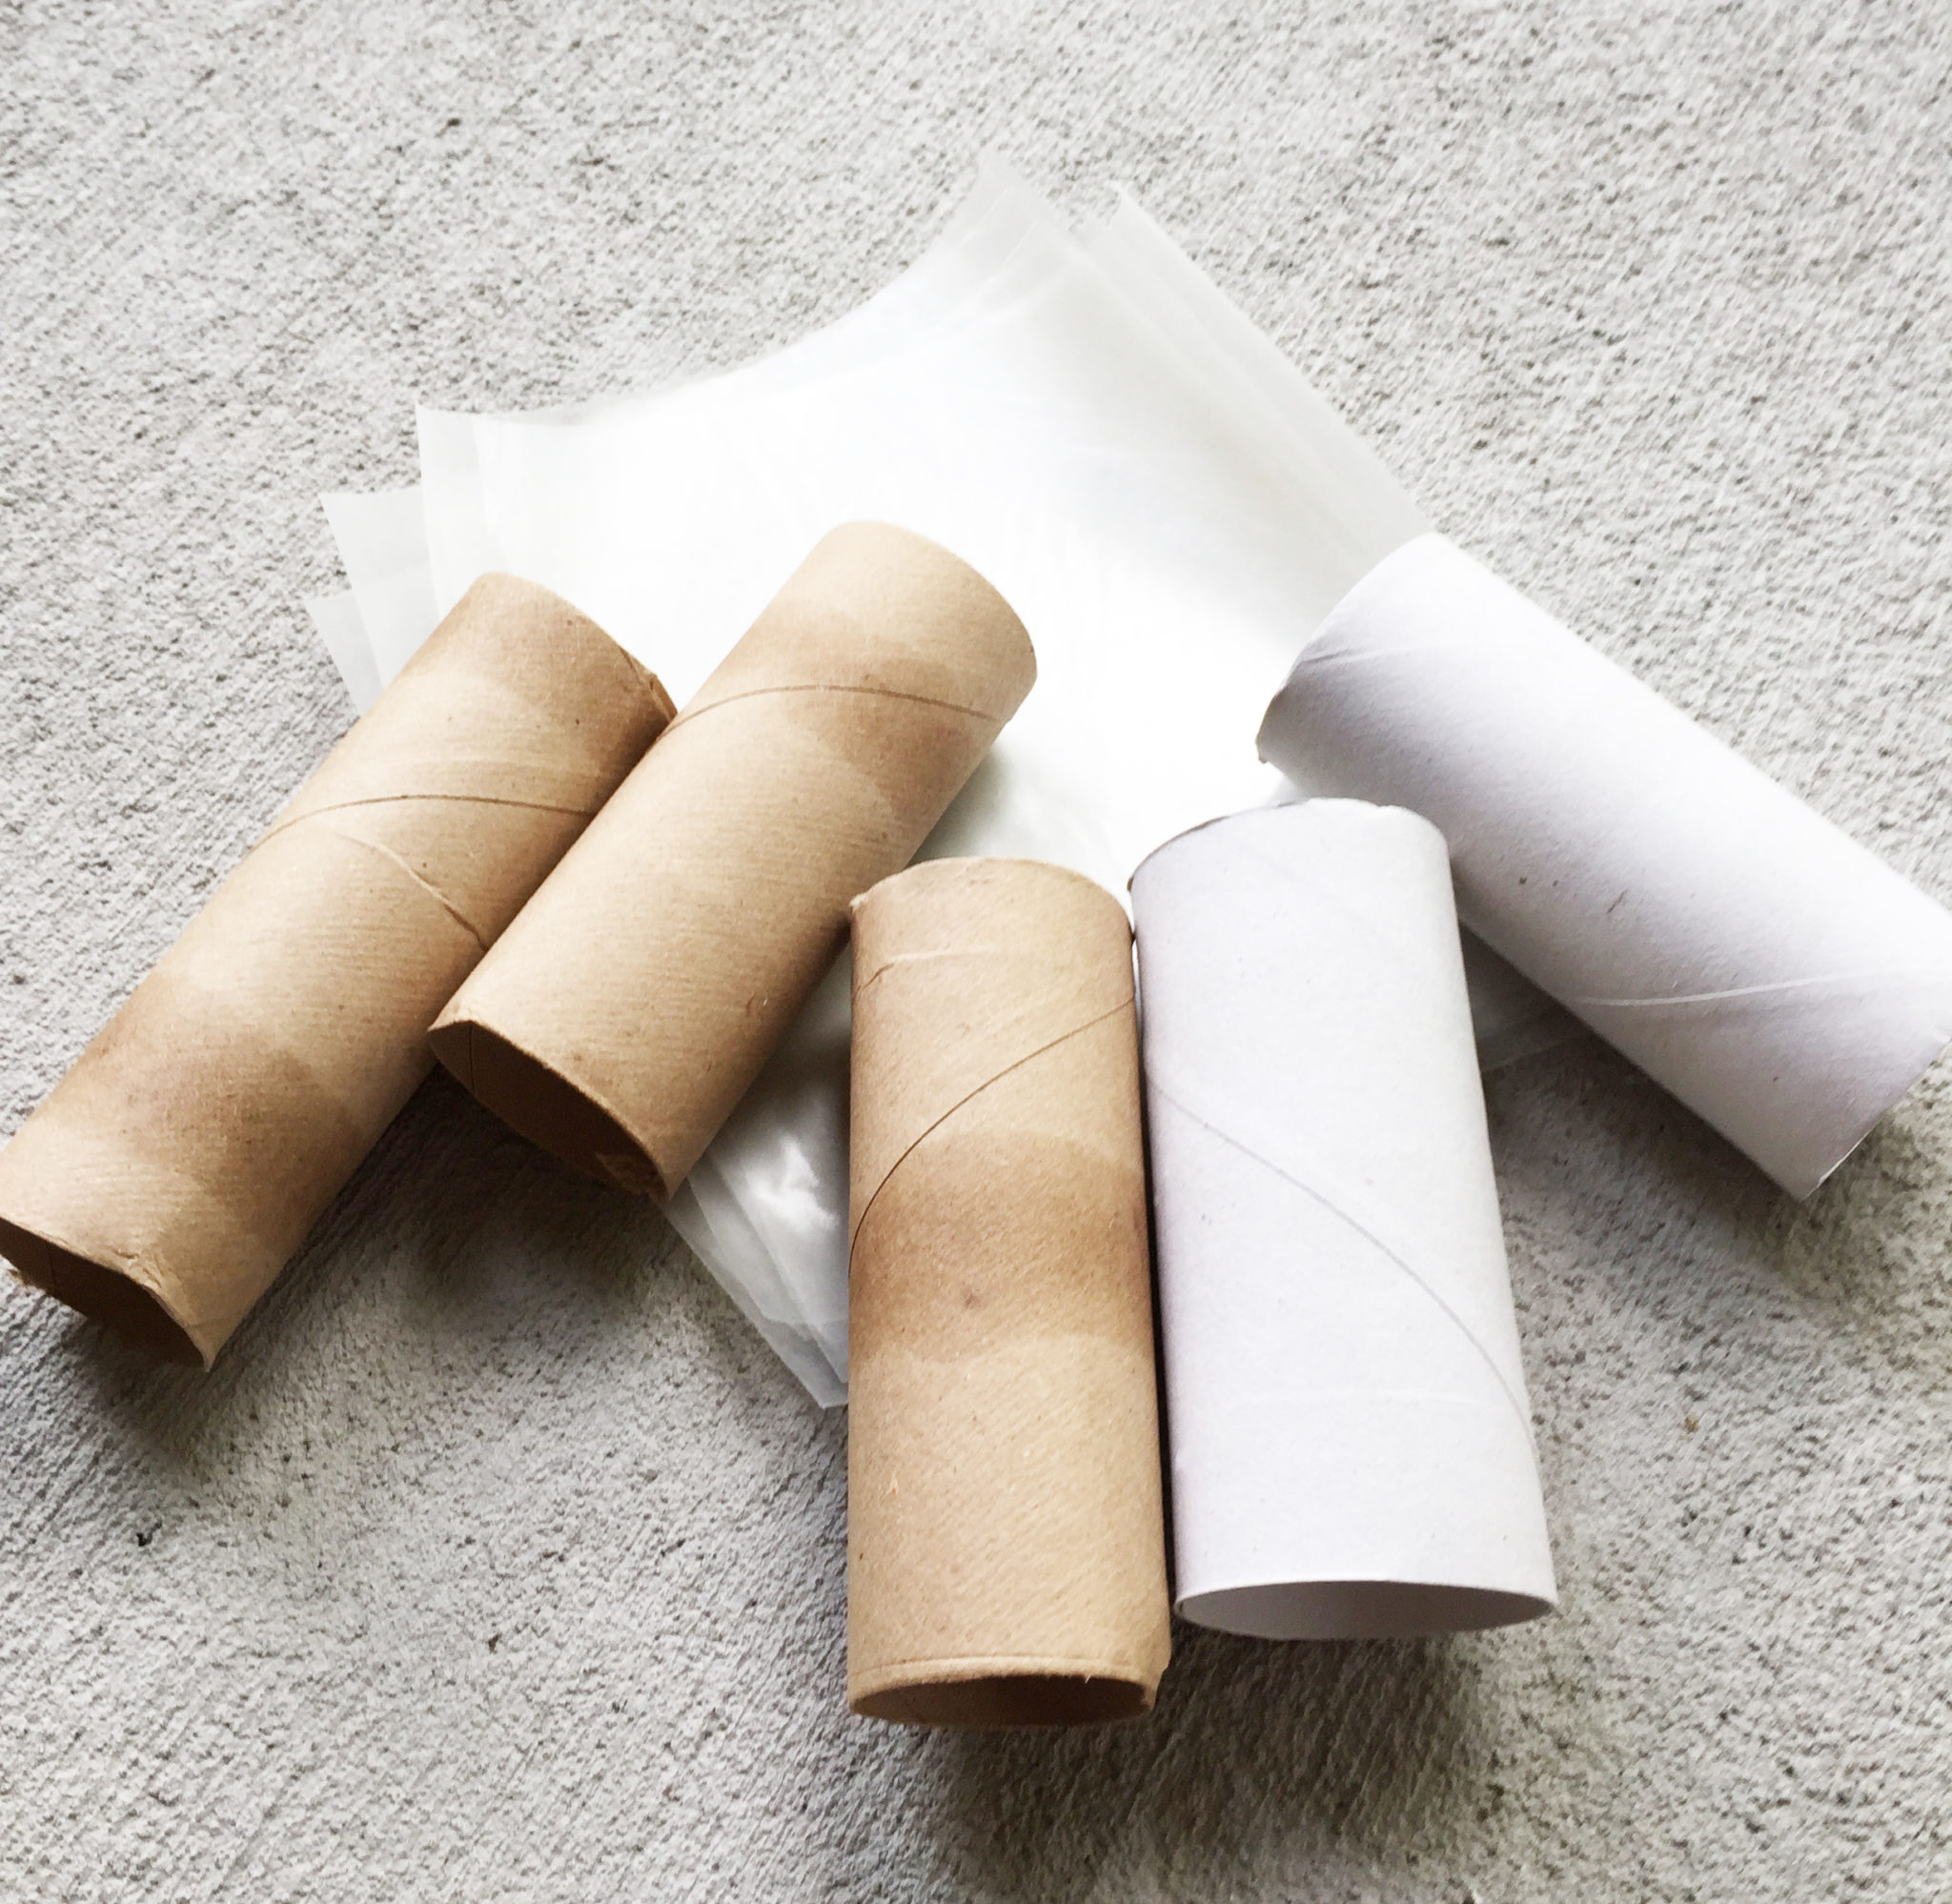
Toilet paper tubes are about the size you are going to need for the mold. If you don’t have those you can use any cardboard tube cut to size. I used the roll that the wax paper was on since I just happened to be using the last of it on this project.
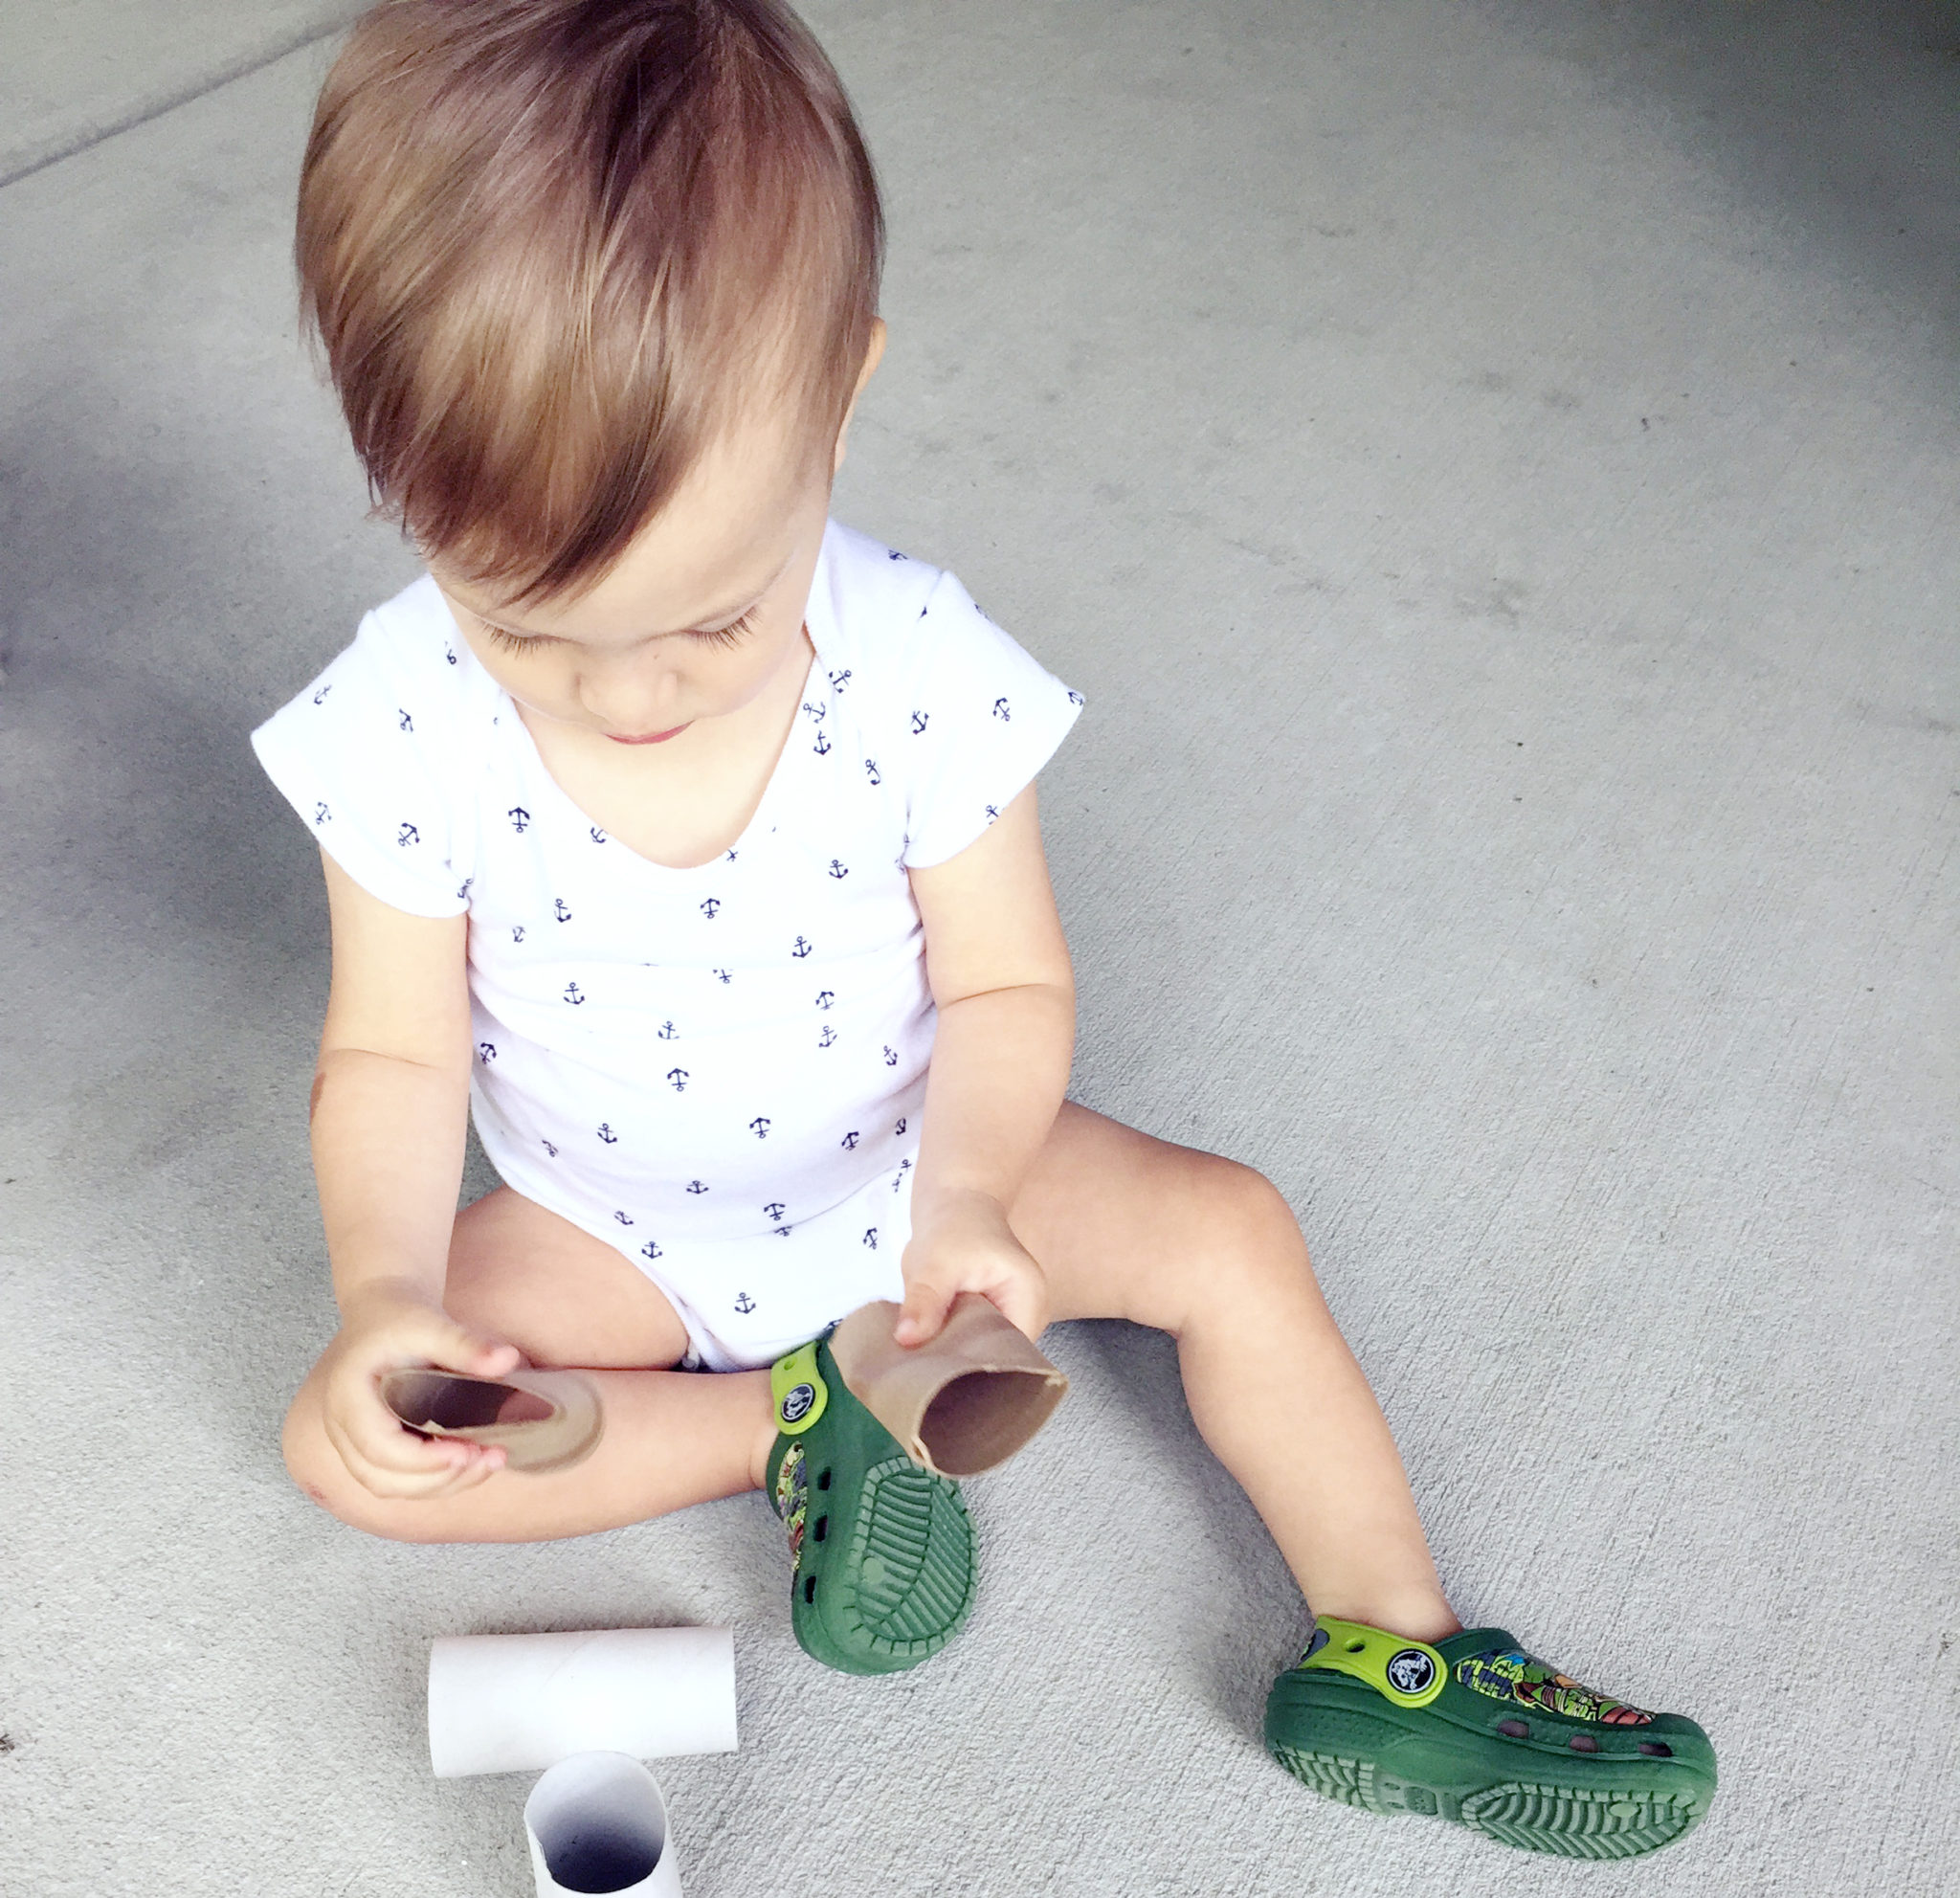
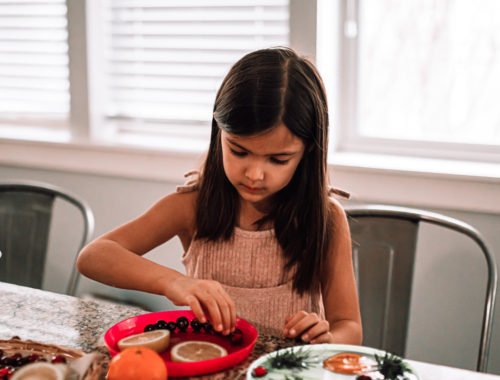
Smashing the cardboard tubes is optional, but if you need to do this for another project I know the perfect helper! (;
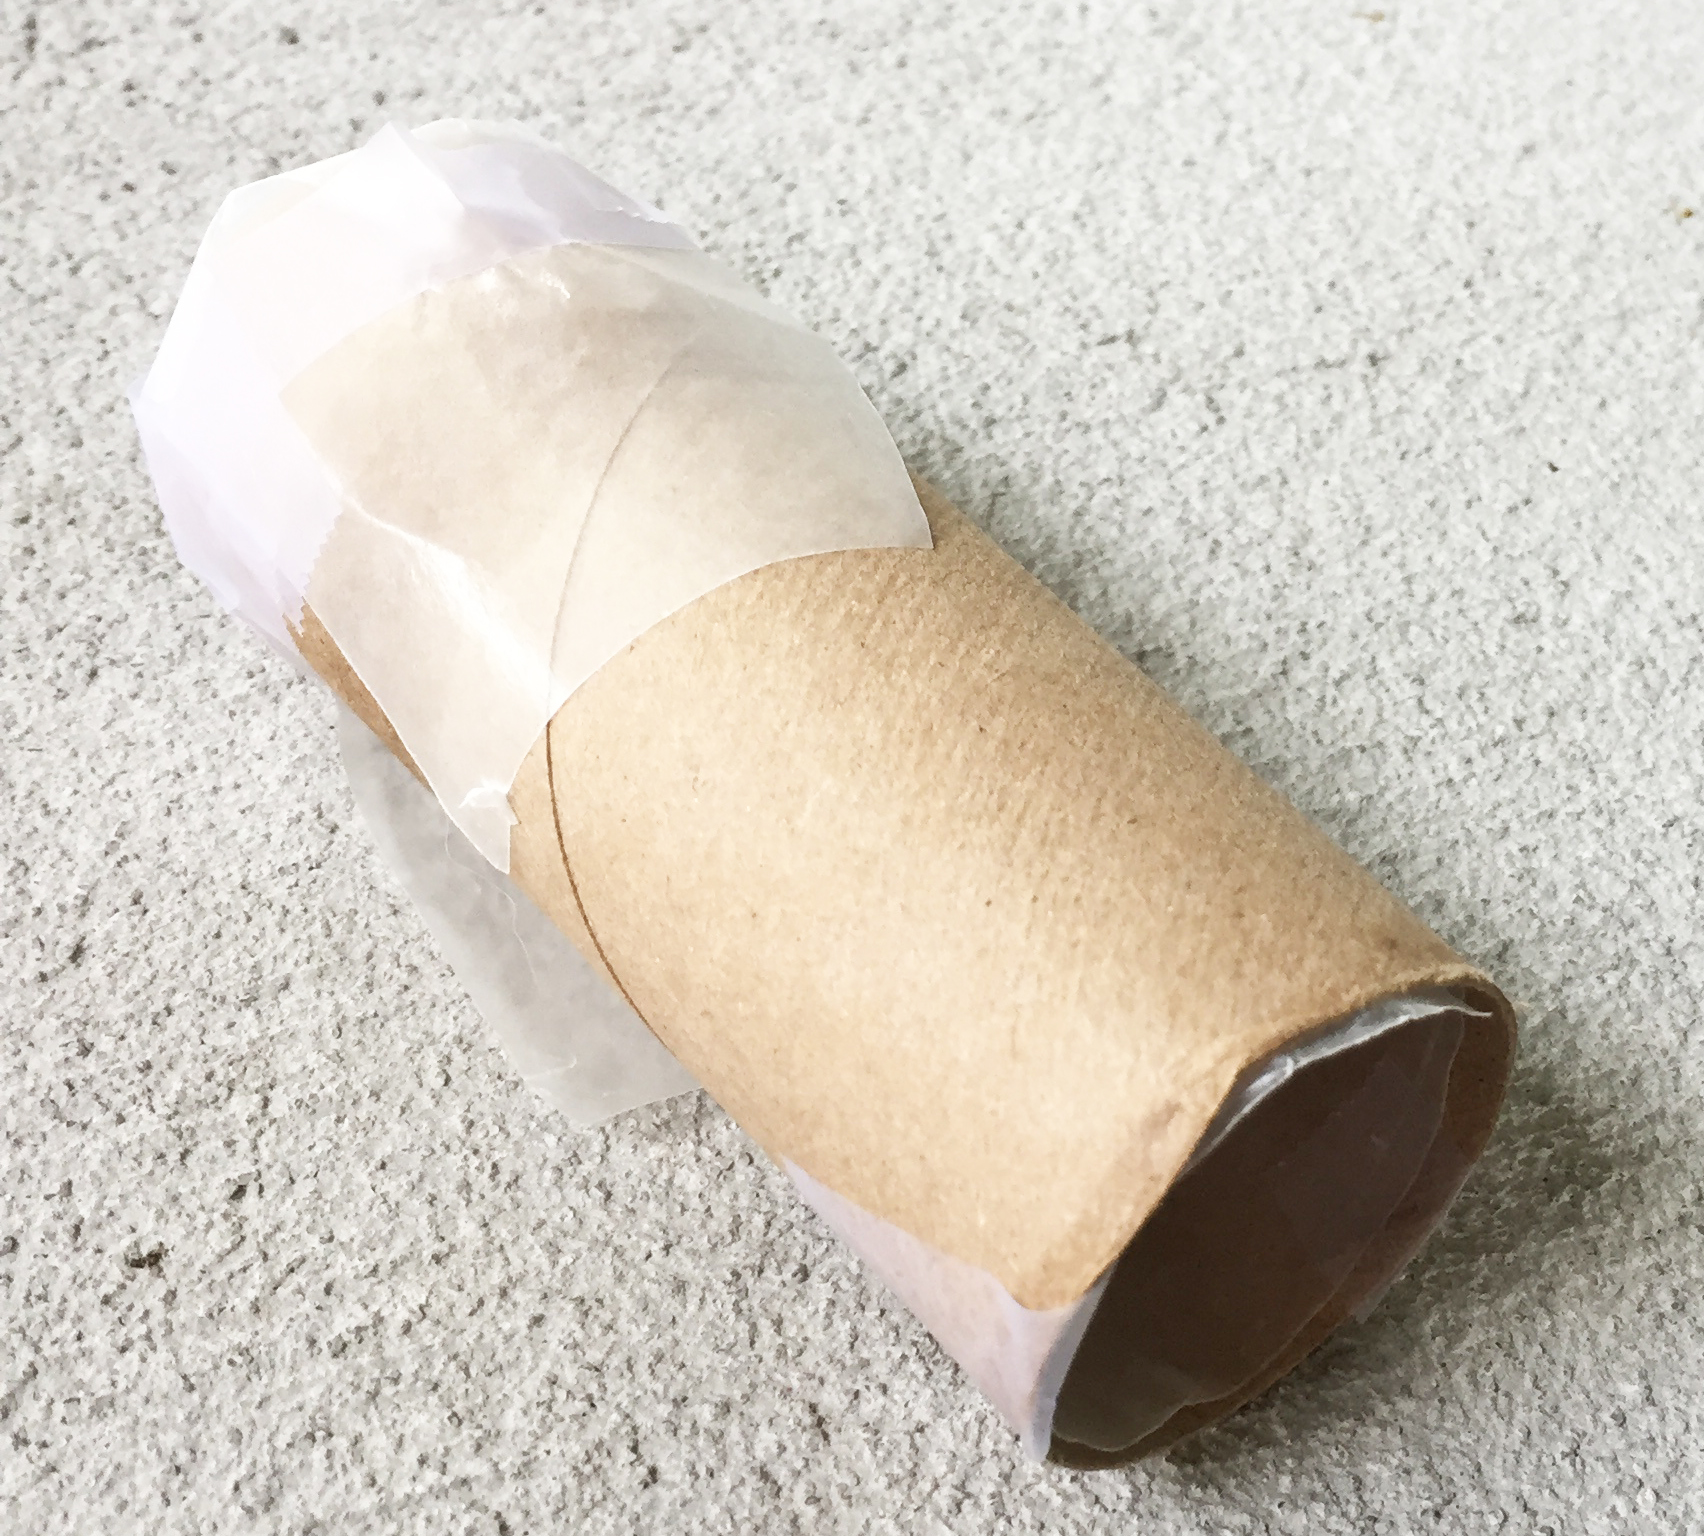
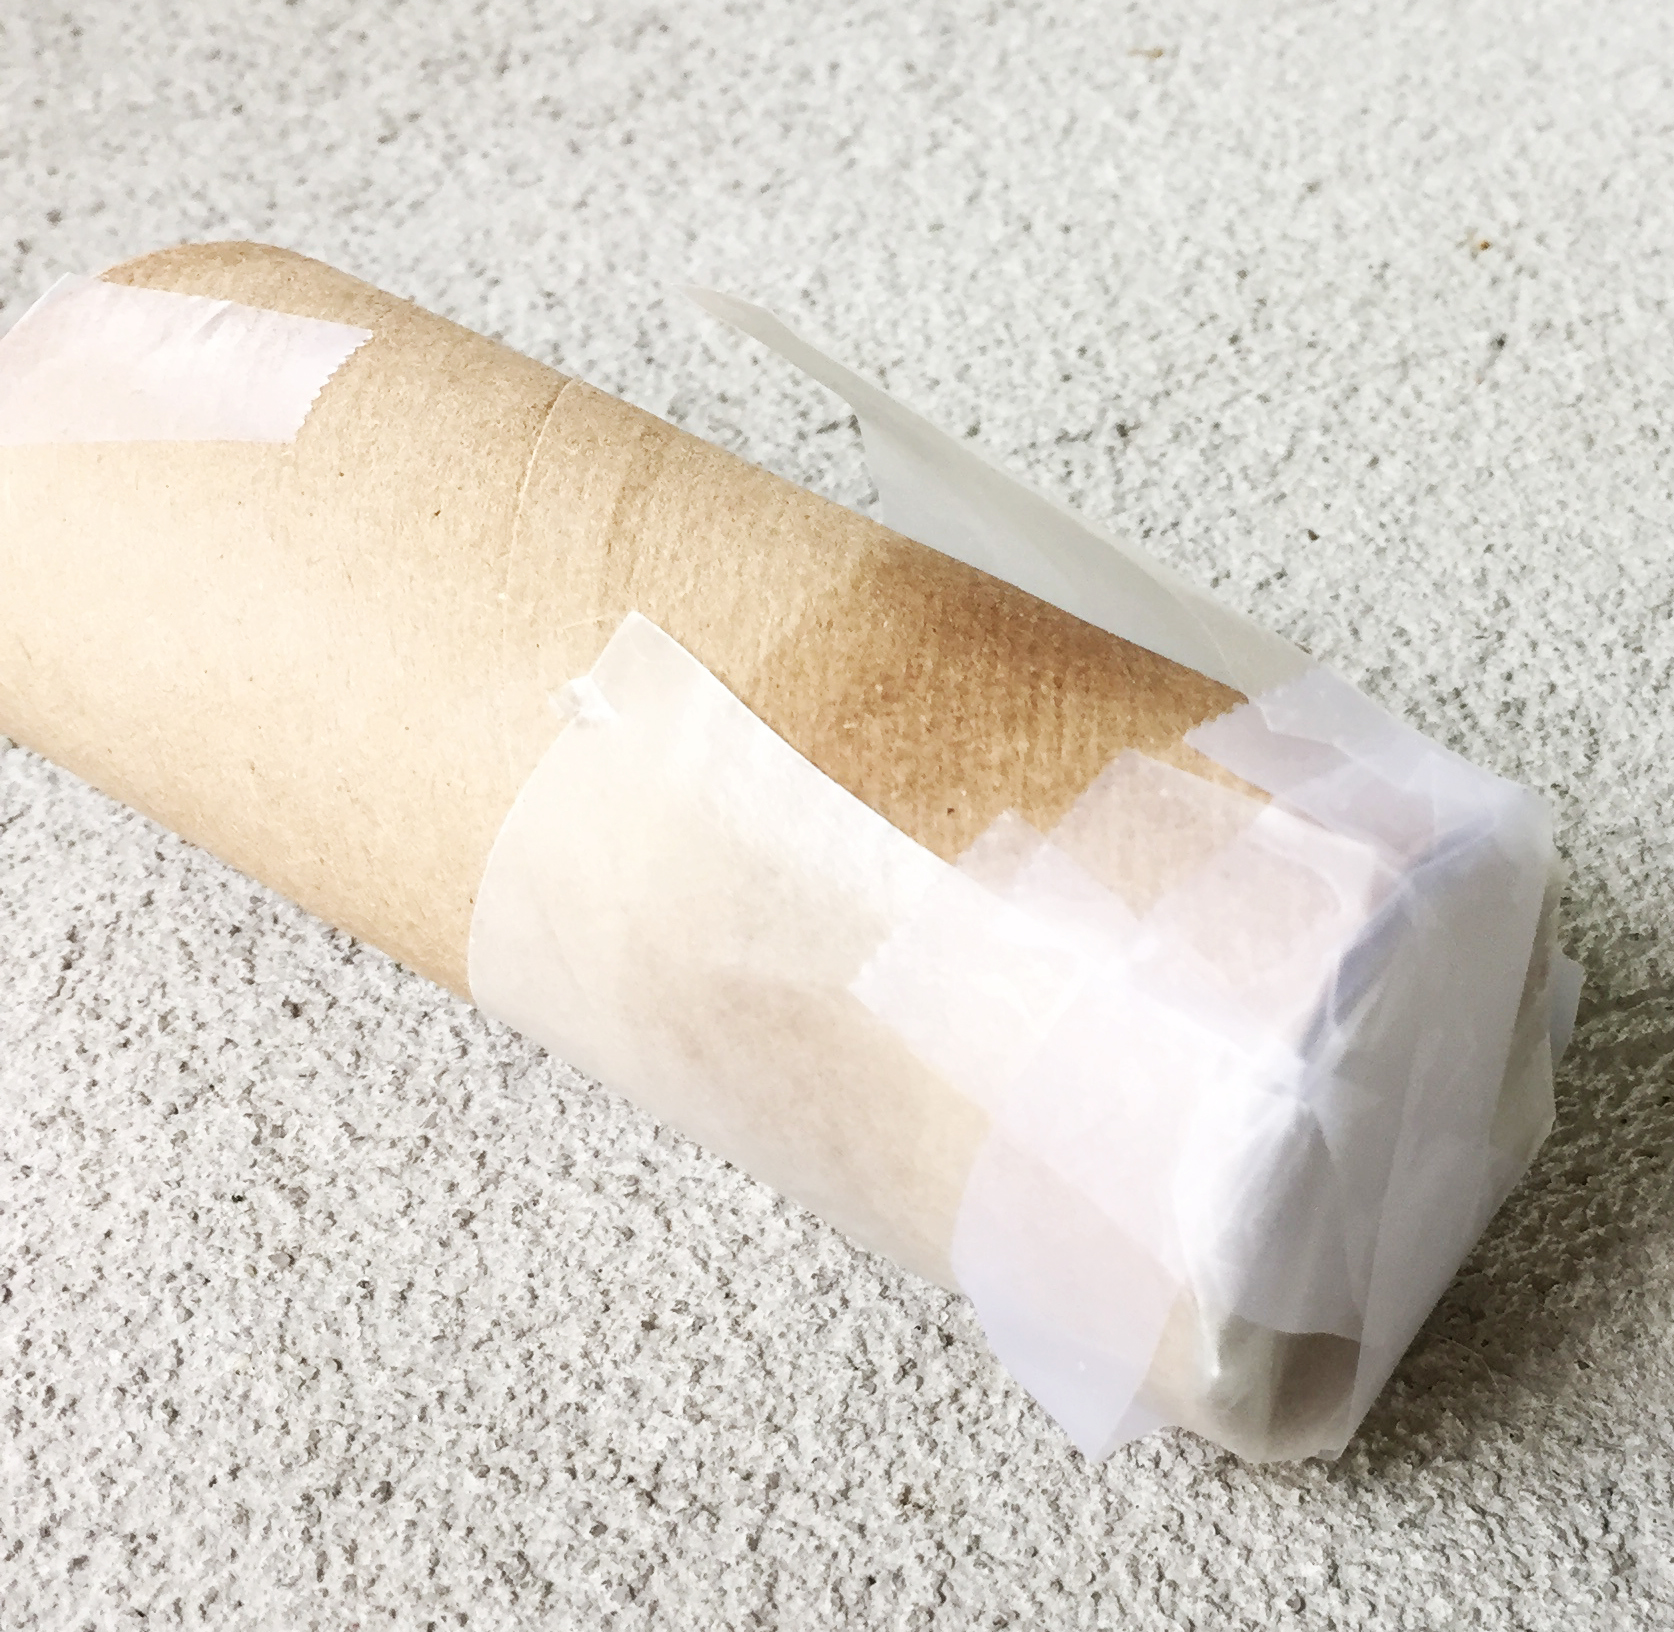
You’re going to need to cut pieces of wax paper big enough to line the inside of the tube so the mixture doesn’t stick to it. Tape it in place so it’s not going to go anywhere. Then, close one side of the tube using wax paper & tape. It doesn’t have to be pretty, y’all! Here’s what mine looked like:
After all your molds are made, it’s time to mix up the ingredients!
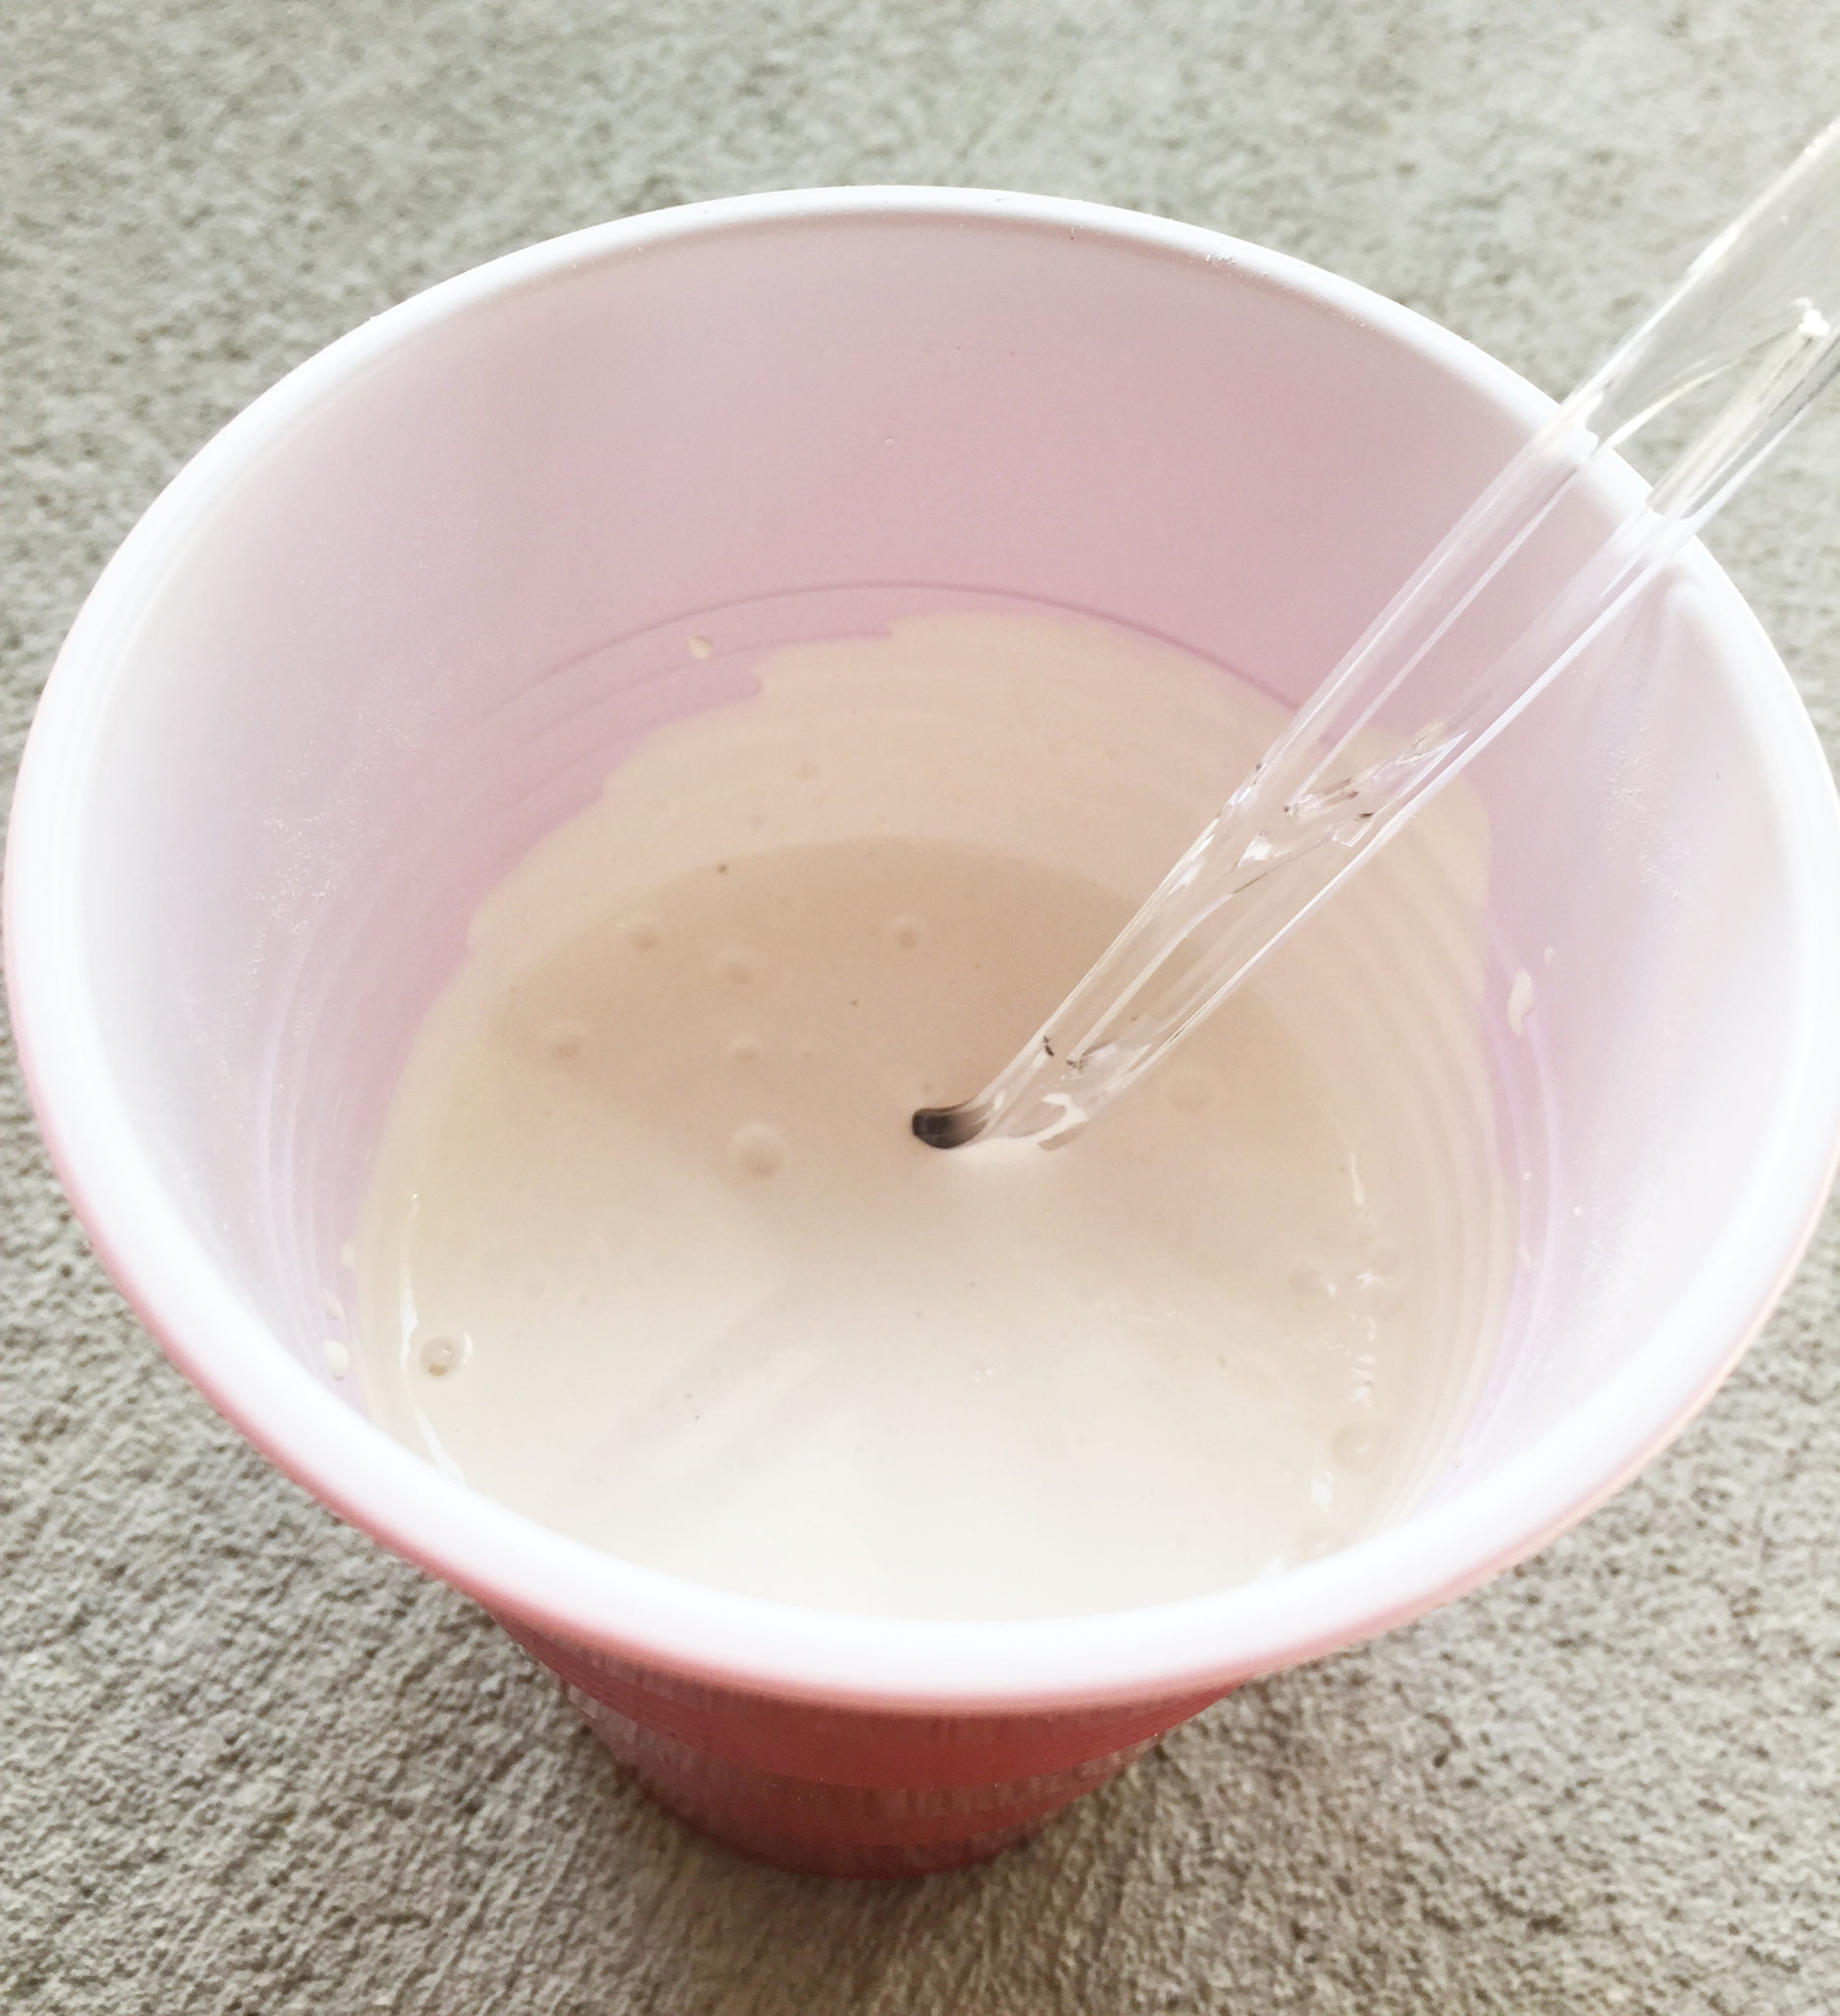
In a disposable cup or container: pour in 3/4 cup water first, then add in 1 1/2 cup plaster of paris & stir until it’s all combined.
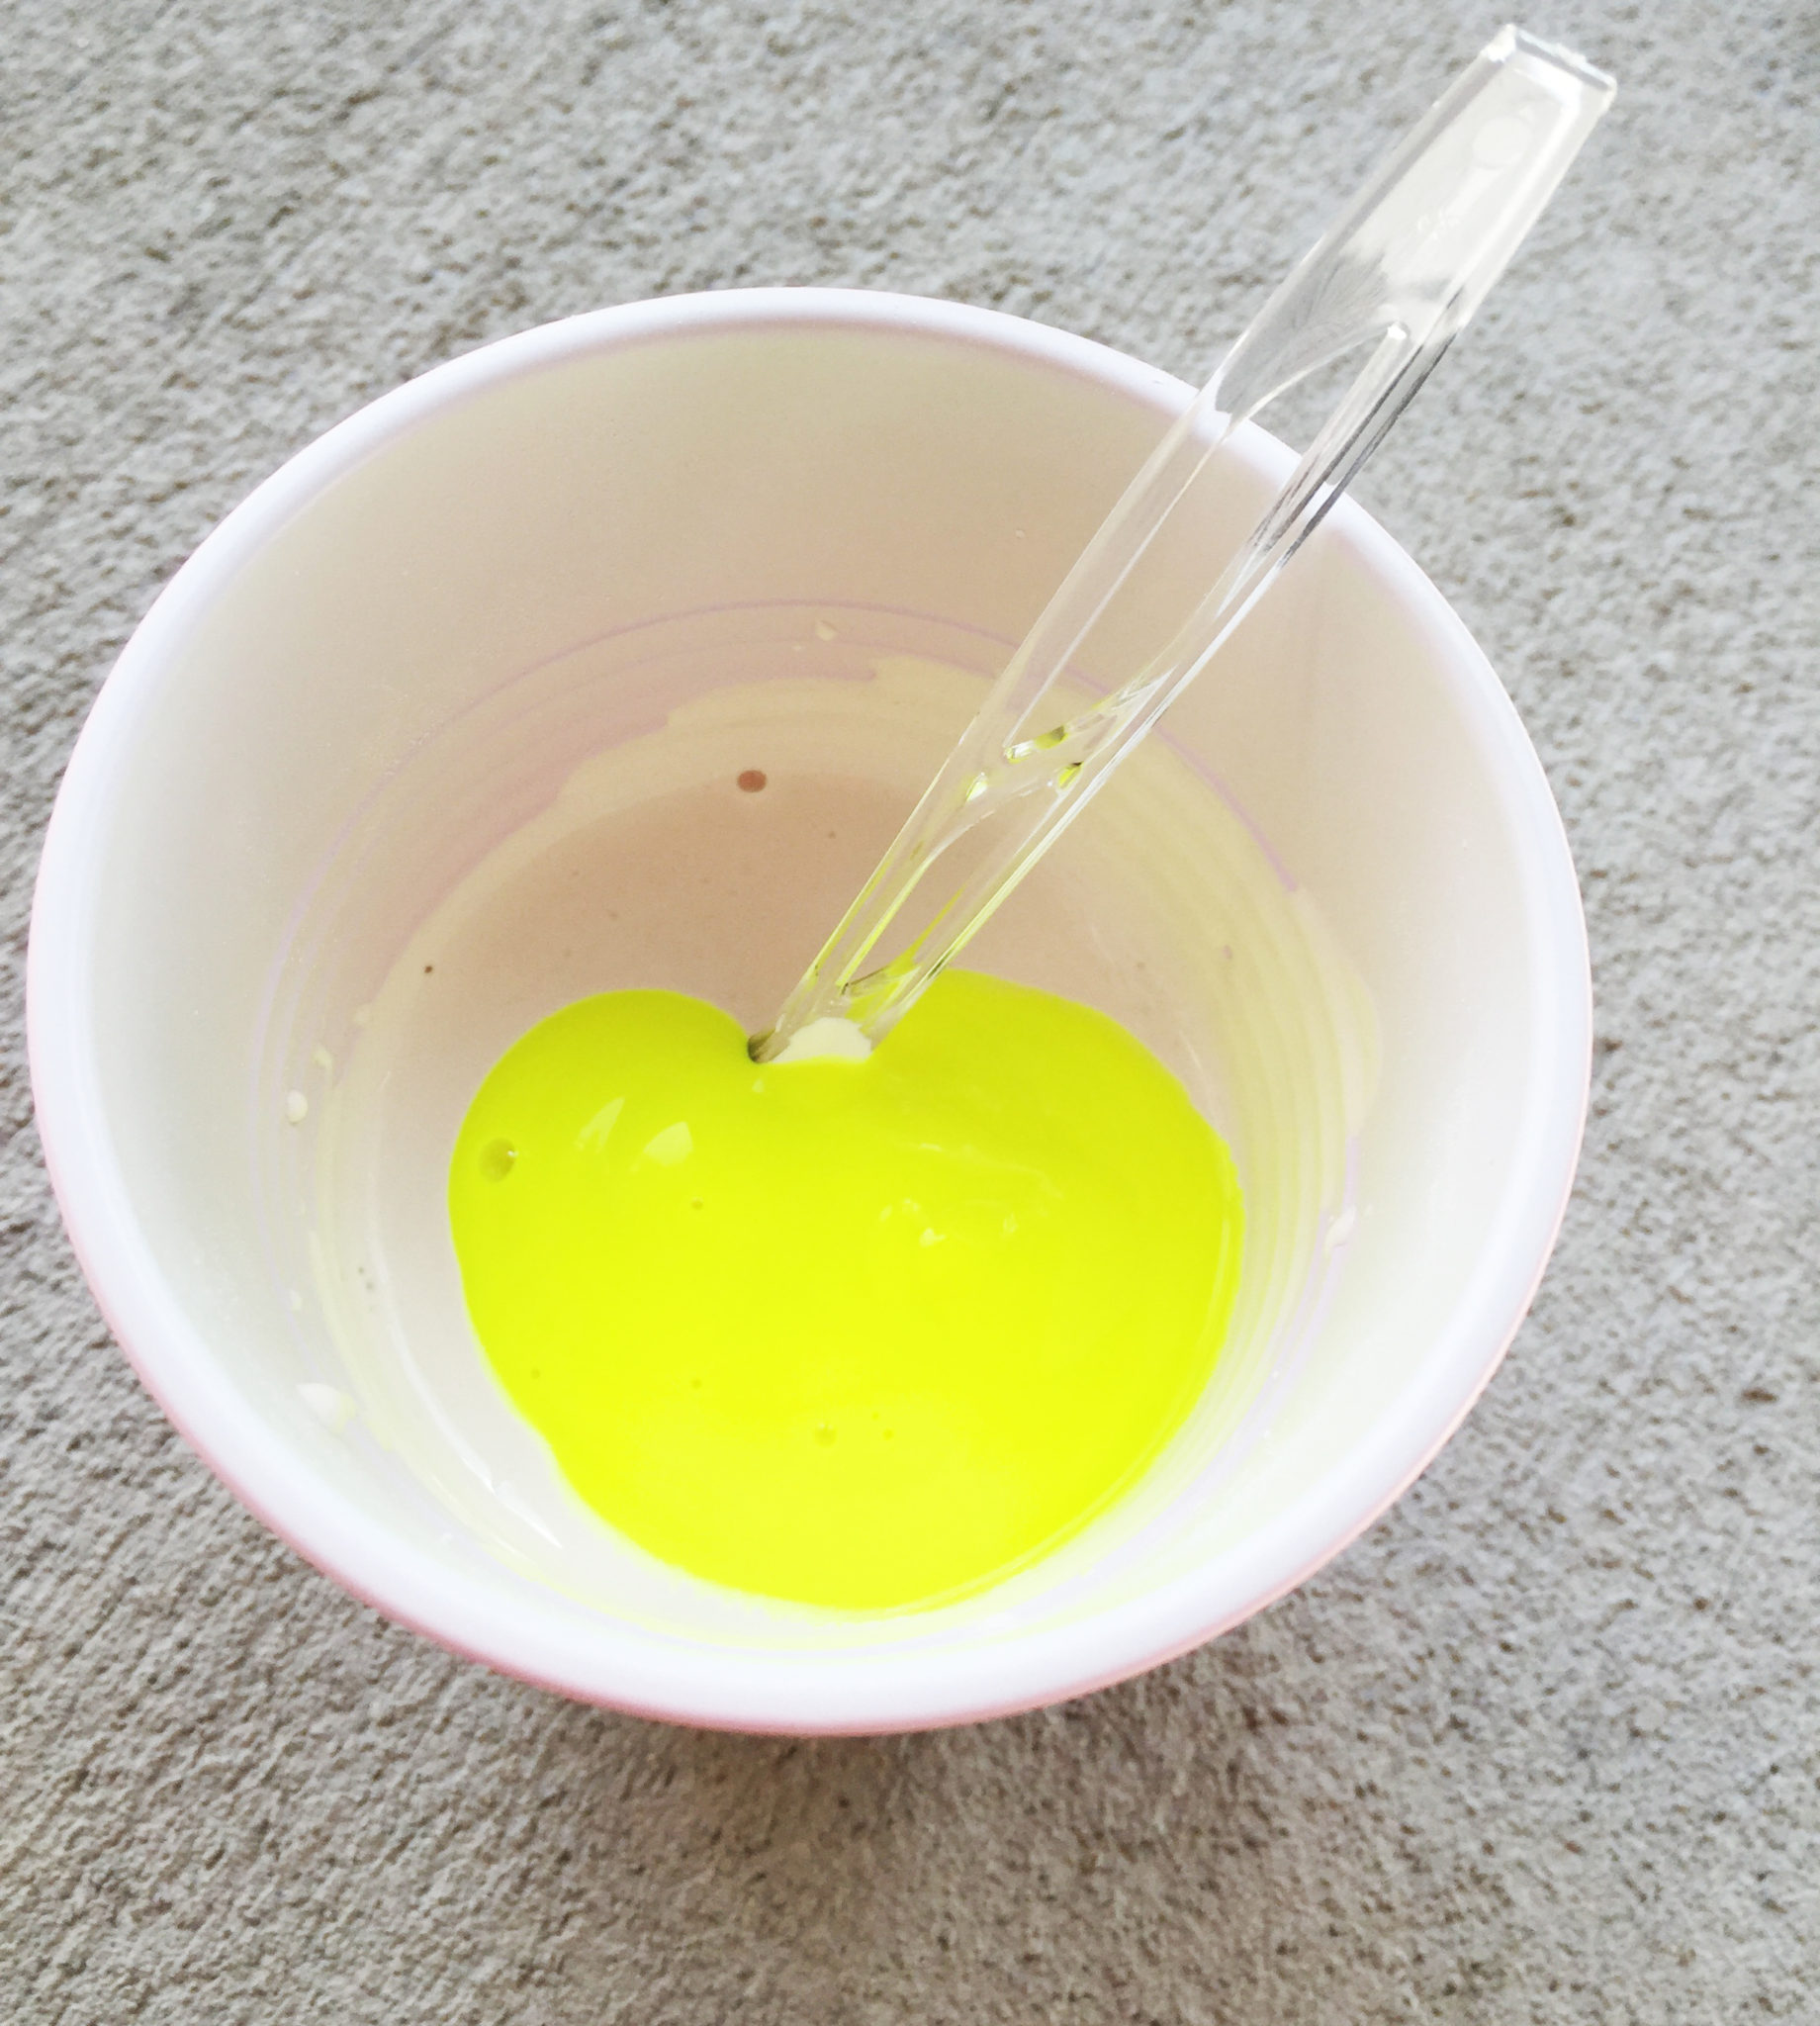
Add in a bit of paint, until you get the desired color. Stir it up until combined.
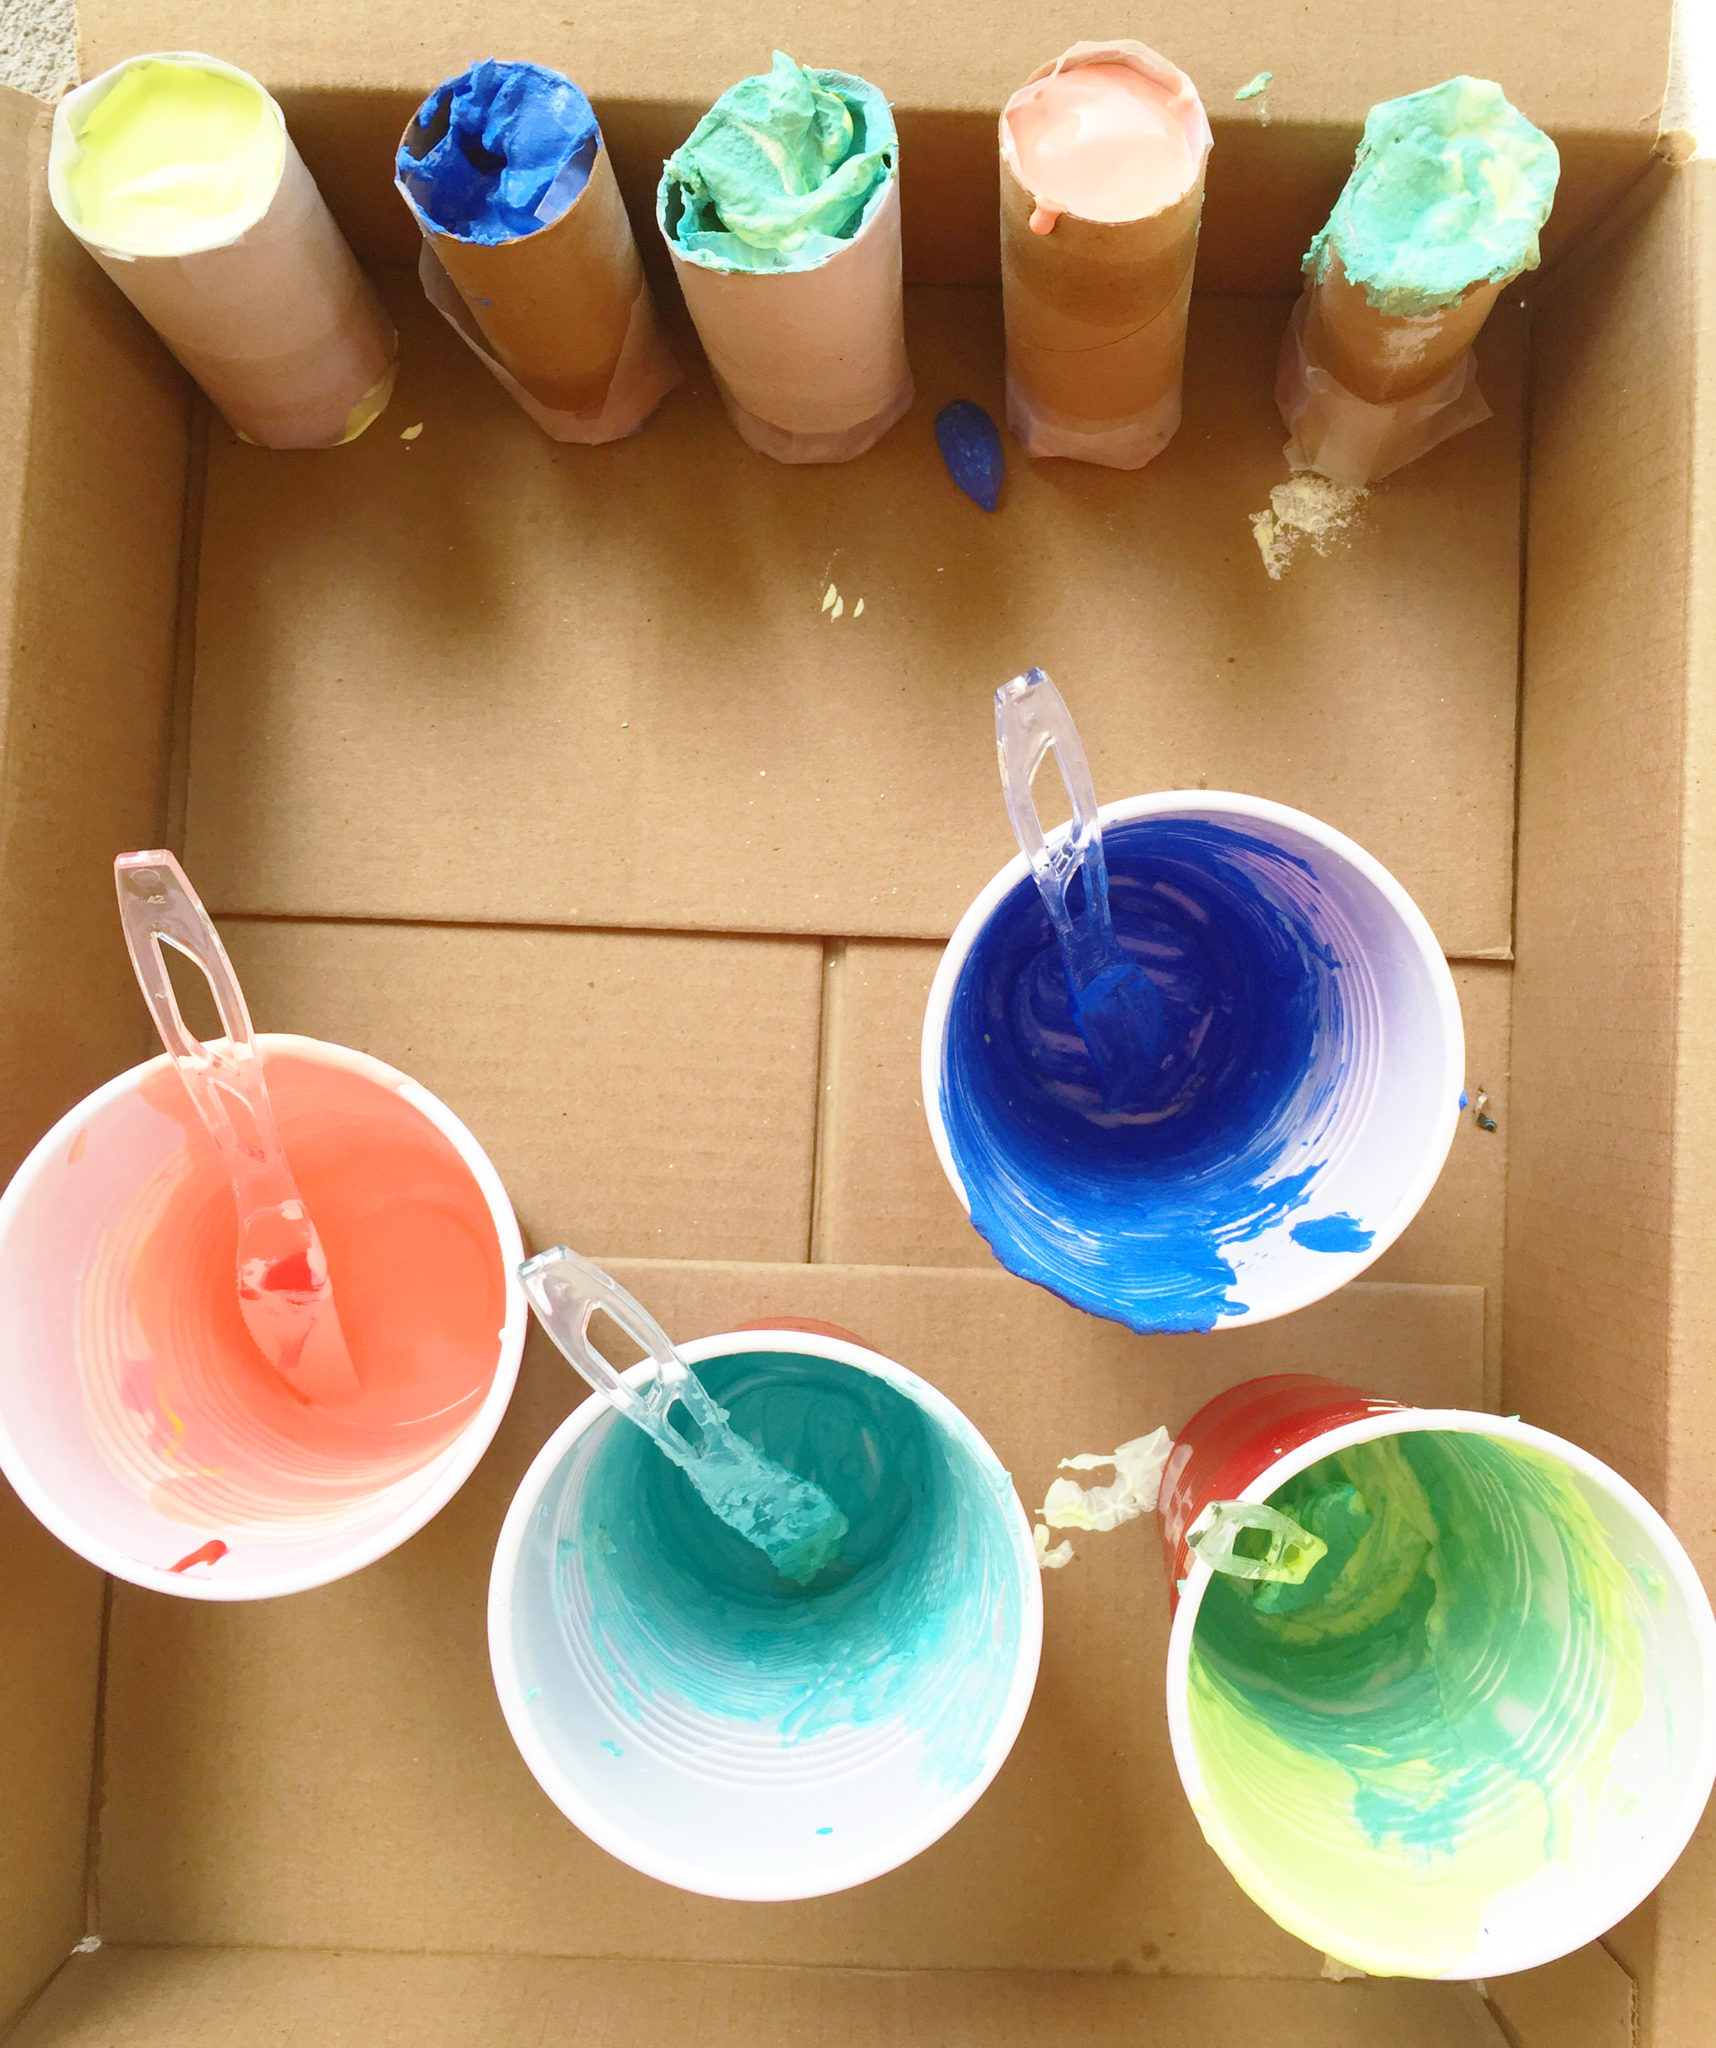
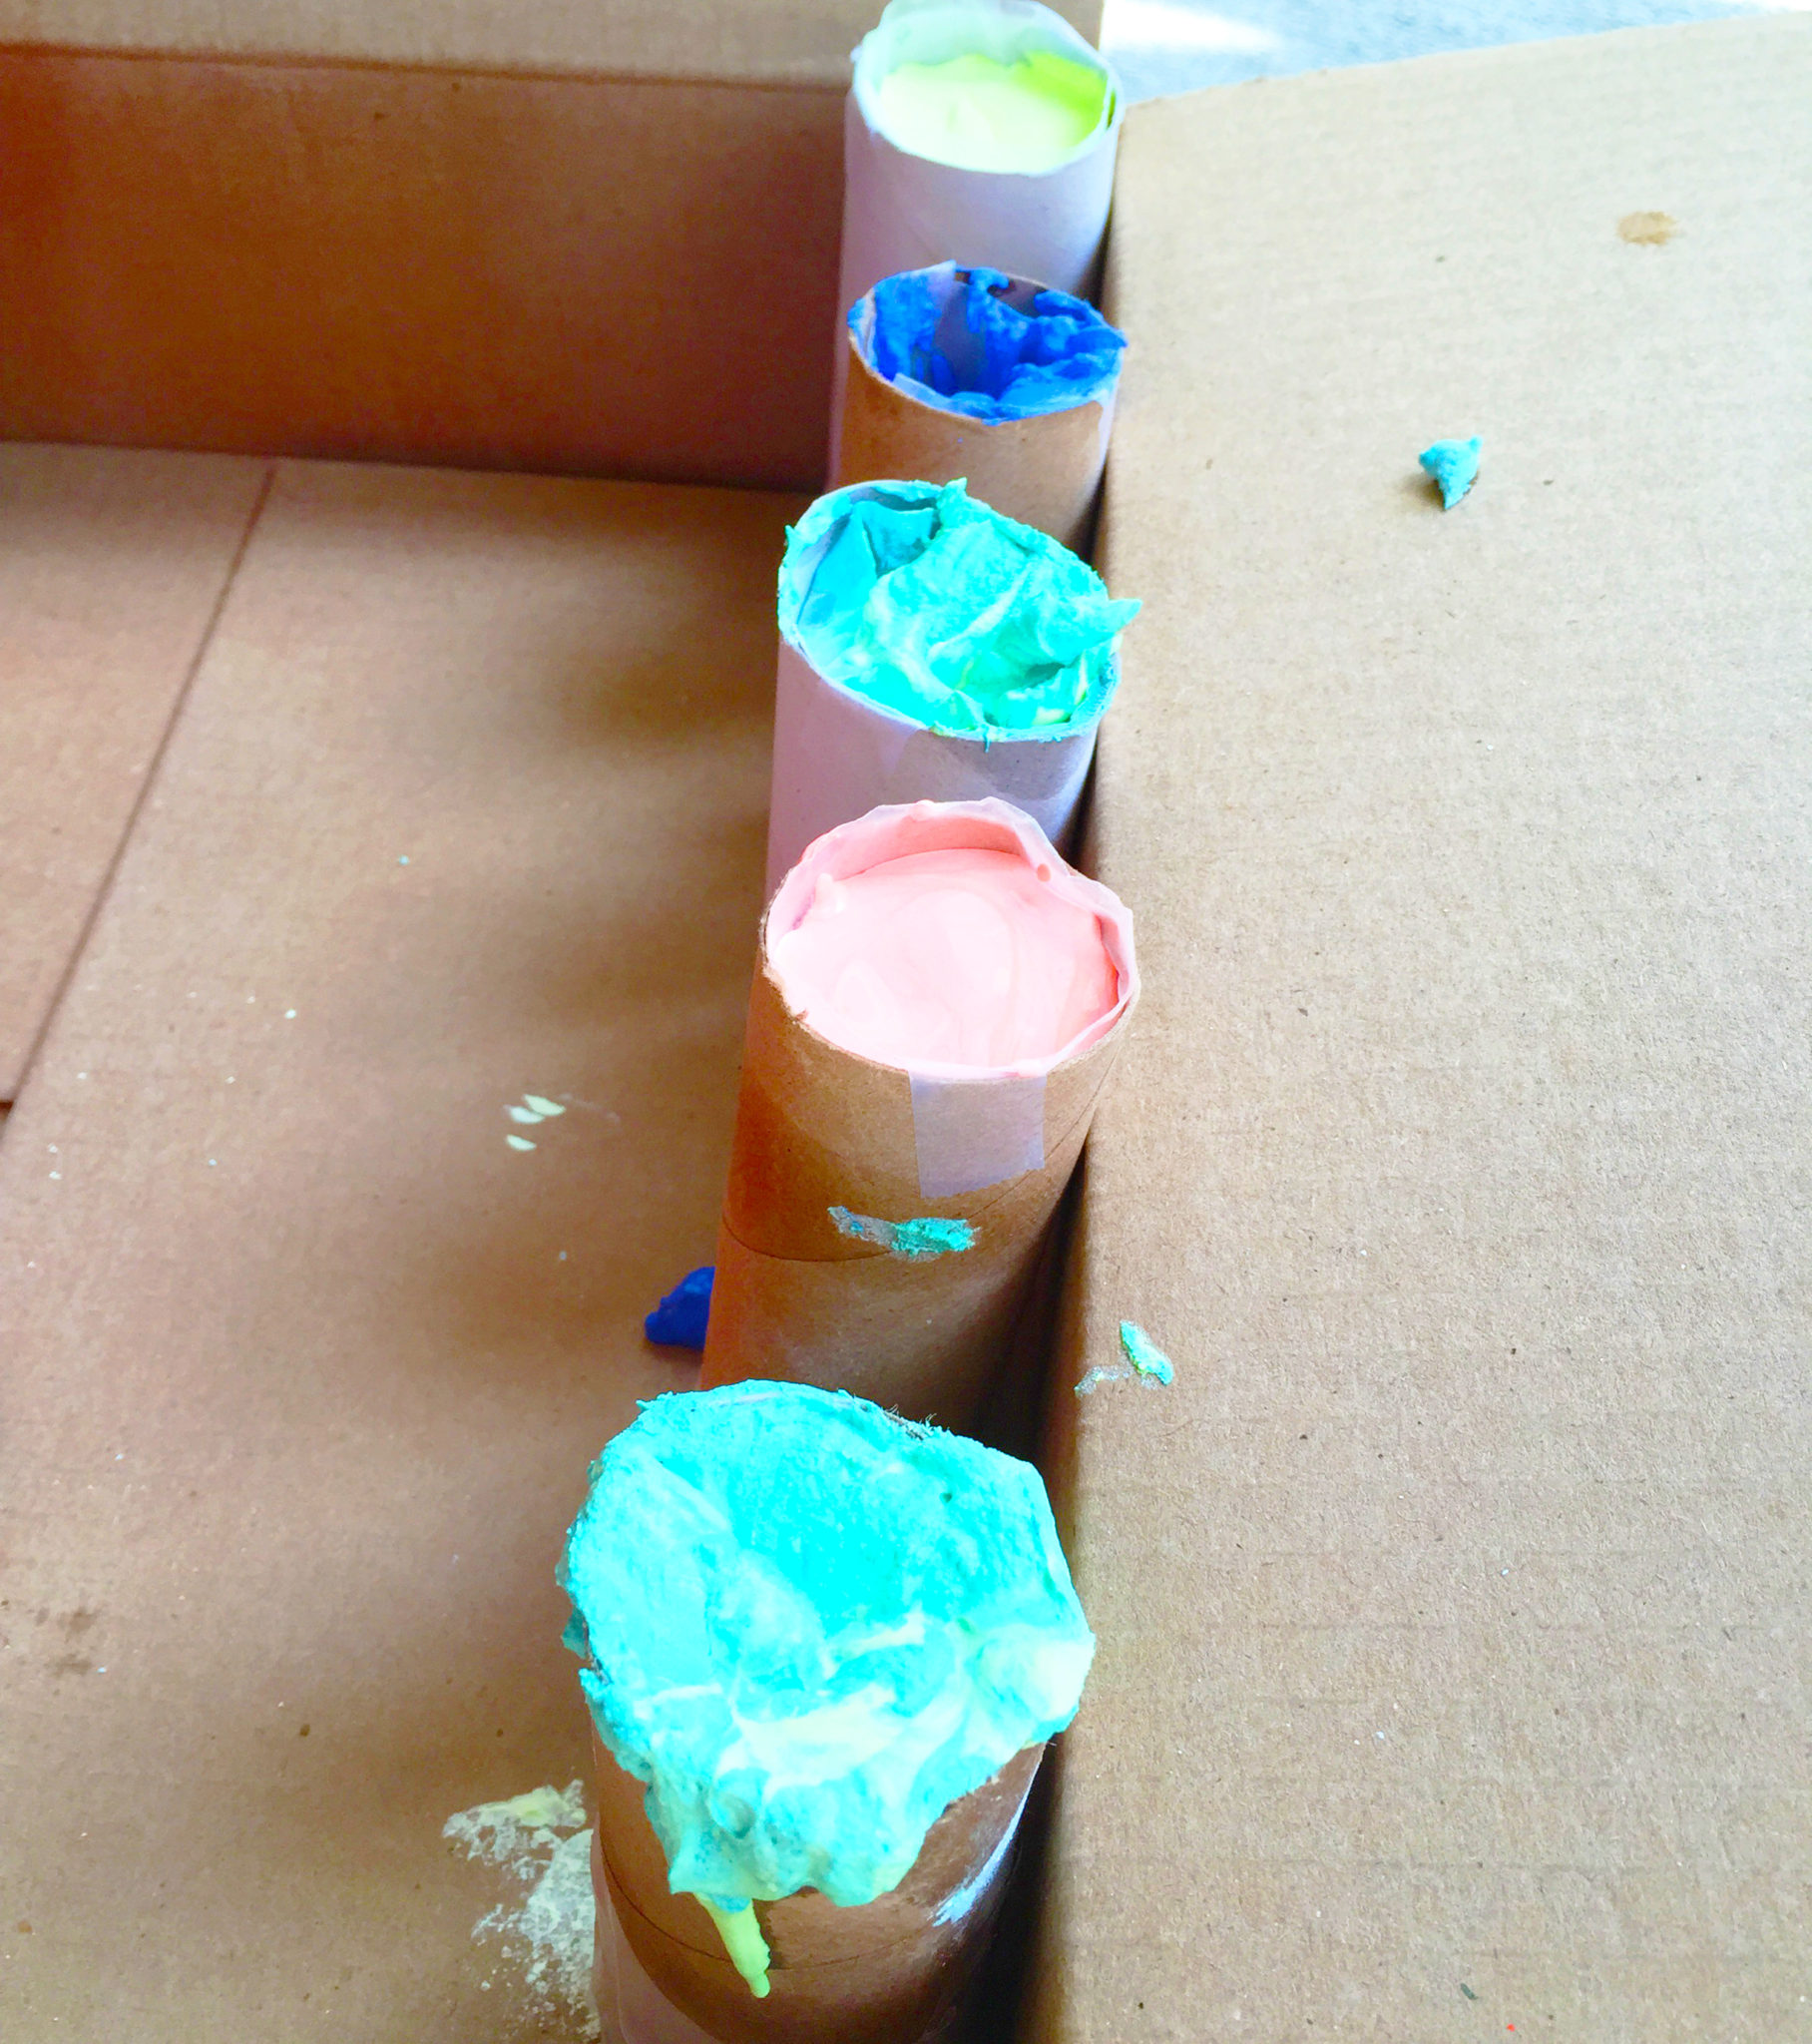
Pour into your mold & continue with the rest of your colors. **NOTE: 1 measured mixture yields 2 tubes** Make sure you gently “tap” the tube on a hard surface to make sure the mixture in the mold is compact with no air bubbles. I realized I probably could have done a better job when I opened a couple of them but they didn’t come out too bad.
Let them dry for about 24 hours before you peel off the paper.
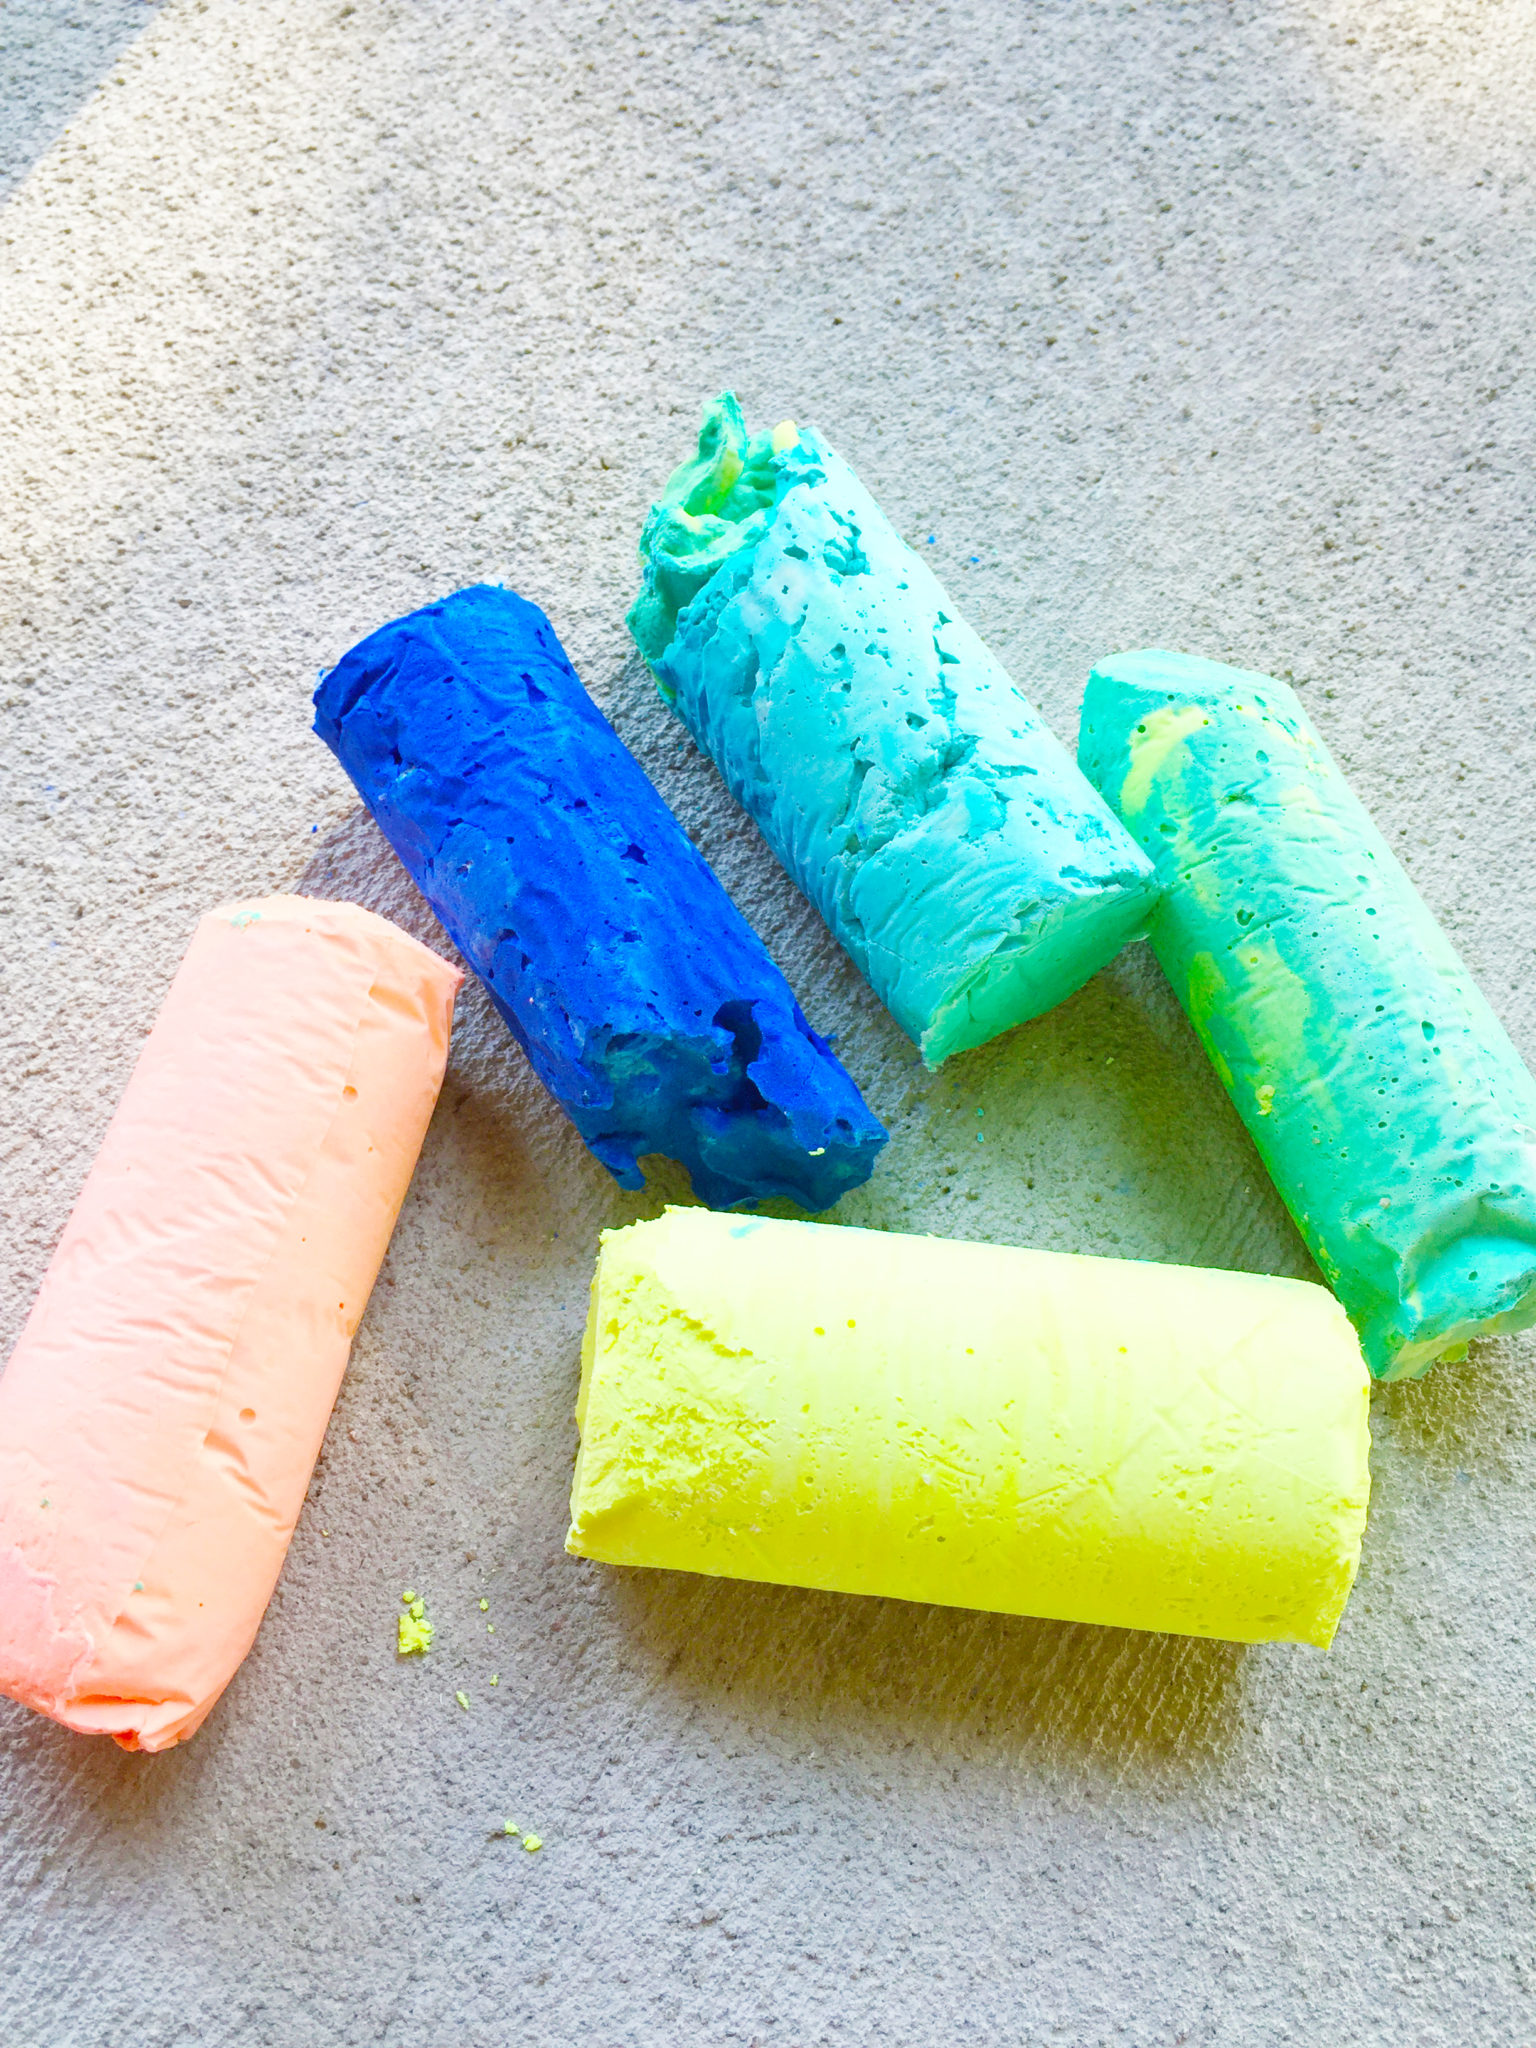
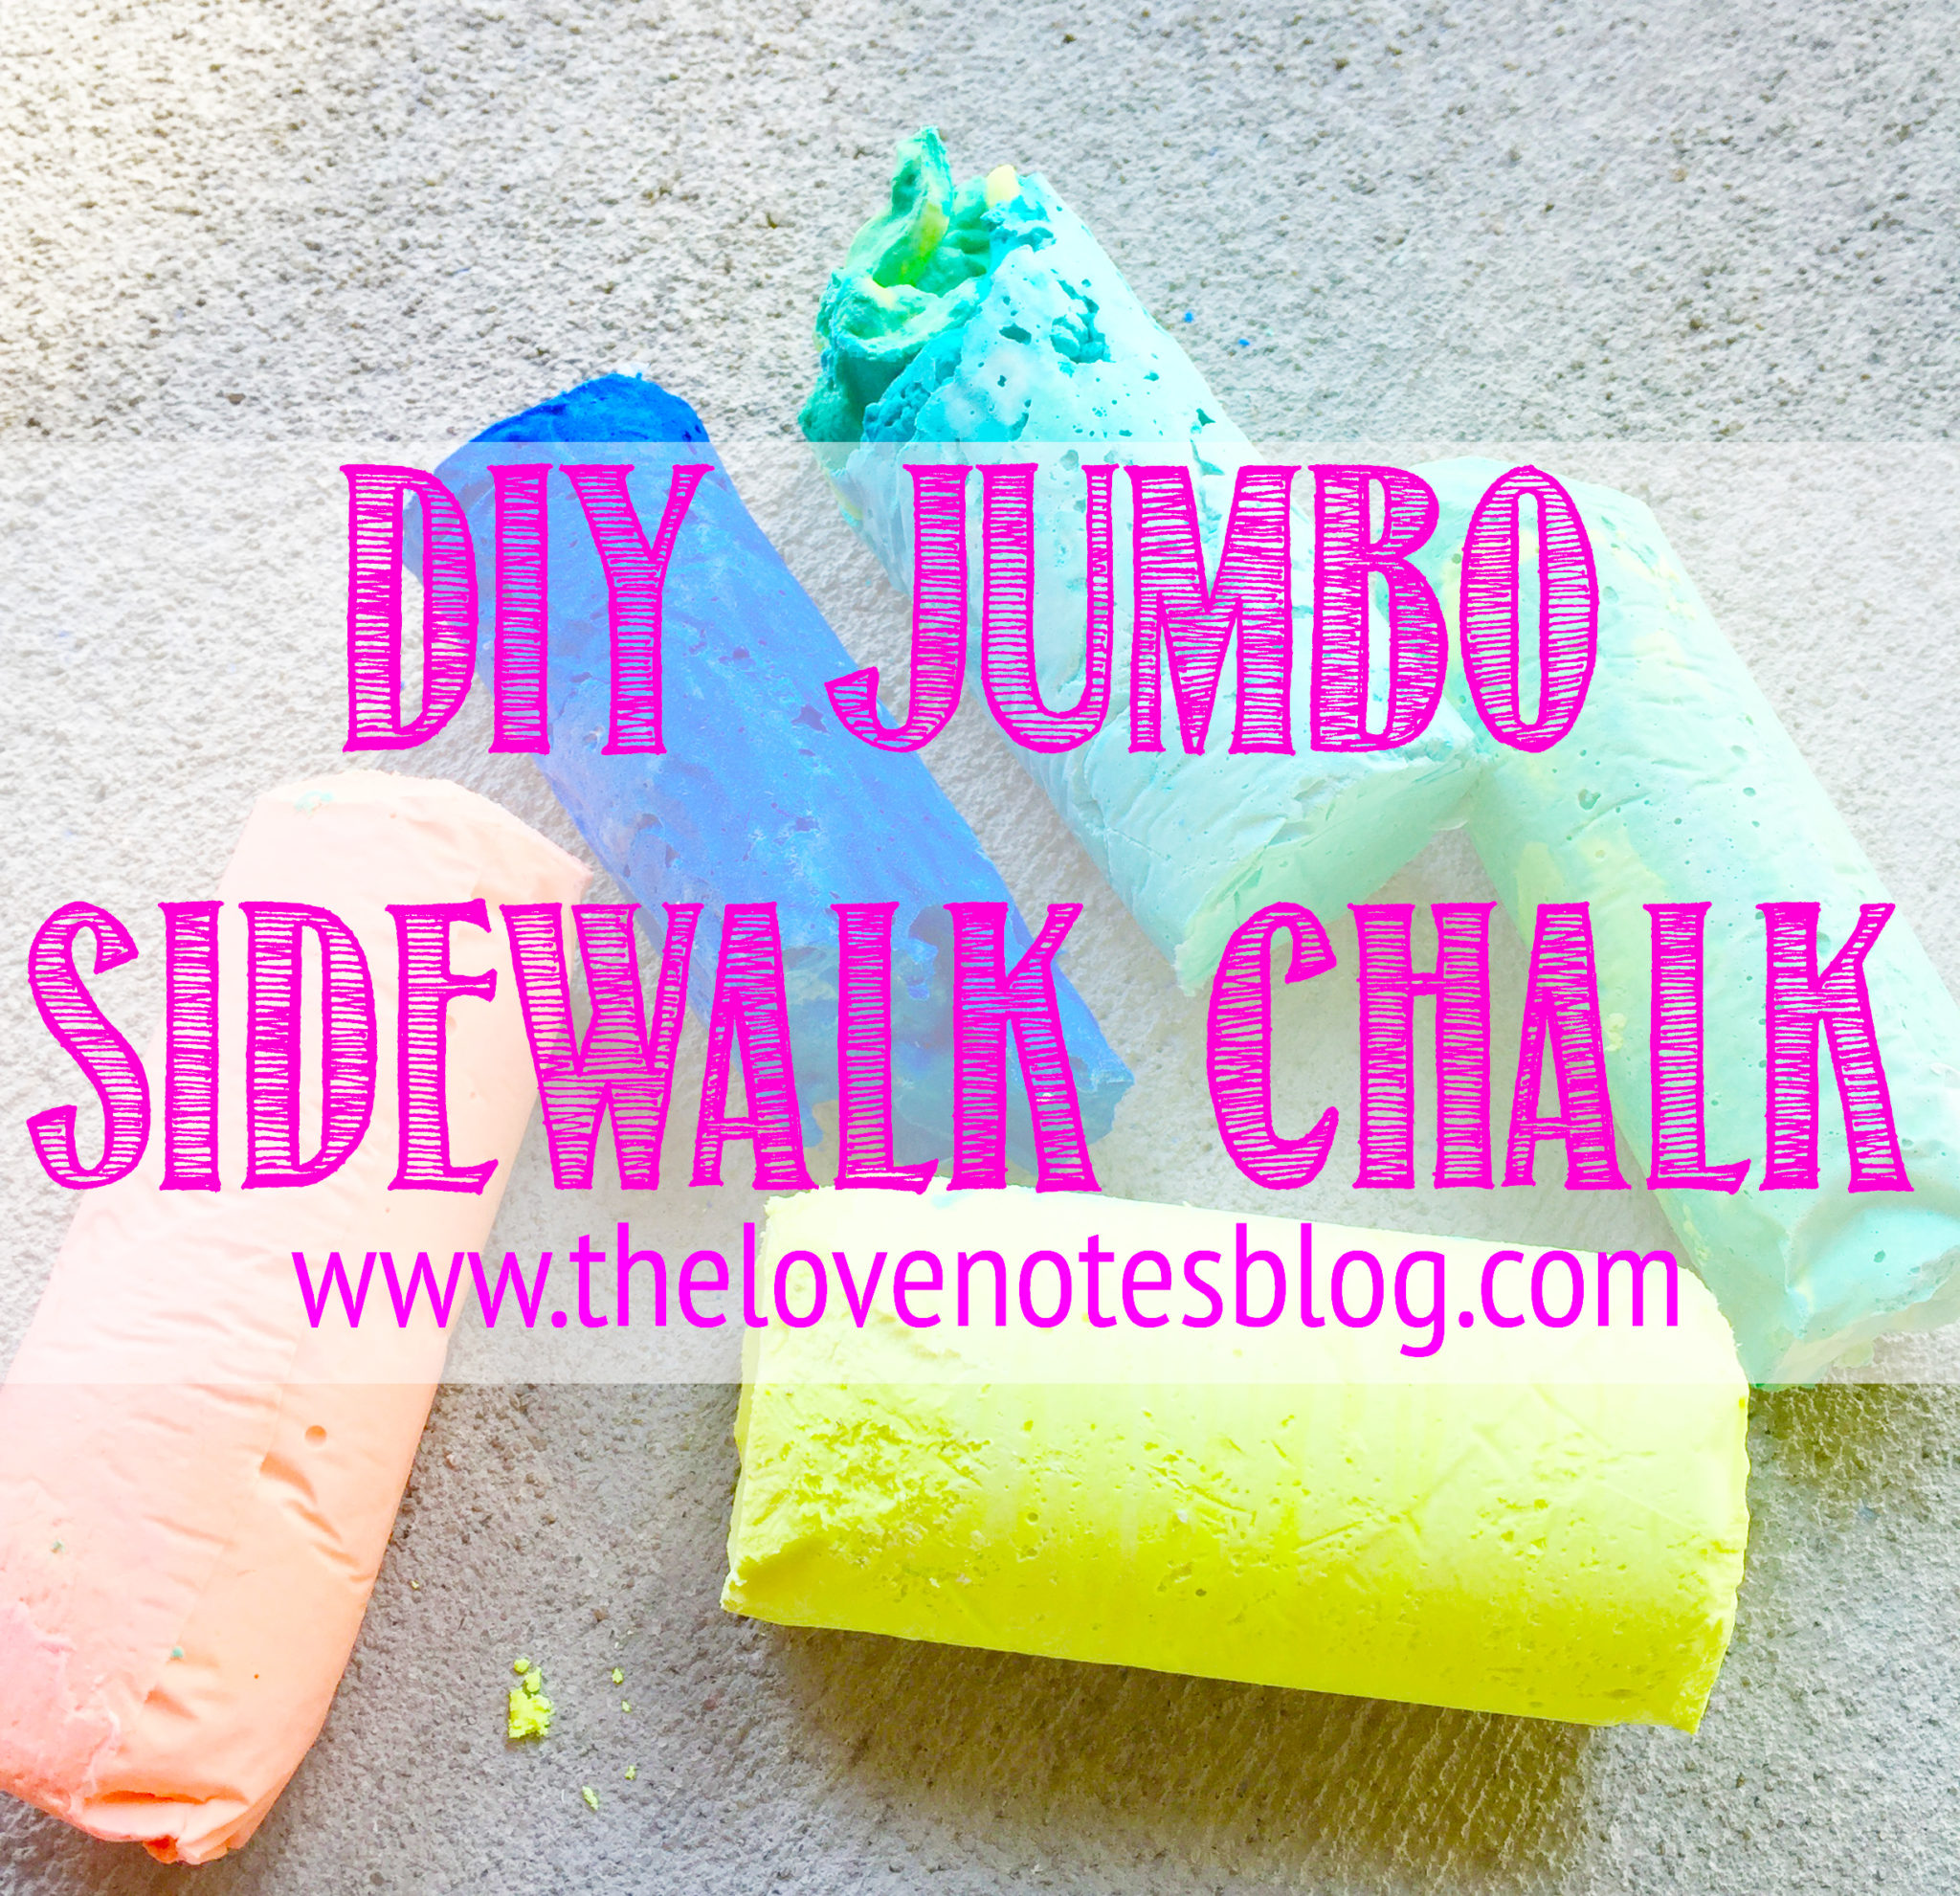
See what I mean about getting all the bubbles out? They still worked just as well, but they could definitely look prettier, haha. The one on the far right we mixed together using blue & yellow. I purposely left it a little swirly so it came out marbled!
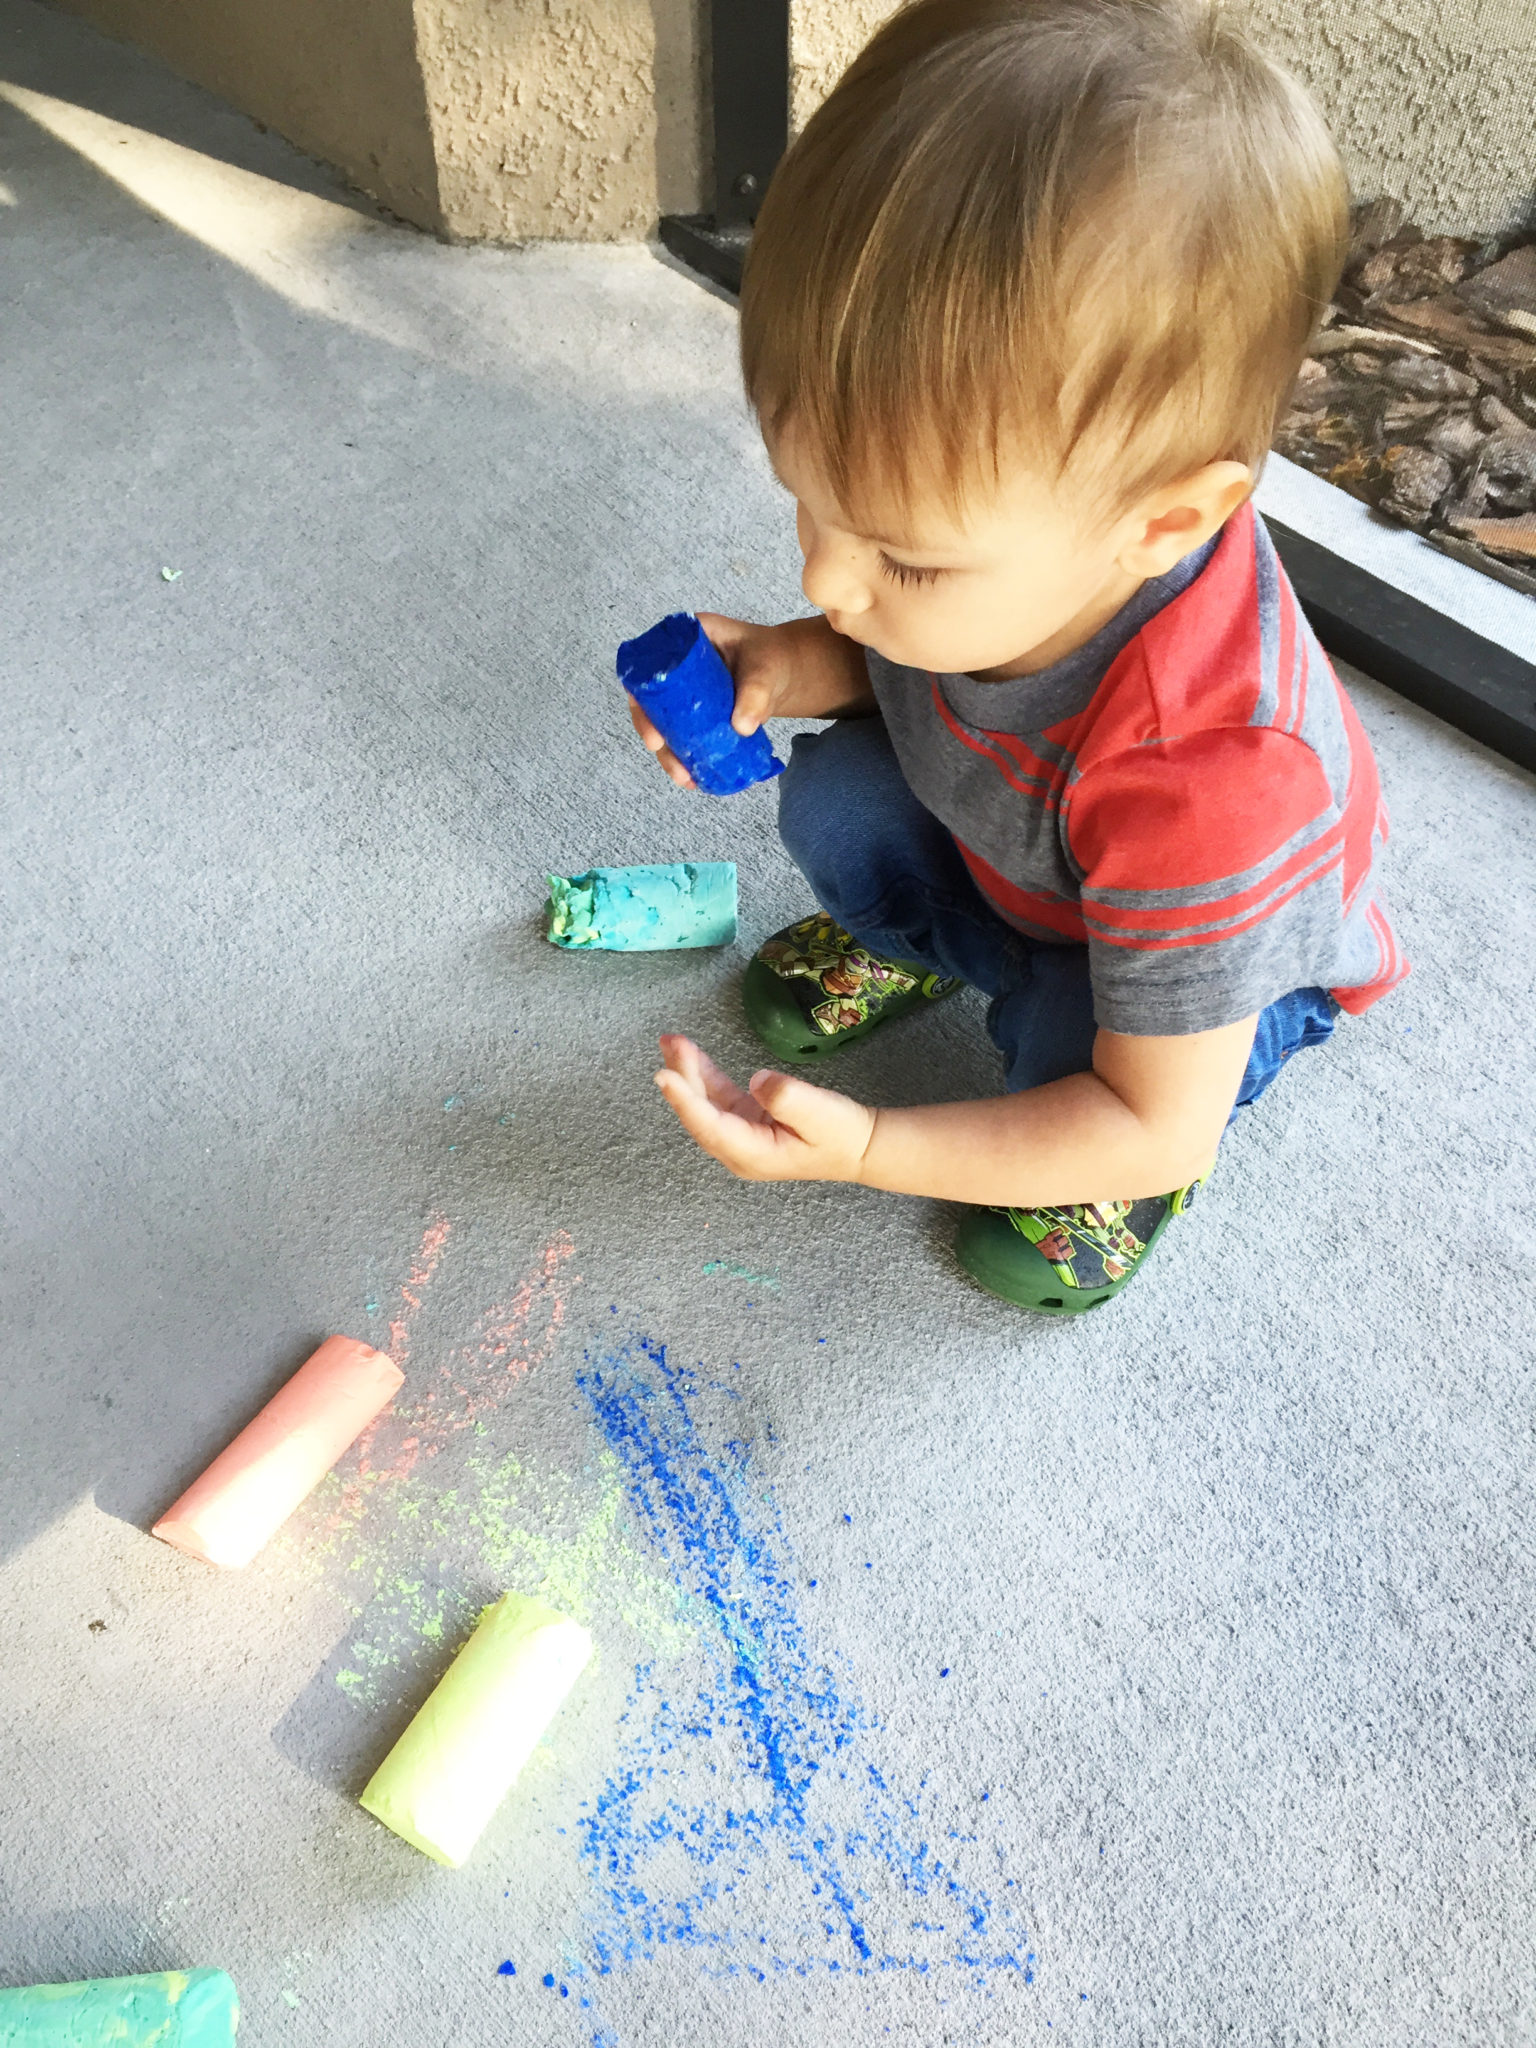
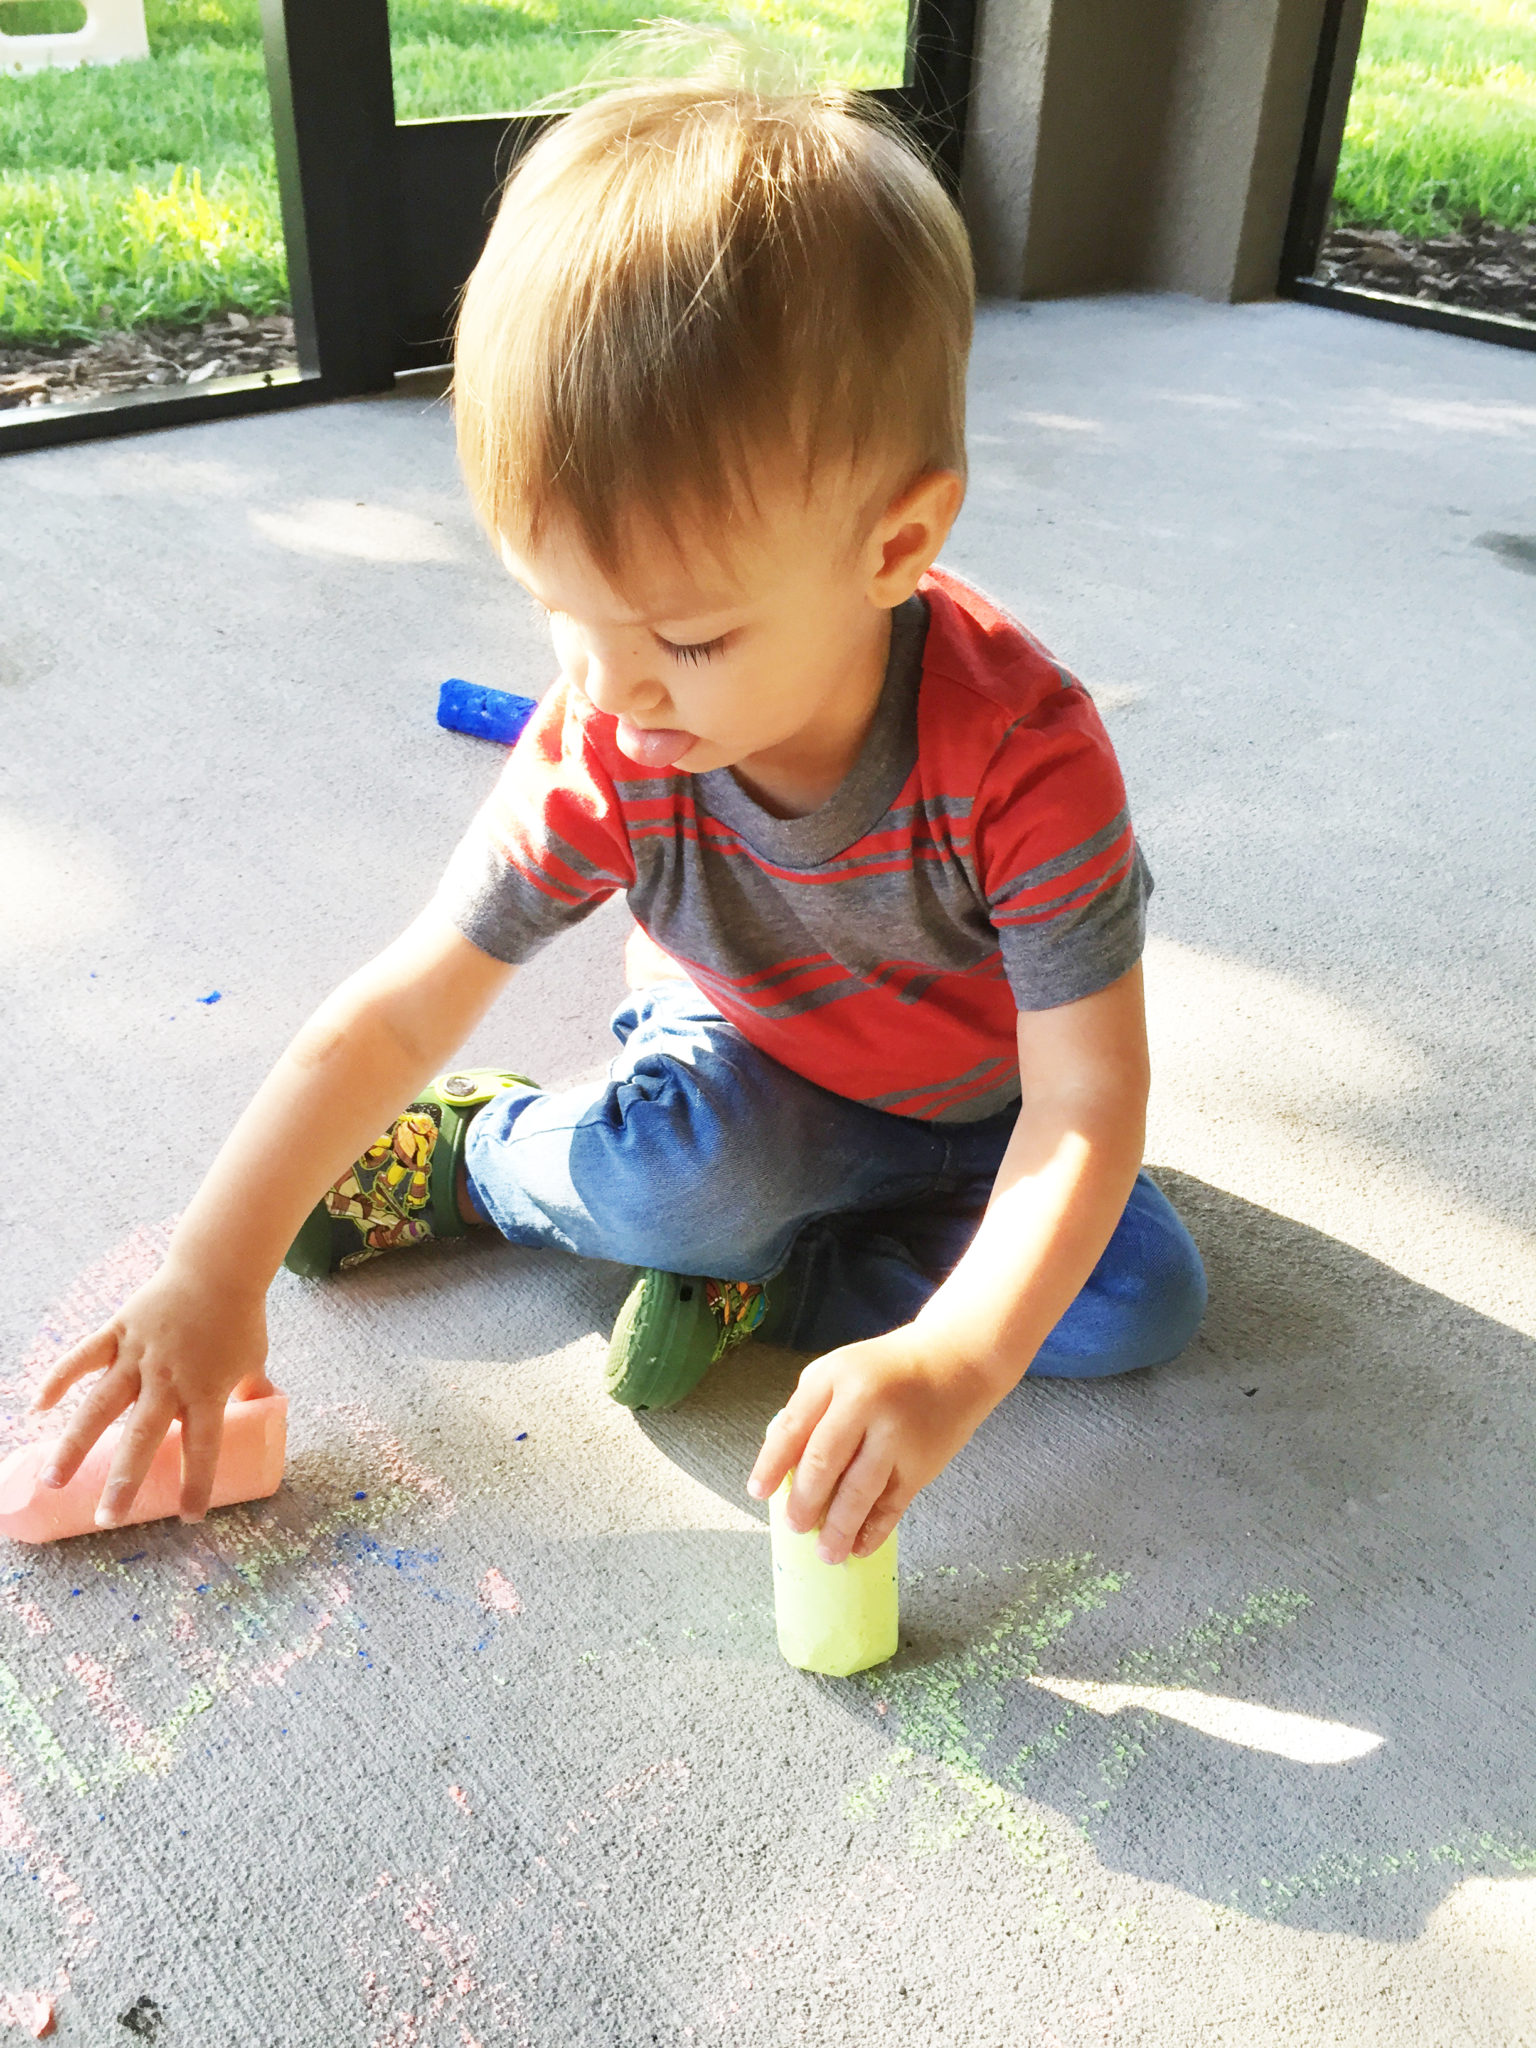
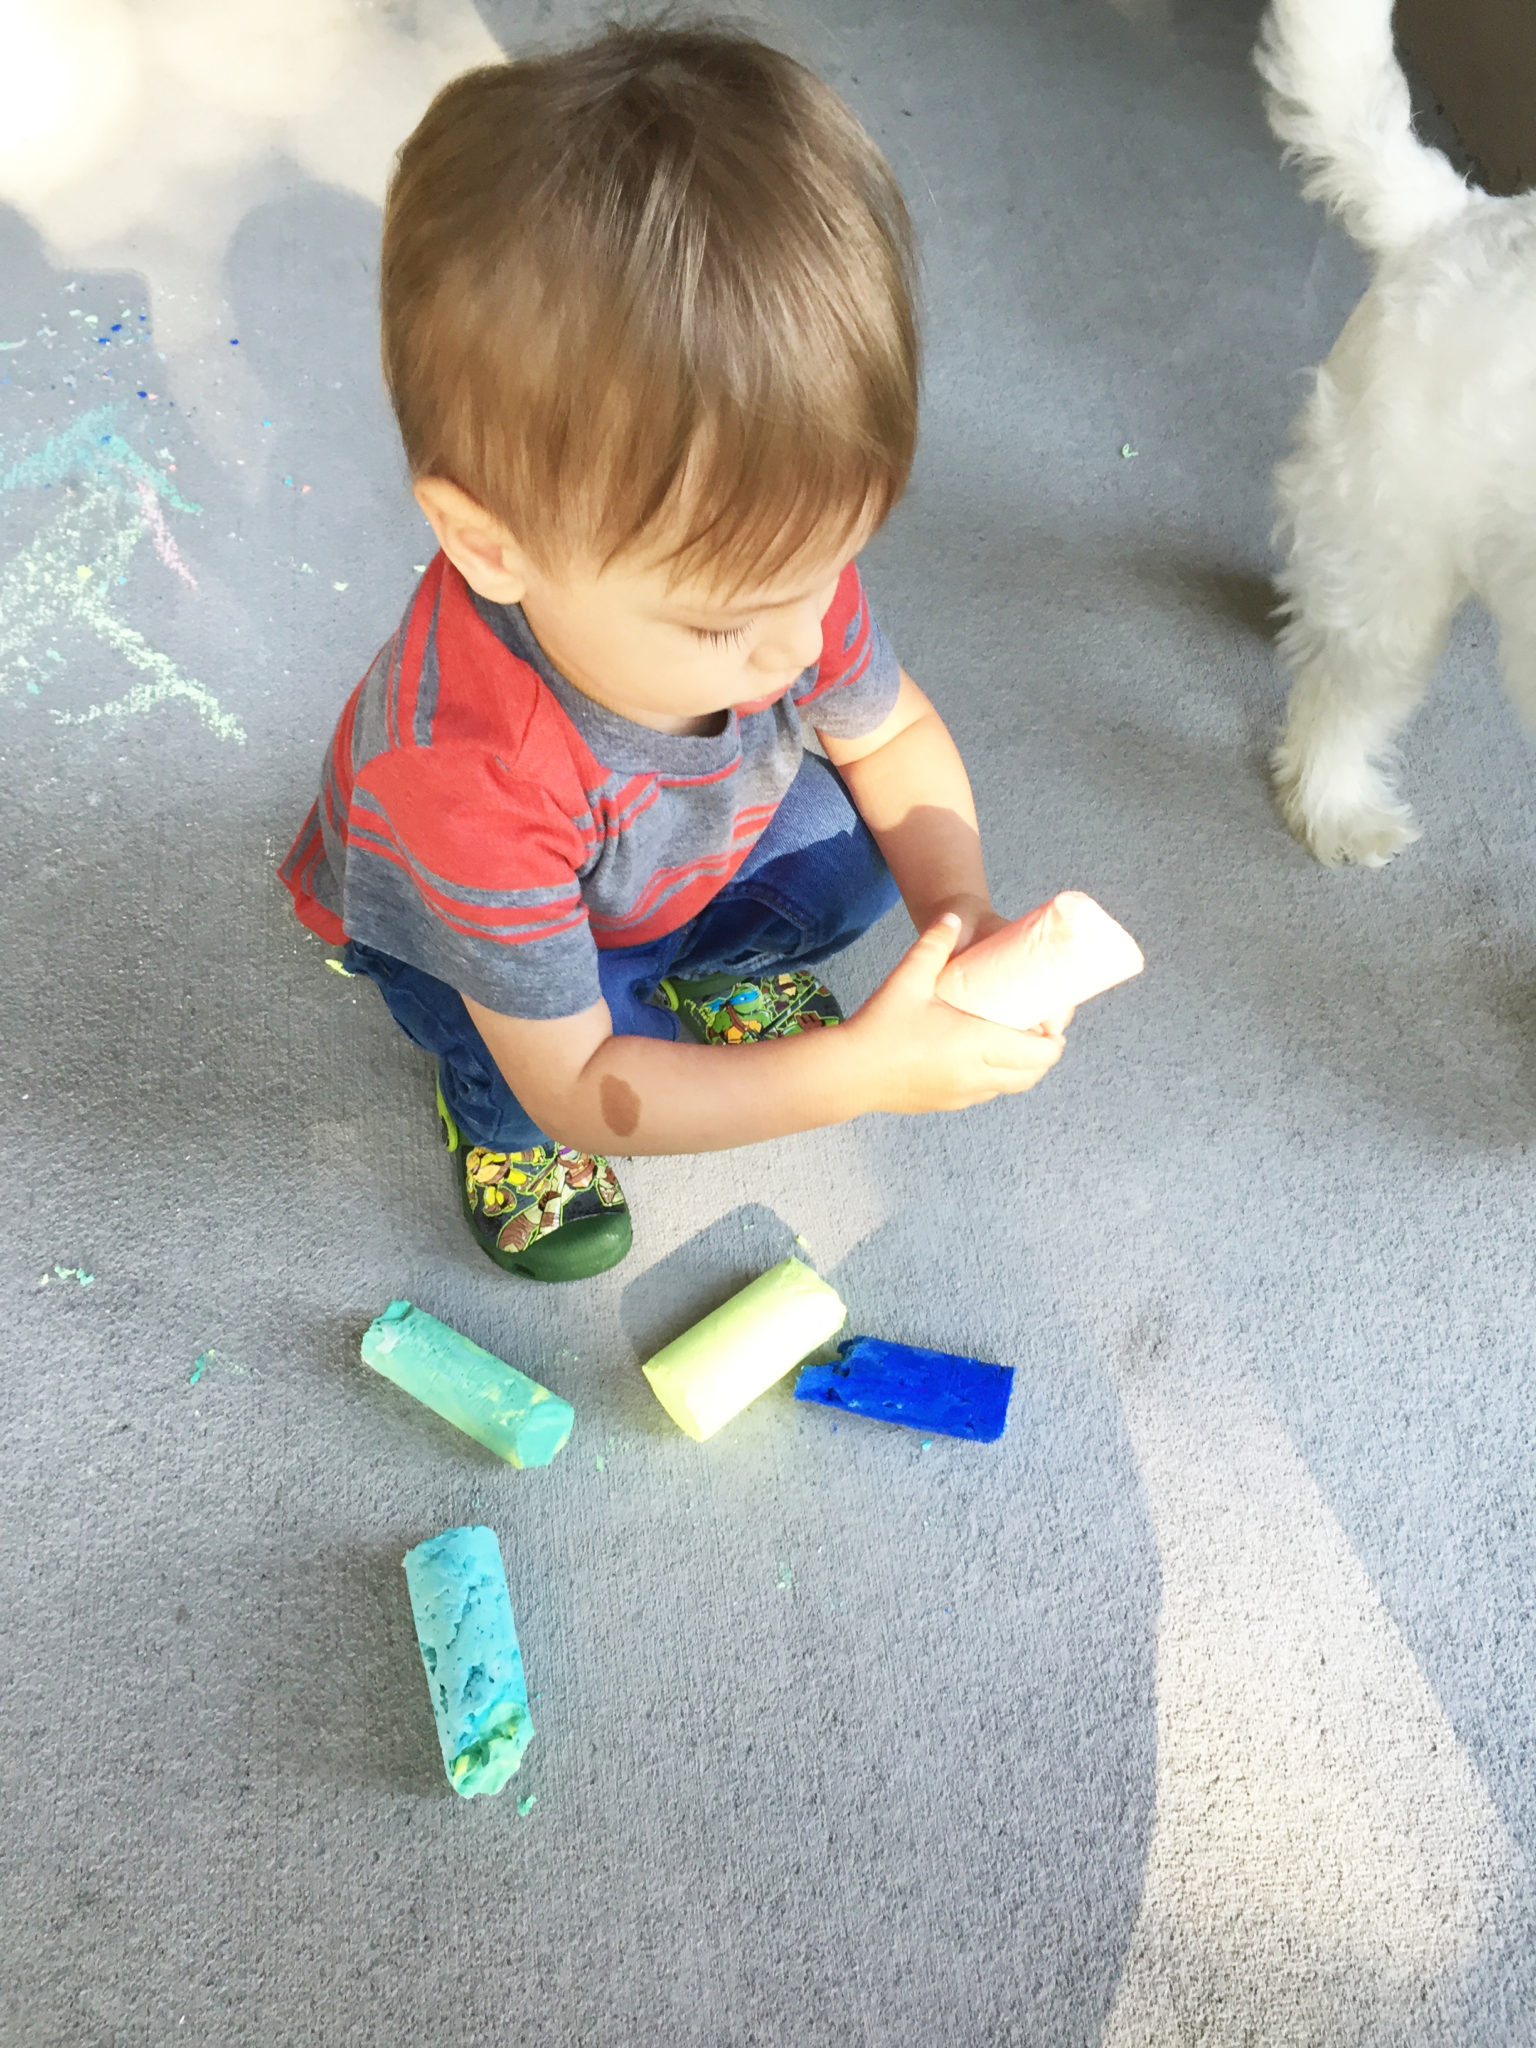
We have so much fun creating art on our back lanai. It’s an easy recipe, so I encourage you to try it out & let me know how it goes! Thanks for stopping by!